
How to Polish Atv Plastic
Dealing with the fading and cracked plastics is really the worst part of owning an ATV. No matters how good you drive and how better it runs, if your vehicle is odd looking, this perfectness will remain unnoticeable. That’s why it is crucial to maintain the look of your ATV at an optimal level. Do you know how to polish ATV plastic? It is not that hard; you just have to follow some techniques to reach your goal and make your ATV look good as new.
I have prepared a list of easy-to-follow steps with which you can make clean, polish, or maintain the plastic of your ATV. These steps are cost-effective and require minimal effort. You will get all of them right here in this article. So, leave all your tasks for a couple of minutes and concentrate on the article till the end.
How to Polish Atv Plastic
Step 1
We will use some special compounds to clean the plastic, but first, we must wet sand it. This will remove any stains or dirt so that the polishing material can sit on the surface perfectly.
Step 2
Okay, once you have wet sanded the plastics, it is ready for applying the polishing material. We will need the 3m products A, B, and C. Firstly, we will use the A rubbing compound with the wool pad, and for B, you will need to use the foam pad. C can be applied by hand; it is kinda like a sealant.
Step 3
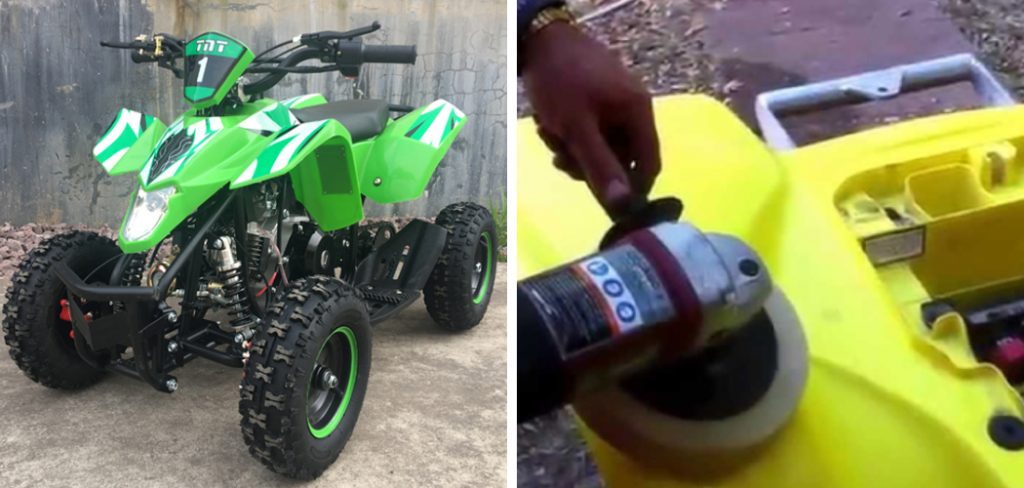
So, take the wool pad, apply the A rubbing compound, and then use it between 1,200 and 2,000 RPMs. It will give the plastic a shinier look without melting the plastic. Once you use the number A rubbing compound, use a quick detail spray or a spray-on wax to remove that compound’s residue.
Step 4
Install the foam pad on the buffer and apply the number B, maintaining the suggested rpm level in the above section. When you complete it, apply the quick detail wax to remove the excess residue from the surface.
Step 5
After that, we will use the number C compound with our hands. As I told you, it works like a sealant and gives a shinier look on the surface of the plastic. You will notice that initially after applying to the plastic. Use any fabric or towel to rub the surface after applying the component and clean it up. It works like a good sealant and keeps the polishing material secure for a long time.
Final Thoughts
Okay, the process is completed; hopefully, you understand these. If you have anything to ask, feel free to use the comment below.
You May Read Also How to Polish Obsidian by Hand
Elizabeth Davis
Elizabeth is a creative writer and digital editor based in the United States. She has a passion for the arts and crafts, which she developed from a young age. Elizabeth has always loved experimenting with new mediums and sharing her work with others. When she started blogging, she knew that DIYquickly would be the perfect platform to share her tutorials and tips. She's been writing for the blog from the beginning, and her readers love her helpful advice and easy-to-follow instructions. When she's not writing or editing, Elizabeth enjoys spending time with her family and friends.


