How to Preserve a Hawaiian Lei
Introduction:
Are you feeling quite excited to learn about the perfect process of how to preserve a Hawaiian lei? If the answer is the ultimate yes, you need to follow this article because it could be the best possible solution!
Abloom lei is perceived worldwide as an image of Hawaii’s salaam soul! Superbly brilliant and importantly fragrant, lei can speak to cherish, kinship, best of luck, and other positive opinions.
In Hawaii, leis are often seen at graduations, weddings, birthday celebrations, and other special occasions. In ancient Hawaii, people exchanged leis as a symbol of love and a religious emblem. Today, the lei is a cherished tradition.
Required Materials:
- Two Gallon Clear Plastic Bag
- Glass Pot (Optional)
- About two cups of sugar per lei, or as needed.
- One to one and a half cup water per lid, about three quarts total
Methods on How To Preserve A Hawaiian Lei
Process One
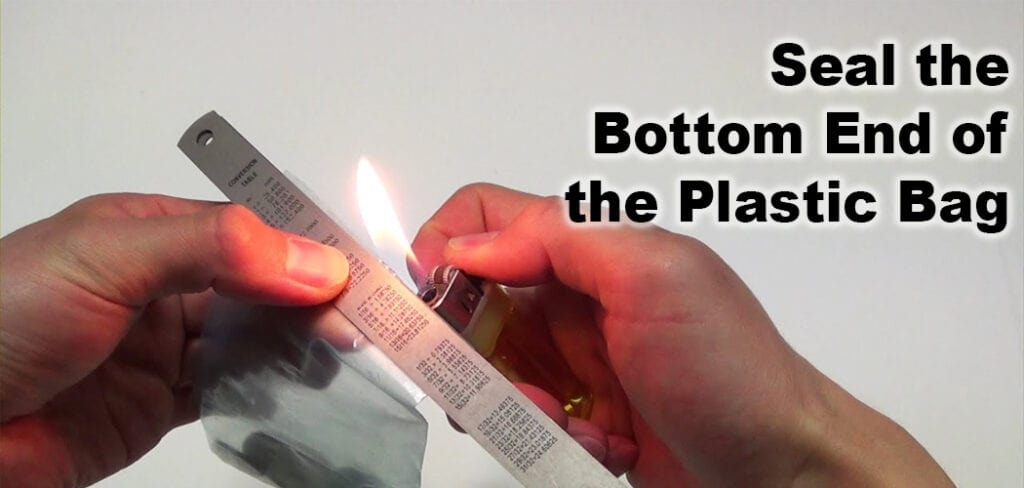
Step One:
Seal the bottom end of the plastic bag with an elastic band so that it is closed tightly but does not cut off circulation. This will prevent any air from getting in, which would dry out your flowers.
In Hawaii, leis are commonly seen at graduations, weddings, birthday celebrations, and other special occasions. In ancient Hawaii, people exchanged leis as a symbol of love and a religious image. Today, the lei is a lasting tradition.
Step Two:
Place a couple of inches of sugar on top of your flowers and leaves, then pour some boiling hot water over these ingredients until they are completely submerged in liquid. You can now place any additional items that you might want to be preserved with this lei into the plastic bag as well, such as shells or beads.
Step Three:
Put the elastic band around this closed tightly again to seal off from air circulation and leave for 24 hours before removing it from the heat source if necessary.
After one day, check for mold growth at the edges by peeling back an inch or two-inch section of elastic band material next to where the pot rests against its stand. If there is greenish-black gunk growing there, you’ll need to move the pot into a cool dark place that is well ventilated.
Mold growth can be removed by scrubbing it off with your fingers or a soft brush. If not cleaned away within 24 hours of being noticed, mold will continue to grow and eventually destroy all items inside.
Step Four:
Rinse out the sugar water from the lei before gently pushing down each flower petal and leaf individually so they are completely wet. This step helps them keep their form better over time in storage.
Once you’re done preserving your food, there shouldn’t be any sign of stickiness. This would indicate that there was too much moisture present during the process, ruining everything stored inside. Be sure to rinse any other containers used for storing these items thoroughly.
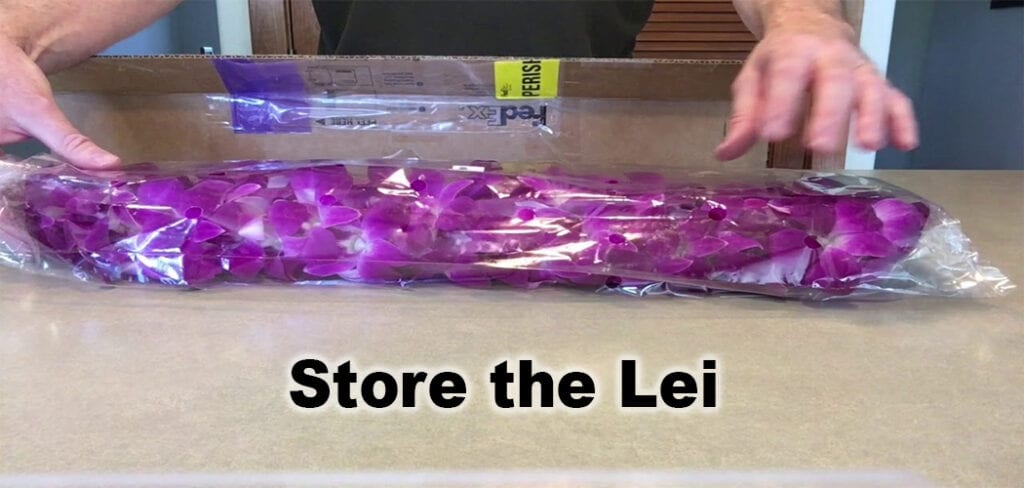
Step Five:
Store the lei in an airtight container like a mason jar or plastic zip-lock bag with as much sugar water as is needed to fill up space around your lei. This step helps keep insects away from your preserved flowers and leaves by providing them no food source.
While also preserving any additional floral accessories you wish to store at this time. Be sure not to add too much extra sugar because it can cause mold growth after prolonged storage periods.
Process Two
- First of all, delicately locate your lei in a plastic percent, at the off danger that it would appear that it is starting to wither.
- Spot your lei for your fridge, closer to the base. The right temperature is truly someplace within the range of fifty and fifty-five tiers, so on the off risk that you may save it at that exact temperature extend, this is some distance better.
- Give setting your fridge a shot at its maximum increased temperature setting, and you may have the best temperature.
- You can likewise place your lei with ice for brief stockpiling on the off chance you do not have space in your refrigerator.
We have come to the end. At this point, we believe you have learned all the important details about how to preserve a Hawaiian lei. So now you can do the whole thing by yourself without needing help or support from anyone else.
Final Thoughts
Ensure you try to maintain safety measures to avoid unwanted messes and accidents to have your work done flawlessly. If you can manage to do so, then you are good to go!
You May Also Read – How to Preserve Birch Logs