
How to Protect Pencil Drawings Without Fixative
Introduction:
A collection of pencil drawings has been a precious possession in many homes. Indeed, they have not been treated with fixative, as compared to oils and watercolors, which need to be protected from harmful effects by applying the fixation or varnish. Nonetheless, it does not mean that pencil drawings do not need any protection;
rather, it is just because the color pigments are lightweight by nature; hence even under favorable conditions, there can always be unintended fading of the drawing due to natural reasons such as time, light exposure, etc. In this article, I will discuss how to protect pencil drawings without being fixative. So let us get started.
Stepwise Guide on How to Protect Pencil Drawings Without Fixative:
If you are looking for a way to protect pencil drawings without a fixative, this article is for you. This step-by-step guide will provide a complete understanding of what factors affect the longevity of your pencil drawings and how to keep your work looking crisp and clean even after years.
Step 1 : Storage:
The way you store your artwork can have a big impact on its longevity and appearance. Always make sure the surface you’re using is clean before you start. Check out this article for more tips on storing artwork correctly.
I would not recommend storing unfinished artworks because they get dirty easily when stored with finished pieces. If you keep the pencil drawings in your bedroom or living room, keep them flat and not vertically hanging on the wall.
Step 2: Wall Surface:
The type of surface that you are drawing on also plays an important role in preserving your work. Never draw directly on a wall or any other surface which is not meant to be used as a drawing surface.
Always ensure that the walls have been cleaned properly and then finish by filling in holes, cracks, and uneven patches with colorless filler before starting with pencil drawings.
Step 3: Drawing boards (or canvases):

Many artists today use hardboard instead of paper to draw their creations. Doing so gives them the luxury of erasing their mistakes without worrying about ruining the paper altogether. However, a hardboard is not a good choice for artwork because it warps when exposed to intense heat and moisture. Some people also believe that drawing on a hardboard makes pencil drawings look ‘cheap’.
Step 4: High-quality Paper:
You must ensure that you invest in good-quality paper to make your pencil drawings look crisp and clean. The cheapest papers are generally low-quality, rough, and not transparent enough to interfere with the ink to give a dull sheen.
Step 5: Good-quality pencils:
If you want your creations to stay bright for a long time, then you need to use only high-quality colored pencils. The colors should be very light-fast, and the lead needs to be strong enough not to break down easily when deposited on the paper.
Many artists nowadays prefer Japanese colored pencils because they do not contain waxes which can hinder the flow of pigments onto the paper surface. Always remember that there is no substitute for investing in good-quality materials.
Step 6: Tipping your pencils:
You can keep your pencil drawings bright by tipping the lead every once in a while using white and colored pencils of the same value. This process is also known as burnishing. The tip is usually found at the end of the shaft, which is covered by a plastic cover to ensure that it does not break down when sharpened.
Step 7: Use of erasers:
If you plan to makeover your artwork or erase any mistakes, then never use an eraser with fine grain because they tend to drag along the surface of the paper, leaving marks behind them. Instead, always use dull erasers when working on smooth paper or hardboards, which do not leave residue behind them when erased.
Precautions:
1. Do not press too hard on your pencils when you are drawing, as this can cause pictures to become blunt and even break (especially if the lead is soft)
2. When you are finished with a drawing, make sure that your pencils do not have any debris like dust or other materials stuck on them. This can cause scratches on the drawing surface (or, in some extreme cases, the entire paper) when stored inside books or albums
3. Regulate the time between when your drawings are placed in albums/binders and back out again as per the above instructions so that it does not leave marks on your drawings due to friction when opening and closing pages of an album/binder
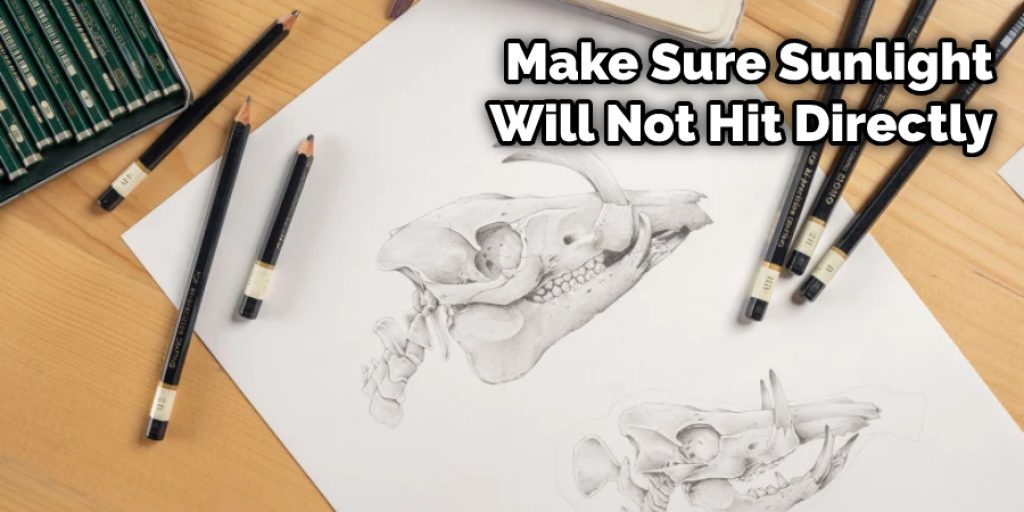
4. Make sure not to store your drawings in a place where sunlight will hit them directly for long periods as this can cause discoloration and fading of pictures
5. Don’t be rough with pencils or press too hard when drawing, as the lead may break and leave bits behind, which will scratch the picture surface if rubbed against it
6. Always use a pencil sharpener with built-in rubber or leather lining (usually red). This prevents the blade from tearing up the wood finish on your pencils (unless you want to give an antique look to your drawings).
Frequently Asked Questions
What Do You Put on Wood Floor Before Tiling?
There are a few things that you can put on the wood floor before tiling. The most common thing is a sealant. The sealant will help protect the wood from moisture and damage while the tile is being installed. Using a water-repellent sealant is also a good idea if you have hardwood floors that get wet often.
Can You Lay Ceramic Tiles on a Wooden Floor?
It is possible to lay ceramic tiles on a wooden floor, but it is not recommended because the tiles may not adhere well to the wood and may cause damage over time. It is also important to note that ceramic tiles are not slip-resistant, so if there is any movement in the room, the tiles may move and cause damage.
Can You Tile Directly Onto Plywood?
Yes, you can tile directly onto plywood. However, it is important to note that the plywood must be properly prepared before tiling. This means that the surface must be clean and free of any dust or dirt, and the wood must be straight and true.
If the plywood is not properly prepared, the tiles will not adhere to the surface and may even peel off. In addition, if there are any cracks or crevices in the plywood, water will seep through and cause rot.
Therefore, it is important to take care when preparing your plywood for tiling to get the most out of your tiles.
Should I Pva Ply Before Tiling?
There is no definite answer as to whether or not you should Pva Ply before tiling. Ultimately, the decision will depend on various factors specific to your project.
If you are unsure about any aspects of the project, it is always recommended that you consult with a professional tile contractor. They will be able to provide you with detailed information and guidance regarding the proper preparation and installation of tile.
Conclusion:
I hope this article has provided you with all the necessary information on how to protect pencil drawings without fixative. Thank you, and have a nice day!
Elizabeth Davis
Elizabeth is a creative writer and digital editor based in the United States. She has a passion for the arts and crafts, which she developed from a young age. Elizabeth has always loved experimenting with new mediums and sharing her work with others. When she started blogging, she knew that DIYquickly would be the perfect platform to share her tutorials and tips. She's been writing for the blog from the beginning, and her readers love her helpful advice and easy-to-follow instructions. When she's not writing or editing, Elizabeth enjoys spending time with her family and friends.


