
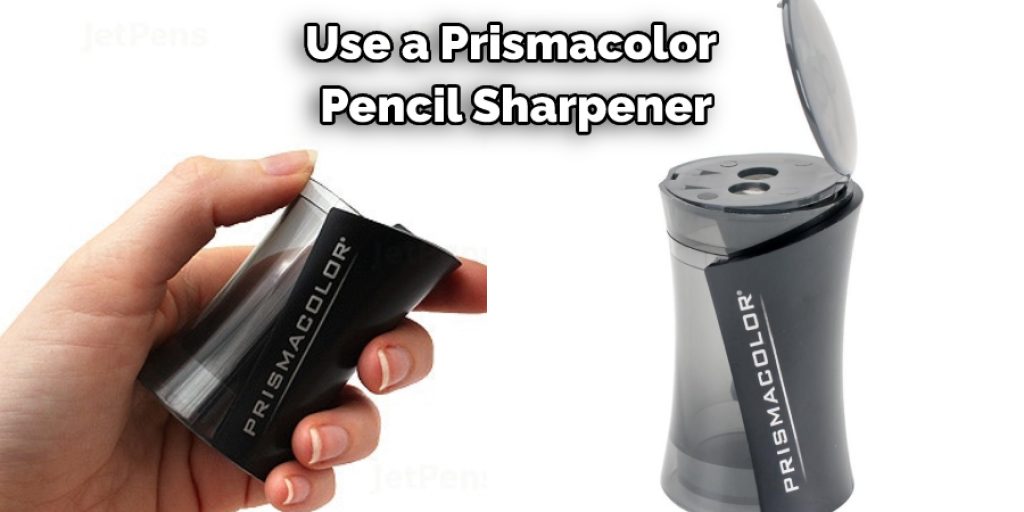
How to Empty Prismacolor Pencil Sharpener
Introduction:
Prismacolor is a brand of colored pencils which are usually sold in sets by most art supply companies. The company used to manufacture lead and wood pencils for artists, but after WWII began to focus on making colored pencils. Prismacolor pencils come in an extensive range of colors (over 320) and are considered professional-grade products. They were first introduced to the market in 1934.
These colored pencils contain a small amount of wax and pigment inside, have strong points at regular intervals like a mechanical sharpener, but don’t take blades as an electric sharpener does. This means that you can use it over and over even when the shavings get pretty thick! In this article, I will discuss how to empty Prismacolor pencil sharpener. So let us get started.
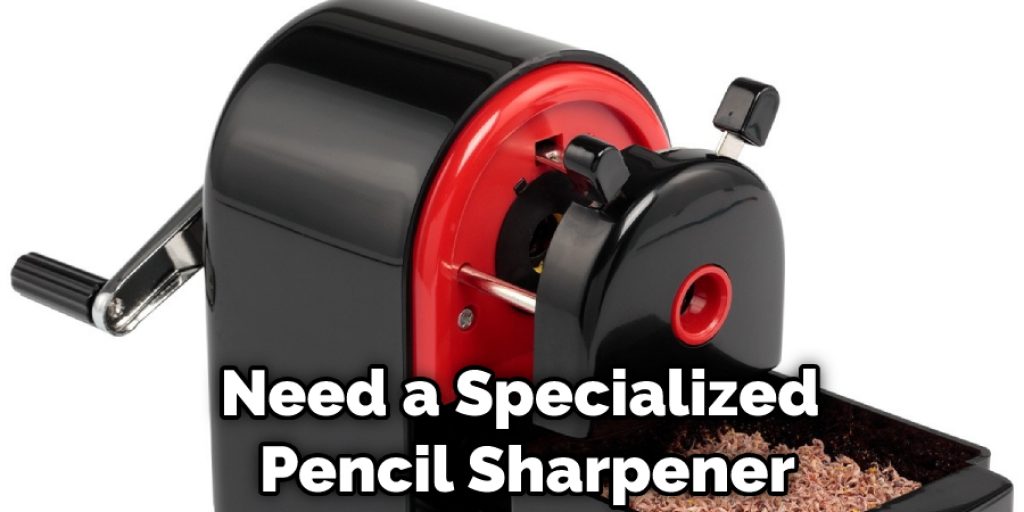
What is a Prismacolor Pencil Sharpener?
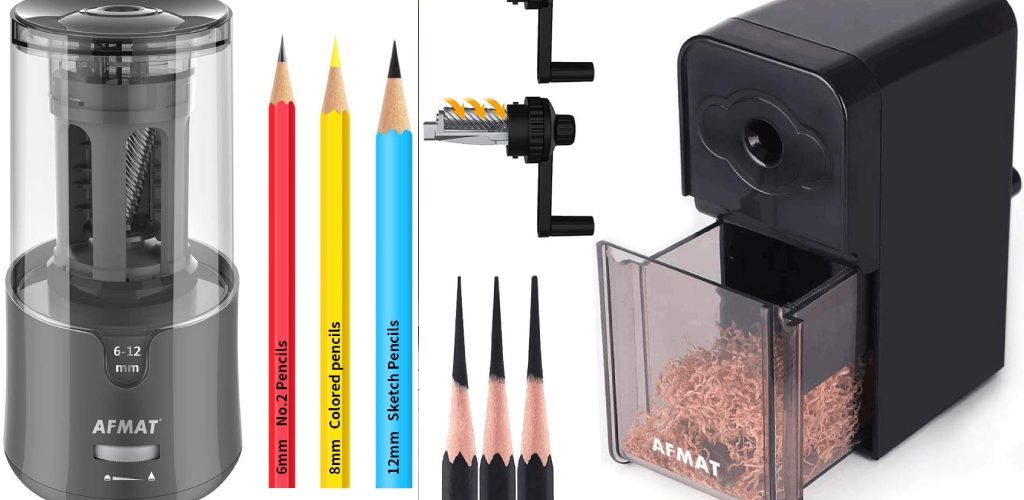
A Prismacolor pencil sharpener is a device used to sharpen and show the point on your colored pencils. A Prismacolor pencil sharpener can be found on many pencil sharpeners and is also sold separately. The main component of a Prismacolor Pencil Sharpener is the blade, which you push down to put shaving off the end of your colored pencils.
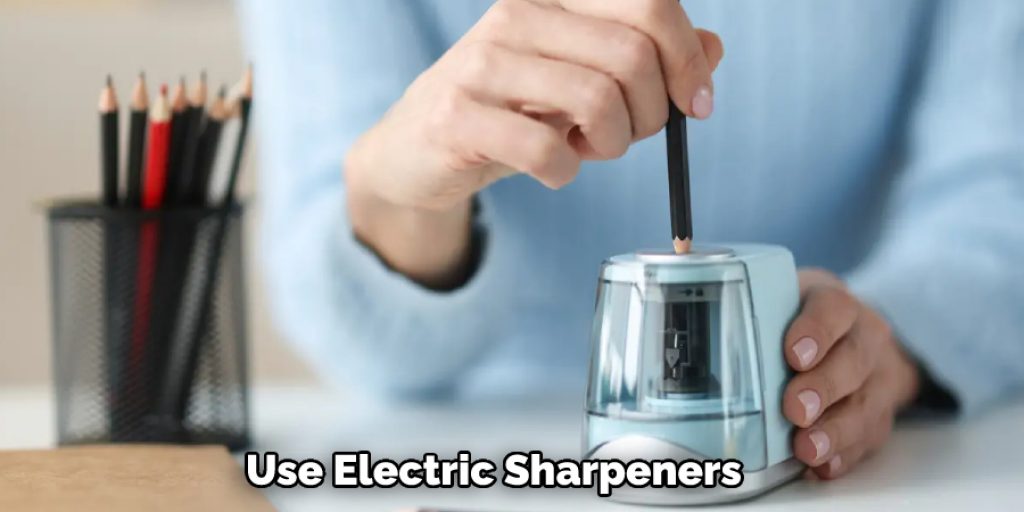
Some people prefer using an electric pencil sharpener due to its ease and quickness, whereas other believe they are better able to control how much has been shaved off by hand than an electric sharpener would give them.
Stepwise Guide on How to Empty Prismacolor Pencil Sharpener:
Step 1 :
Remove the top cover (gray lid) from your pencil sharpener.
Step 2 :
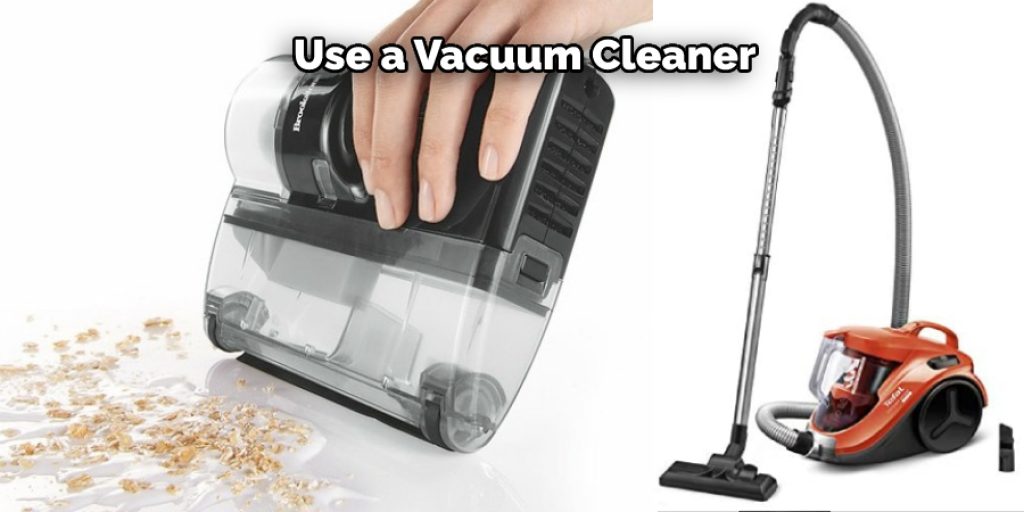
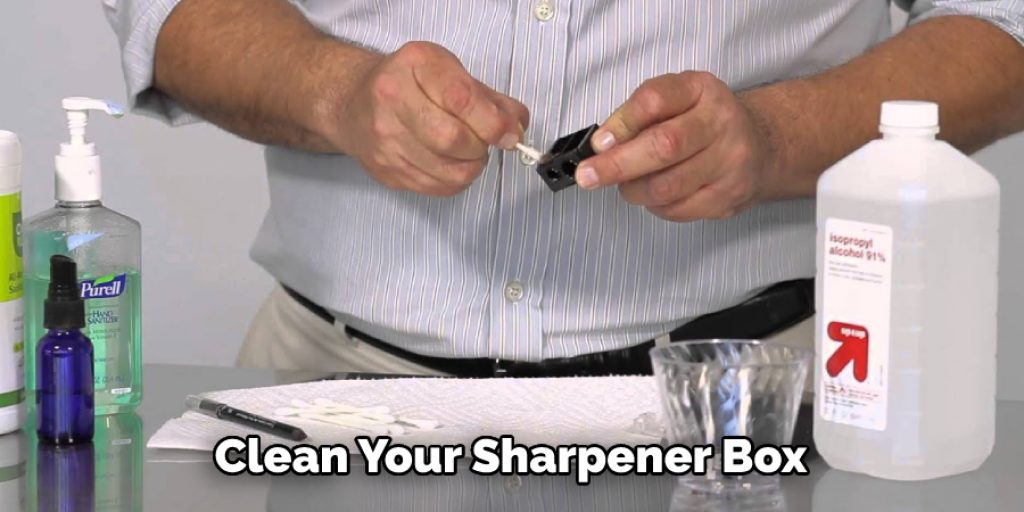
If your pencil sharpener isn’t working properly, you can try cleaning it out. First, unscrew the blade assembly and remove any pieces of pencil shavings. You may need to use tweezers or a craft stick to get all the pieces out. Then, use a vacuum cleaner to clean up any other pieces of shavings inside the sharpener housing.
Step 3 :
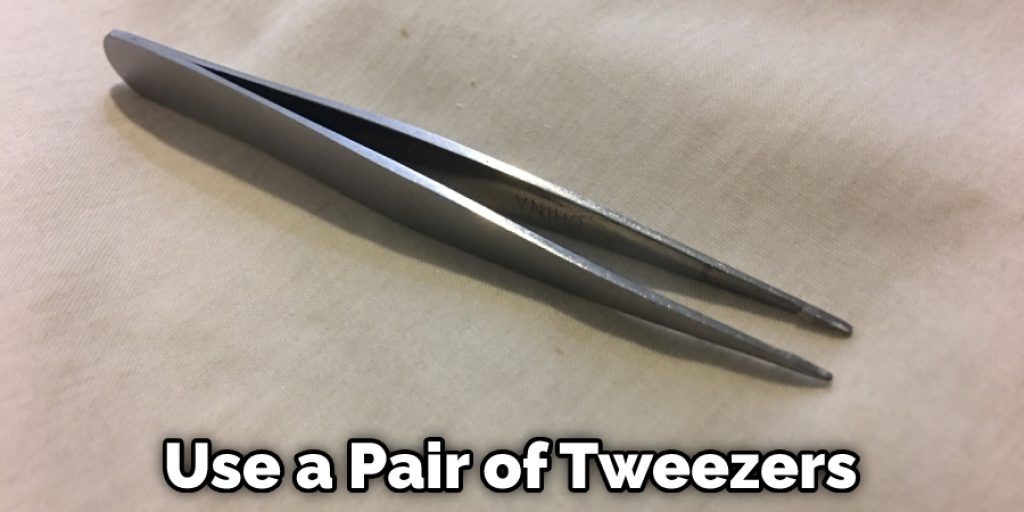
To clean the pencil sharpener, you need to remove the bottom clog-prevention guard. Place one hand around the base of the sharpener, and use your other hand to grip and push down on the metal clamp that holds the guard in place. Then, pull the guard off away from the bottom part of the sharpener opening. Once the guard is removed, you can see some broken pieces of pencil lead stuck between the blades.
Remove those with a pair of tweezers; In case you need to clean up more broken pieces of lead, you may carefully separate the plastic cover or bottom piece from the housing. Then gently tap it against your palm and fingers until all foreign objects are removed. (You can also use a vacuum cleaner if needed.)
Step 4 :
You will have to take out 2 sets of blades one by one. At first, loosen clamps on both sides.
Step 5 :
To remove the top set of flat blades, first loosen them and then rotate the two assemblies. You will see a set of round-shaped blades at the bottom and two sets of flat-shaped blades above that.
These are the lower set of round-shaped blades, sandwiched between the top set of flat blades.
To remove these top sets of blades, simply pull them out. You will see three sets of small round-shaped gears on the top set of blades, and these must be aligned before reassembling the upper blade assembly.
Step 6:
To remove the top set of blades, simply loosen them and remove any broken pieces that may be stuck between the two sets of blades. You can also clean up any residual pencil debris with the help of a vacuum cleaner if required.
Step 7:
To sharpen the blades, first insert the flat blade assemblies into both sides of the device simultaneously. Align them vertically, and then push down until the clamps lock into place. Be sure to tighten the clamp equally on both sides for proper function during operation.
Step 8:
Next, put back the metal guard that prevents clog when sharpening pencils. Make sure all parts are in place and securely tighten the guard by pushing it until it snaps into place;
Step 9 :
Replace the gray pencil sharpener lid with a push rotating counterclockwise motion;
NOTE:
Be careful here as you don’t want to hurt yourself due to excessive force of turning the cover while tightening its clamps at both ends;
Step 10 :
To use your pencil sharpener, first sharpen some pencils. If you’re sharpening colored pencils, make sure to wipe the blades and inside the sharpener housing after each use so the blades don’t get ruined.
Precautions On How to Empty Prismacolor Pencil Sharpener:
1. Don’t wear any metal jewelry near the sharpener while it’s running, including rings, necklaces, or bracelets.
2. Be aware that some parts might be hot if they have been in operation for a long time
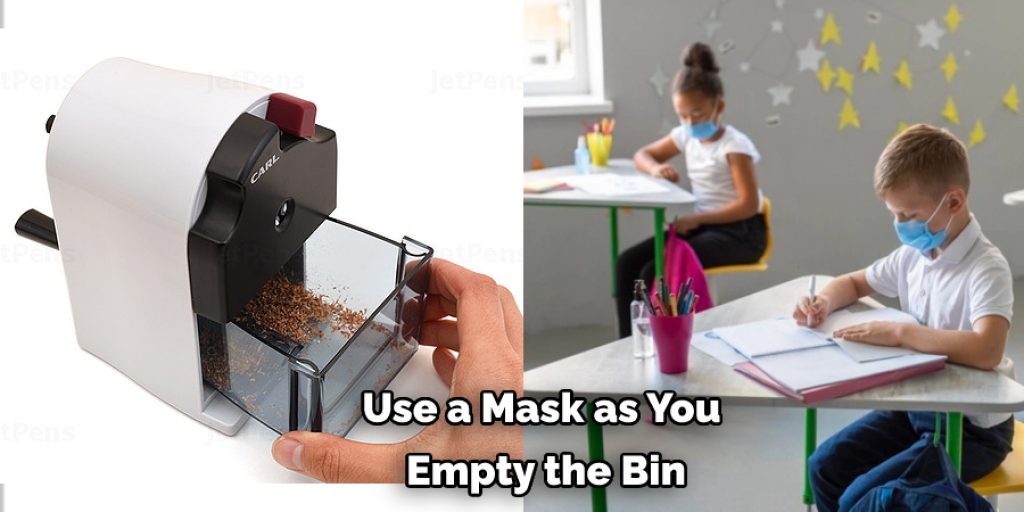
3. The pencil shavings can be quite small and are very easy to inhale. Make sure you use a mask as you empty the bin, so you don’t accidentally breathe in any of the small pieces of wood and graphite shavings.
These little pieces aren’t dangerous (they’re no more than what is found inside your average wood-cased pencil), but it’s best not to take chances with your health just because cleaning the sharpener got on your radar for today!
4. Don’t pry the top of the sharpener off. The screws which hold it in place could be under some pressure, and there’s a chance they will fly across the room. Instead, use scissors to cut through any packing tape that might be holding the two halves together.
Stepwise Guide on How to Make a Prismacolor Sharpener:
The following are the steps on how to make your own:
Step 1 :
Acquire three 20 oz plastic bottles (or any other size roughly as big/small as these three) with screw-on lids. These will be used for constructing all parts of the sharpener except the top cover.
Step 2 :
Get some scissors or a knife and cut off all labels from all three bottles.
Step 3 :
To make a plastic bottle oven, you will need to heat the oven to 200F (90 degrees Celsius). Get a small baking tray and put one of the plastic bottles on it. Next, put another baking tray on top of the very first one, and then put the third plastic bottle lying flat inside so that all three are stacked inside your oven with at least an inch or two between them!
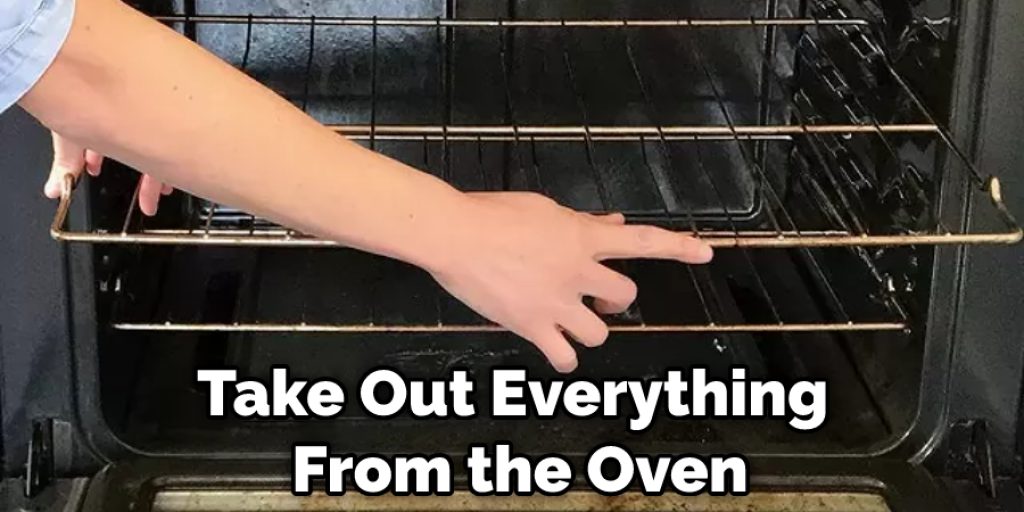
Let them stay there for about 10 minutes while watching closely to ensure that nothing catches fire. This whole setup should be placed on your oven’s center rack. After 10 minutes, take out everything from the oven (keeping in mind not to burn yourself!),
pour out remaining contents into the sink, and let cool completely. (If you have any babies or pets nearby who seem interested in the smell, you probably want to take out everything from the oven and let it cool outside in an open area.)
Step 4 :
You will need to cut the bottom off of each bottle using scissors or a knife. Make sure to wipe up any excess plastic that might have spilled onto your cutting surface. You can now throw away the cut-off bottoms.
After doing this, put the lids back on top of each bottle, turning them over so that their insides are facing outwards towards you. This should also ensure that needle holes won’t get clogged when we come to step 5.
Step 5 :
In step 4, you cut the bottom off of the bottle. In this step, you remove the three blue plastic cones from the bottom of the bottle. You also cut a small hole in the middle of the bottom of the bottle so that the sharpener’s needle can be pushed through.
Step 6 :
Take all three bottle bottoms with holes on them from step 5 and your needle (very carefully!) and stick a needle into all three bottle bottoms, pushing it as hard as you can through-hole but leaving the eye of the needle slightly protruding from inside of bottle bottom.
Step 7 :
To use this sharpener, you will need three needles and a measuring device. First, secure the needles into place. Next, wrap the measuring device around the sharpener top twice, making sure to leave 1 inch (2.54 cm) of space between each line measurement. Finally, wrap plastic around a needle.
Step 8 :
Cut a strip of tape using scissors or a knife. Wrap the strip around one bottle bottom as tightly as you can, making sure there is enough room left at the top for a sharpener cover. Put a dot of glue in the gap between the tape wrapping and hole. Place the sharpener cover back on top and wait till the next step.
Step 9 :
Take a second piece of measuring tape/measuring device with inch/centimeter grid lines printed on it and wrap plastic around the needle again, making sure to leave 1 inch (2.54 cm) of space between each line measurement.
Cut the second strip from tape and wrap it around the measuring device, ensuring enough room left over for a sharpener cover. Put a dot of glue in the little remaining gap between tape wrapping and hole, place the sharpener cover back on top and wait till the next step. Do the same for the third piece.
Step 10 :
Let all the three sharpener covers dry for at least two hours or until they feel completely solidified (this may take overnight, depending on how humid it is where you live). Now cover each of your holes with clear tape to ensure that no plastic gets stuck inside of holes during final assembly.
Frequently Asked Questions
How Do You Get a Pencil Tip Out of a Sharpener?
The easiest way to get a pencil tip out of a sharpener is by using the teeth on the backside of the blade. However, if you are unable to do this, then you can use a rubber band and gently pull it over the top of the pencil to remove it.
Can You Sharpen Prismacolor Pencils With a Normal Sharpener?
It is not possible to sharpen Prismacolor pencils with a normal sharpener. You will need a specialized pencil sharpener in order to achieve the sharpest point.
How to Open a Pencil Sharpener Without a Screwdriver?
There are many ways to open a pencil sharpener without a screwdriver.
• You can use the blade of a knife or scissors to cut the screws off.
• You can use your fingers to grip the blades and twist them off, or you can use pliers if they’re small enough.
• If you have an adjustable wrench, it should be able to fit over the screw head and loosen it up so that you can unscrew it with your hands.
Conclusion
I hope you have clearly understood how to empty Prismacolor pencil sharpener properly from this article. Thank you and have a nice day!


