
How to Punch a Hole in a Mason Jar Lid
Punching a hole in the lid of a Mason jar is an easy way to secure it and make sure your valuable contents don’t spill out. To do this, you’ll need a small nail and something with which to hammer it, like a rock or another piece of metal. Place the nail over the desired spot on the lid and smash it with your hard object until the hole is big enough for your fingers to fit through. In this blog post, we will discuss how to punch a hole in a mason jar lid.

You can also use this technique to make a drinking cup from a Mason jar by punching two holes on opposite sides of the lid. With summer temperatures on the rise, many people are looking for ways to beat the heat. One way to do this is by using a Mason jar as a drinking glass.
Not only is this a fun and retro way to drink your favorite beverage, but it also helps keep your drinks cold. If you want to know more, then read this full blog post.
8 Step Process: How to Punch a Hole in a Mason Jar Lid
Step 1: Gather Supplies
You will need a drill with a bit big enough for your cord to fit through, a 1/2 inch mason jarring, and a pair of pliers.
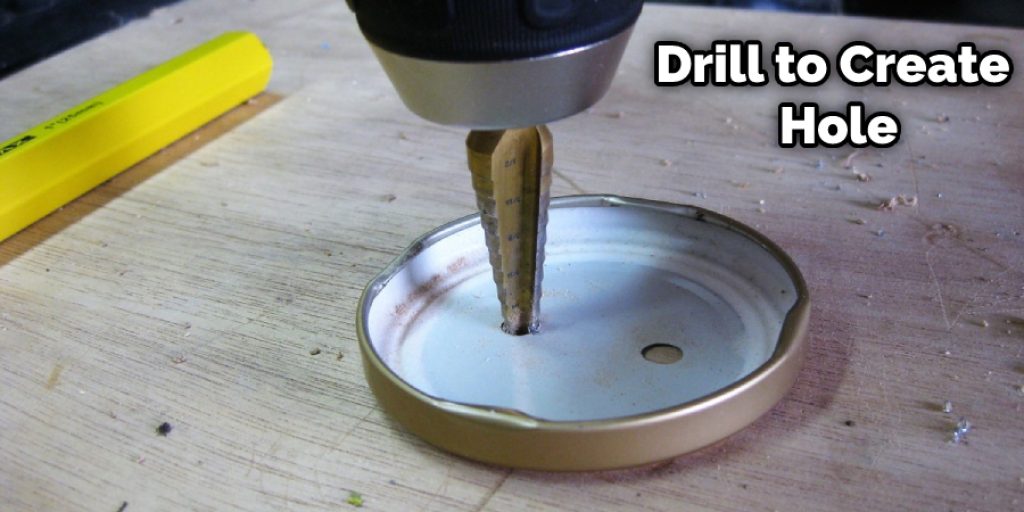
Step 2: Drill a Pilot Hole
Drill a pilot hole where you want the port to go. This will prevent cracking and ensure an accurate location for your hole.
Step 3: Place Lid on Flat Surface
Using the pliers, carefully place the lid on a flat surface.
Step 4: Starting Drilling
Drilling through your mason jar lid can be a bit tricky. Be sure to go slowly (about 1/4 of a turn) to avoid cracking the glass. If you don’t have a mason jar lid handy, use caution when doing this step.
Step 5: Drill Deep Enough Hole to Fit Cord Through
You need to drill a hole in the wood so that the cord can fit through. Keep drilling until you can see the drill bit poking out on the other side. This way, you know that the cord will not get caught when pushed into place.
Step 6: Sand Rough Edges
Use your sandpaper to smooth the rough edges of the hole you just drilled. This will ensure that your cord doesn’t get snagged on any sharp or uneven pieces of glass. Feed your cord through the hole and tie a knot or make a loop around the end.
Step 7: Put Cords in Place
Once all of this is done, you can fit your cords into place. Again, make sure you take your time with this step; if the cord is not in all the way, it could result in difficulties later when screwing on the top of your mason jar. The only thing left to do is screw on the lid of your mason jar. The last step to finishing off your lamp is adding a light bulb. This may be tricky, but try your best.
Step 8: Secure Cord With Glue or Tape
After you push the cord into the lid so it stays in place, you can glue or tape it down. This will keep it from moving around when you screw on your mason jar lid and protect the cord.
Some Tips and Suggestions
1. Punching a hole in a jar lid is a straightforward process, but it can be frustrating if you don’t have the proper tools or experience.
2. You will need to purchase some diamond drill bits. The size required for this project is 1/16″. Many home improvement stores do not carry these, so you may need to order them online.
3. You will also want to purchase mason jar lids with rubber gaskets.
4. When you drill a hole, your bit will get hot. Even though the plastic of the jar lid is relatively cool, never touch the diamond-tipped end of the drill bit. Always use pliers to handle it!
5. To make sure that your bit stays in place while drilling, clamp it securely in a vise. A bench vise is ideal for this project because the screw mechanism allows you to adjust the grip on your bit, so it does not slip while you are working on it.
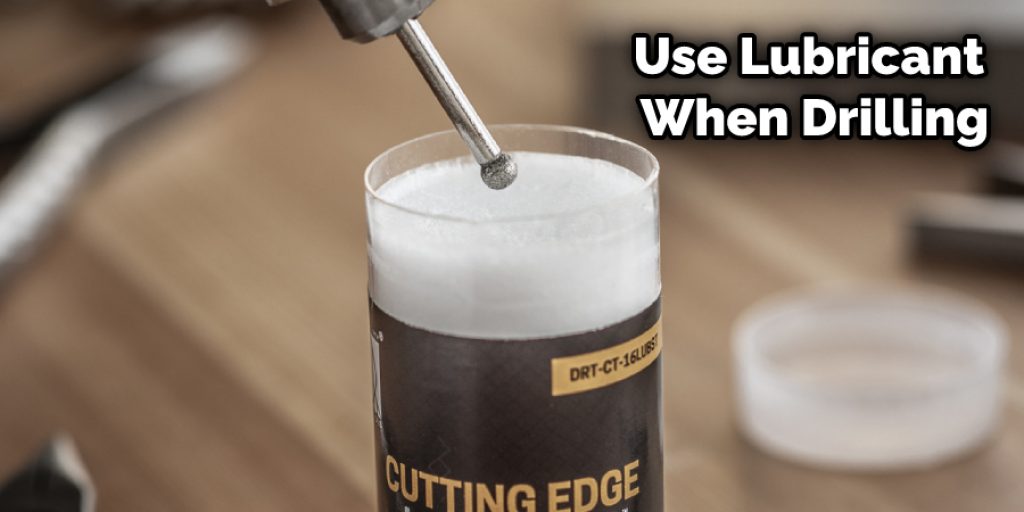
6. Use water on the area that needs drilling. This will help to lubricate the process and cool down the bit.
7. Start with a gentle, steady speed. Once the drill bit starts to puncture through your jar lid, you can slightly increase the pressure and speed. Please do not rush this process or force it too quickly!
Things to Consider When Punching a Hole in a Mason Jar Lid
1. The size of the jar and lid will determine the size hole you punch. If those dimensions don’t work with the craft or DIY, then there’s no sense in punching a hole through it.
2. The jar must be clean and dry to prevent rusting of the metal where you’re going to put on/pull off the screw-on beer cap.
3. The more careful you are, the cleaner your punch-hole will be, and less time it will take to do it!
4. Some people prefer to tap the lid with a hammer first to create more excellent resistance against the edge of the piercer, then punch.
5. Smaller lids can be attached to lighter-weight bottles. Larger lids are meant for only heavier glass bottles (e.g., beer bottles).
6. If your jar is missing its original or replacement lid, you can buy them at the hardware store.
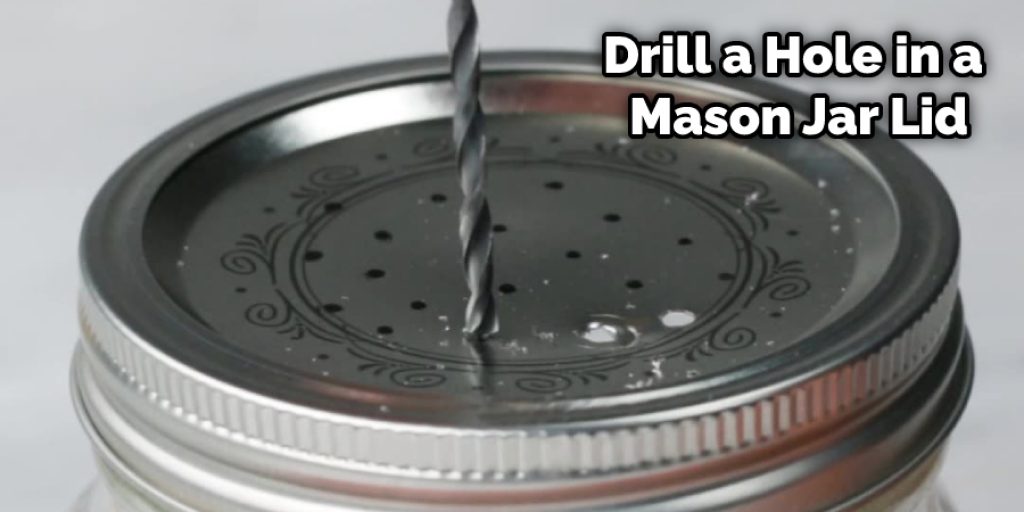
Can You Drill a Hole in a Mason Jar Lid?
Using a standard metal drill, you cannot drill an adequate hole in the center of a Mason jar lid. While it is possible to damage the threads just enough that it becomes difficult to screw the lid onto the jar, there is virtually no chance that you will successfully drill through the lid.
The plastic on a Mason jar is straightforward to ream out (and therefore lose its shape), but it is tough to cut, and cutting the material puts undue stress on the metal of the lid itself. Even if you can drill out a small groove, the plastic will probably crack before it separates.
How Do You Put a Hole in a Lid?
A mason jar lid can be used for various creative purposes, from making a bracelet to holding pencils. However, a hole must be punched through the mason jar lid to use it in many ways. Fortunately, this is relatively easy to do with many household items and by following a few simple steps:
1. Take the lids and place them on a piece of thick paper. Trace around the outside of it on the paper with a pencil or pen.
2. Draw another circle around the first one. The second circle should be slightly smaller than the first.
3. Cut out both circles to form rings, making sure that you are cutting through both layers of paper when you cut around the ring’s circumference.
4. Punch a hole in the center of each ring with a pencil or pen. This will make a small hole in the center of your first inch and a half ring.
5. Punch another hole, this time through both rings at once, making your second hole about an eighth of an inch down from the first one. This will cause a more significant gap between the two holes you created with your double punch.
Conclusion
If you have a mason jar with an airtight seal, but need to punch a hole in the lid for some reason, here are three ways this can be done. First, use scissors or tin snips to cut around the top of the cover and then insert your hand into it. Next, place one end of a dowel on either side of where you want to punch out the center circle. Finally, hammer down hard at that point until you’ve made your way through both layers of metal.
The above steps should help you replace a mason jar lid. If you follow these instructions, your lids will be secure, and the jars won’t leak or drip all over your kitchen countertop anymore! You can also use this same method to remove stubborn lids too tight for an old-fashioned grip. This blog discussed how to punch a hole in a mason jar lid. We hope you found our information helpful and wish you luck with your future projects!


