
How to Put Dado Rails on Stairway Wall
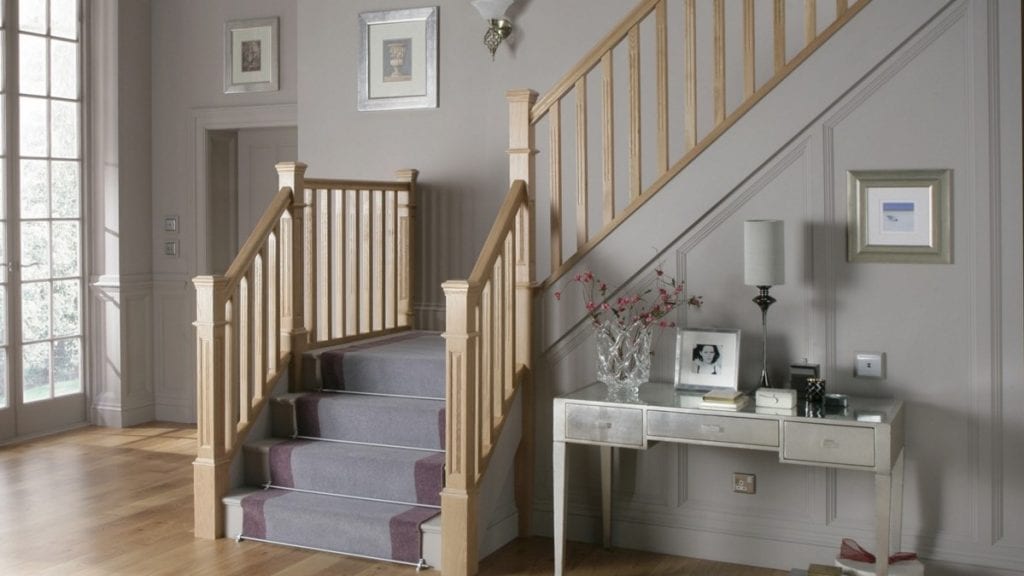
A dado rail offers a unique look and extends the beauty of your interior design to the fullest. It is also known as a subbase or a chair rail. It is a popular type of rail, and you may have heard its name quite a name. And due to its popularity and look you are interested in one at your home, along the stairway wall.
It is obviously a good idea, and it will make the design look more beautiful. But the question is how to put dado rails on stairway wall.
It could be a bit tricky if you didn’t found us. But as now you are here, you won’t have to worry about anything else. Luckily, last week I had to perform a decorative project in which I had to install the dado rills. I had done this before, but this time I have figured out the simplest way of installing the dado rails. I am here to share with you the simple steps here. So, if you are ready and have time to read this article to the end, let’s dive in!
How to Put Dado Rails on Stairway Wall
Dado rails are usually about 900 millimeters from the floor. They were originally designed to protect walls from the backs of chairs. But now, they’ve become more useful as a design fixture. Anyway, below you’ll find the simple steps. Just follow them one by one.
Step 1
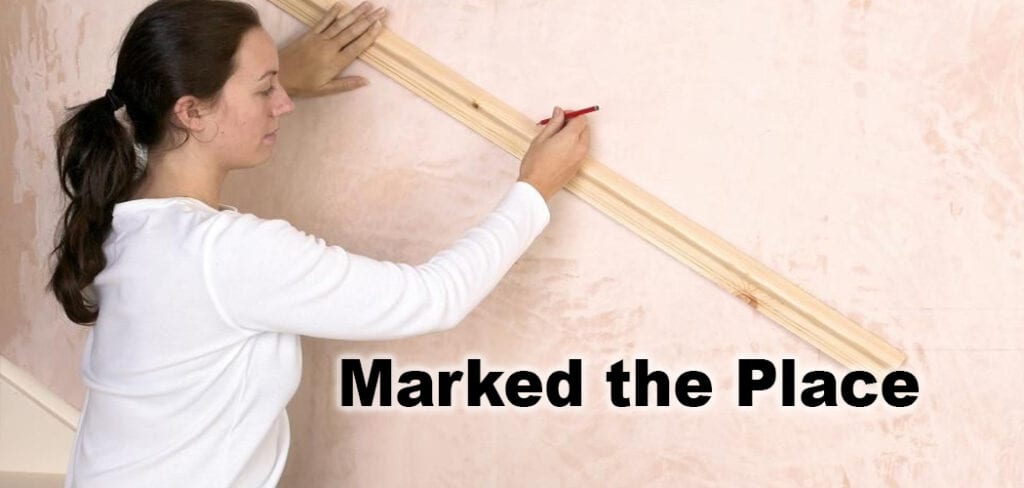
First of all, you have to use tape to mark a line. As I have mentioned earlier, it should be 900 millimeters from the floor. After that, place a spirit level on the mark and then extend the mark from either end of the level. It will make sure that the bubble stays in the middle.
Step 2
Next, place the ruler parallelly on the height you figured out earlier. Then draw a straight line. You have to follow this straight line while installing the Dado rails.
Step 3
Once you have marked the place, hammer a nail at the end of one of the lines nearest, nearest to the end of the wall. Then apply a chalk line and run this downwards across your remarks. It will make sure that you have ensured the correct level or not. On the very end mark, hold it against the wall and then pin the middle of the line. It should create a shoreline; this will now be your rough guide by which you will have to install the Dado rails.
Step 4
Hold the dado rail into the position, ensuring you can see the rough line. Once you have done that, you have to nail the rails into the wall to secure the attachment initially with the wall. After completing that, check the level of the dado rail again.
Step 5
On the next one, you have to put the spirit level across the top of the dado onto the adjacent wall. After that, mark a line just like you have done at the first step. Again, just like before nail at the very end of the line and attach the chalk line following to the other end.
Step 6
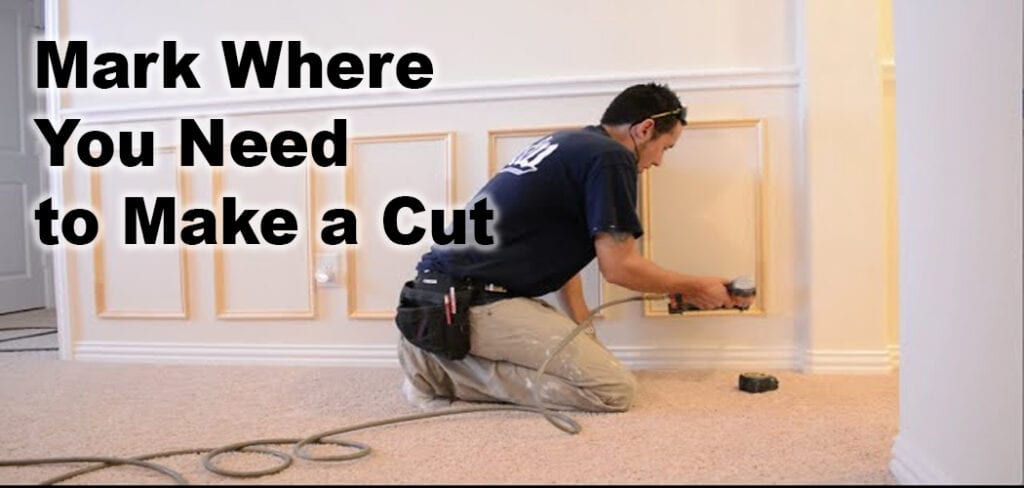
Put the second piece of the dado rail against the existing one and mark where you need to make a cut to perform a scribe join.
Step 7
Take it to the miter saw and set it at 45 degrees. You can also make this cut if you do not have a miter saw. Anyway, cut. Then using a coping saw, you need to cut out the shape of the profile. This will allow a smooth connection in it, and that’s what I call a scribe joint.
Step 8
In this case, I apply adhesive. Apply as much adhesive as you can and then put to the existing piece slots and then push against the wall across the line. That’s it; your dado rail is now connected. If you need to install more, just follow this process and connect the rest one by one. It is pretty simple, isn’t it?
Conclusion
Hopefully, I was able to show you the exact way of installing the dado rails. If you got any questions, don’t hesitate to ask me through the comment section below.
Angela Ervin
Angela is the executive editor of DIY quickly. She began her career as an interior designer before applying her strategic and creative passion to lifestyle and home. She has close to 15 years of experience in creative writing and online content strategy for housekeeping, home decorations as well as other niche efforts. She loves her job and has the privilege of working with an extraordinary team. She lives with her husband, two sons, and daughter in Petersburg. When she's not busy working she spent time with her family.


