How to Refinish an Oak Table
Are you looking to give your old oak table a brand-new look? Refinishing an oak table is easier than you think!
How to refinish an oak table can breathe new life into a cherished piece of furniture, restoring its natural beauty and enhancing its durability. Over time, tables endure scratches, stains, and general wear that can detract from their aesthetic appeal. Thankfully, with the right tools and techniques, you can revive your oak table’s surface, making it look as good as new.

This guide will provide you with step-by-step instructions on effectively strip, sand, and refinish your oak table, ensuring that it retains its character while achieving a fresh, polished finish. Whether you’re a seasoned DIY enthusiast or a beginner, this process can be rewarding and fulfilling.
What Will You Need?
Before you begin refinishing your oak table, gathering all the necessary materials and tools is essential. These include:
- Protective gear (safety goggles, gloves, and a mask)
- Drop cloths or plastic sheeting to protect the work area
- Paint stripper
- Sandpaper (medium grit for stripping and fine grit for sanding)
- Wood conditioner
- Stain or paint of your choice
- Polyurethane sealant
- Brushes or sponges for application
Depending on the condition of your table, you may also need other items such as wood filler, steel wool, and a putty knife.
10 Easy Steps on How to Refinish an Oak Table
Step 1. Prepare Your Workspace:
Before diving into the refinishing process, setting up a proper workspace is crucial. Choose a well-ventilated area where you can work comfortably without interruptions. Lay down drop cloths or plastic sheeting to protect your floors and nearby furniture from dust, debris, and chemicals. Ensure that you have adequate lighting to see the details of your table clearly, especially when sanding and applying finishes. Keep your tools and materials organized and within arm’s reach to maintain a smooth workflow. Safety is a priority; wearing protective gear such as safety goggles, gloves, and a mask will help safeguard you from harmful dust and fumes. Taking the time to prepare your workspace will enhance your efficiency and ensure a safer and more enjoyable refinishing experience.

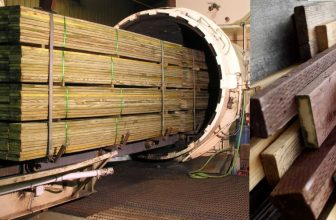
Step 2. Strip the Old Finish:
Once your workspace is prepared, the next step is to strip the old finish from your oak table. Apply a generous amount of paint stripper to the surface using a brush, following the manufacturer’s instructions carefully. Allow the stripper to sit for the recommended time, which usually varies based on the product used. This process helps break down the existing finish, making removing it easier. After the appropriate time has passed, use a putty knife or a scraper to gently lift the old finish away, being careful not to gouge the wood underneath. For stubborn areas, you can apply a second coat of paint stripper if necessary. Once the surface is clear of the old finish, use steel wool to remove any remaining residue, ensuring a clean slate for refinishing.
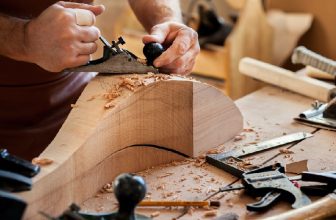
Step 3. Sand the Surface:
With the old finish stripped away, the next step is to sand the surface of your oak table. Start with medium-grit sandpaper (around 120 grit) to smooth out rough spots and ensure an even surface. Sand in the direction of the wood grain to avoid scratching the surface and to achieve a more polished look. Once you have sanded the entire table, switch to fine-grit sandpaper (around 220 grit) for a smoother finish. This step is crucial for removing any remaining imperfections and preparing the wood to absorb the stain or finish evenly. After sanding, thoroughly clean the surface using a vacuum or a damp cloth to remove all dust particles, as this will help ensure a flawless final result.

Step 4. Apply Wood Conditioner:
After sanding the surface of your oak table, the next important step is to apply a wood conditioner. This product helps to promote even absorption of the stain or finish, which is especially crucial for porous woods like oak. Apply the wood conditioner evenly across the entire surface using a clean brush or cloth. It’s best to follow the manufacturer’s instructions regarding application time and drying duration—typically, you should let the conditioner sit for about 15-30 minutes. After the recommended waiting period, wipe off any excess conditioner with a clean cloth to prevent any patchy finish later. Allow the conditioned surface to dry completely before proceeding to the next step.
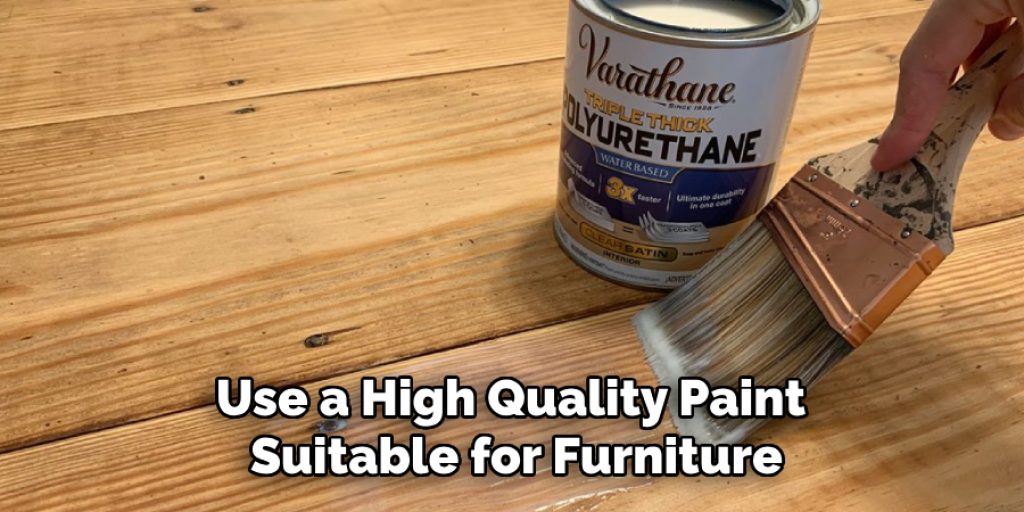
Step 5. Stain or Paint the Table:
Once the wood conditioner has dried, you can stain or paint your oak table. If you choose to stain, select a color that complements the natural beauty of the oak grain. Using a brush or sponge, apply the stain evenly across the surface, working toward the wood grain for the best results. Allow the stain to sit for a few minutes, then wipe off any excess with a clean cloth to achieve your desired intensity. For those opting to paint, ensure you use a high-quality paint suitable for furniture. Apply one or two coats as needed, allowing adequate drying time between applications. Always check the manufacturer’s instructions for specific drying times and recommendations.
Step 6. Apply Polyurethane Sealant:
After the stain or paint has dried completely, it’s time to protect your newly refinished oak table by applying a polyurethane sealant. This step is essential for safeguarding the wood against moisture, scratches, and everyday wear and tear. Using a clean brush, apply a thin, even coat of polyurethane in the direction of the wood grain. Cover the entire surface, including the edges and any intricate details. Allow the first coat to dry according to the manufacturer’s instructions—usually around 2 to 4 hours—and then lightly sand the surface with fine-grit sandpaper (around 220 grit) to ensure a smooth finish. After sanding, remove any dust with a vacuum or a damp cloth, then apply a second coat of polyurethane for added protection. Depending on your desired durability and finish, you may opt for a third coat, following the same application and drying process.
Step 7. Final Sanding and Buffing:
Once you have applied the final coat of polyurethane and allowed it to dry completely, it’s time for the final sanding and buffing to achieve an ultra-smooth finish. Lightly sand the surface again using very fine-grit sandpaper (around 320 grit), being gentle to avoid removing too much of the polyurethane layer. After sanding, remove all dust and debris using a vacuum or a tack cloth to ensure the surface is clean. You can buff the table using a soft, lint-free cloth or a buffing pad to enhance the sheen and create a polished look.
Step 8. Final Inspection:
After completing the refinishing process, conducting a final inspection of your oak table is crucial. Carefully examine the surface for imperfections, uneven areas, or missed spots in the stain or poly coating. Take this opportunity to ensure that the edges and detailed work have been adequately finished. If needed, you can do touch-ups by applying additional stain or polyurethane where necessary, letting it dry per the manufacturer’s guidelines. Once satisfied with the overall appearance, consider using coasters and placemats to maintain the surface and prolong the beauty of your newly refinished table.
Step 9. Regular Maintenance:
To keep your refinished oak table looking its best over time, it’s essential to follow a regular maintenance routine. Start by cleaning the surface with a soft, damp cloth to remove dust and spills, avoiding harsh chemicals that could damage the finish. If the finish begins to dull or gets scratched, consider applying a furniture polish or a fresh coat of polyurethane every few years to revive its shine and protect the wood. Additionally, coasters and placemats should always be used to prevent heat and moisture damage from everyday use.
Step 10. Store Your Tools Properly:
After completing the refinishing project, taking care of your tools and materials is essential to ensure they last for future projects. Clean your brushes and applicators with warm, soapy water if you use water-based products or with mineral spirits if you use oil-based finishes. Store them in a cool, dry place to prevent damage. For leftover stains or polyurethane, tightly seal the containers to keep them fresh and usable for another time. Organizing your workspace and safely disposing of waste materials will also help maintain a tidy environment.
By following these steps, you can successfully refinish your oak table and transform it into a beautiful, durable piece of furniture.
Conclusion
How to refinish an oak table is an enriching project that not only enhances the beauty of your furniture but also extends its lifespan.
By following the comprehensive steps outlined, you ensure that your refinished table showcases oak’s natural charm while providing a protective finish against daily wear and tear. Regular maintenance is vital to keeping your table looking fresh and vibrant, so remember to incorporate simple cleaning and polishing routines into your schedule.
With proper care, your oak table will remain a stunning centerpiece in your home for years to come, reflecting both your craftsmanship and attention to detail.
Elizabeth Davis
Elizabeth is a creative writer and digital editor based in the United States. She has a passion for the arts and crafts, which she developed from a young age. Elizabeth has always loved experimenting with new mediums and sharing her work with others. When she started blogging, she knew that DIYquickly would be the perfect platform to share her tutorials and tips. She's been writing for the blog from the beginning, and her readers love her helpful advice and easy-to-follow instructions. When she's not writing or editing, Elizabeth enjoys spending time with her family and friends.