How to Remove a Stripped Oil Pan Bolt
When removing an oil pan bolt, it’s easy to strip the head of the bolt. In this article, we’ll show you how to remove a stripped oil pan bolt using a few household items. We’ll also show you how to prevent this from happening in the future. So, if you’re having trouble removing a stripped oil pan bolt, keep reading!
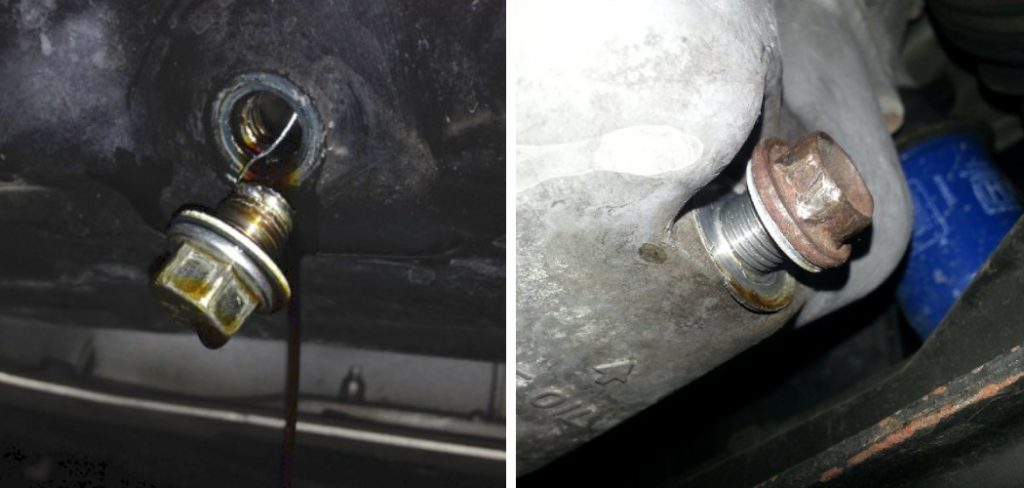
If you’ve ever had to remove an oil pan bolt, you know that it can be a real pain. These bolts are often very tight and can be difficult to get loose. If you try to remove them without the proper tools, you may end up stripping the bolt and making the situation even worse. In this blog post, we’ll show you how to properly remove a stripped oil pan bolt.
We’ll also recommend some tools that will make the job much easier. Follow these tips, and you’ll be able to get that bolt out in no time!
Why Do You Need to Remove a Stripped Oil Pan Bolt?
There are many reasons to remove a stripped oil pan bolt. Such as:
1. To Replace the Oil Pan
Sometimes you have to remove stripped oil pan bolt to replace the oil pan itself, whether it’s due to damage or simply for regular maintenance. But it is a major reason to remove these stripped bolts.
2. To Replace the Oil Pan Gasket
Another reason for removing a stripped oil pan bolt is to replace the gasket that seals the oil pan and prevents leaks. But you have to make sure all the bolts, including any stripped ones, are properly tightened and sealed.
3. To Replace Oil Filters or Drain Plug
To replace the oil filter or drain plug, you may need to remove the oil pan, which means removing any stripped bolts as well. It is another major reason for removing these stripped bolts. But make sure to properly seal everything back up before using the vehicle again.
4. To Perform Maintenance
As part of regular vehicle maintenance, you may need to remove the oil pan and, therefore, any stripped bolts that may be holding it in place. So it is another very common reason for removing these stripped bolts.
Tools You Will Need to Remove a Stripped Oil Pan Bolt
- Impact wrench or socket set
- Wrench and pliers
- Socket extender
- Stud extractor or bolt extractor set
- Heat gun
- Penetrating oil
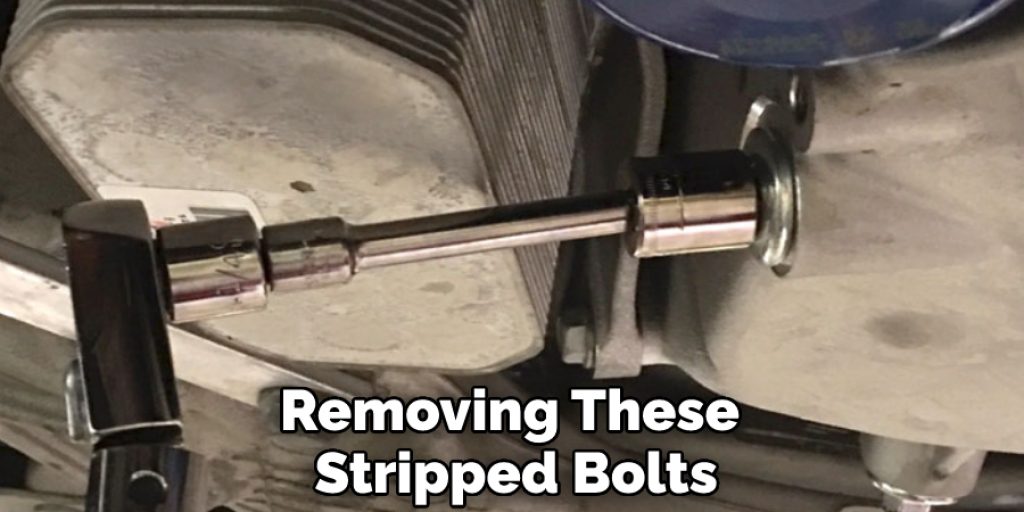
7 Ways About How to Remove a Stripped Oil Pan Bolt
1. Use a Stripped Bolt Extractor Tool
These tools have a specialized tip that will grip onto the stripped bolt and allow you to remove it. Make sure to use the correct size for your bolt. But make sure to use lubrication and heat first before attempting to remove it with the extractor tools.
2. Use a Stud Extractor Tool
This tool also has a specialized tip that will grip onto the stripped bolt, but it is designed specifically for removing studs. Again, make sure to use lubrication and heat before trying to remove with this tool.
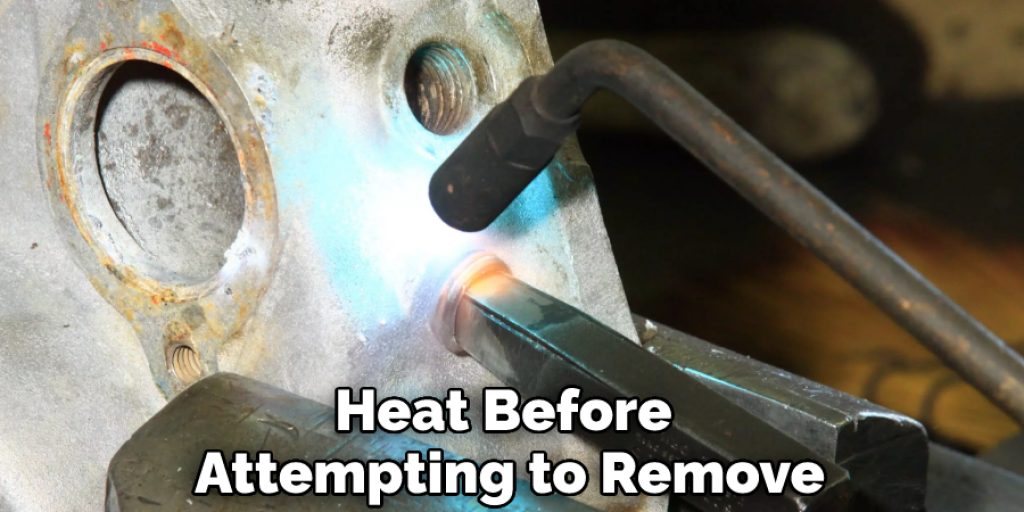
3. Use Heat and Penetrating Oil
Applying heat to the bolt can help loosen it up, making it easier to remove. Use a heat gun or torch and apply heat for about 5-10 minutes before using penetrating oil to further loosen the bolt. Then, try removing it with a wrench or impact wrench.
4. Use an Impact Wrench
An impact wrench can provide a lot of force to loosen the stripped bolt. Make sure to use lubrication and heat before attempting to remove it with an impact wrench. It can be a little bit tricky to use, so be careful not to over-tighten the bolt and strip it even more.
5. Use Pliers or Vice Grips
If you don’t have any specialized tools on hand, using pliers or vice grips can work in a pinch. However, be careful not to damage the bolt further or strip it even more. But make sure to use lubrication and heat before attempting to remove with pliers or vice grips.
6. Use a Socket Extender and Wrench
If the stripped bolt is recessed and difficult to reach, using a socket extender with a wrench can provide some extra leverage to remove the bolt. Make sure to use lubrication and heat before attempting to remove with this method.
7. Drill Out the Stripped Bolt
As a last resort, you can drill out the stripped bolt and replace it with a new one. But make sure to use the correct size drill bit and go slow to avoid damaging surrounding components. It sounds so hard to do, so make sure to try the other methods first before resorting to drilling out the bolt.
Overall, removing a stripped oil pan bolt can be a tricky and frustrating task. But with the right tools and techniques, you can successfully remove it and properly seal your oil pan. And always make sure to use lubrication and heat before attempting to remove the stripped bolt.
Precautions You Must Take to Remove a Stripped Oil Pan Bolt
1. Park Car on a Flat Surface
Before attempting to remove a stripped oil pan bolt, make sure that your car is parked on a flat surface. This will ensure stability and prevent any accidents from occurring while you are in the car.
2. Lift Car
Use jack stands to lift the car so that you can safely access the oil pan and its bolts. Make sure the car is secure and stable before getting under it. Be careful not to put too much pressure on the oil pan itself. Otherwise, it could lead to further damage.
3. Disconnect the Battery
Disconnect the car battery to prevent any electrical accidents while working on the car. You have to be careful when working around any electrical wires. Otherwise, you may accidentally short-circuit the system.
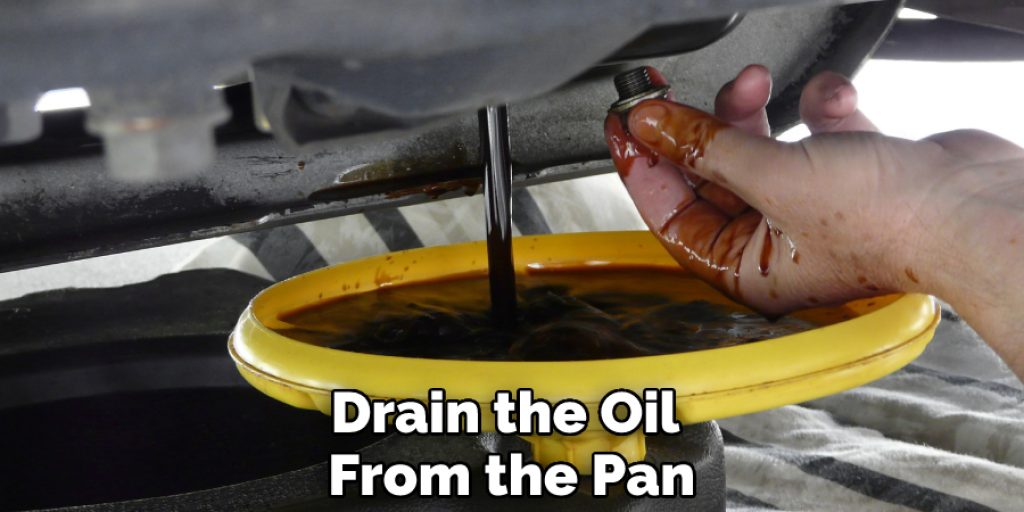
4. Drain Oil
Drain the oil from the pan before attempting to remove any bolts. This will make it easier to access and work on, as well as prevent any oil spills during the process. Make sure to dispose of the oil properly.
5. Use the Right Tools
Use a socket wrench or an impact wrench to remove the stripped bolt. A screw extractor may also be helpful if the bolt is especially damaged or difficult to remove. Using the right tools is very important because using the wrong ones can further damage the bolt and make it harder to remove.
6. Use Penetrating Oil
Before attempting to remove the stripped bolt, spray a penetrating oil onto it to loosen and lubricate the bolt. This will make removal easier and less damaging to the surrounding area. Otherwise, the bolt may break or strip further during removal.
7. Take Your Time
It is important to take your time and be careful when removing a stripped oil pan bolt. Carelessness can result in damaging the surrounding area, causing a leak, or even injury. If necessary, seek professional assistance to ensure proper removal and safe repairs.
Frequently Asked Questions
How Do I Prevent a Stripped Oil Pan Bolt in the Future?
To prevent stripping, use a torque wrench to tighten bolts to the manufacturer’s specified tightening level. Make sure you are using the correct size socket and ratchet for your bolt.
Can I Continue Driving With a Stripped Oil Pan Bolt?
It is not recommended to continue driving with a stripped oil pan bolt as it can lead to leaking and potential damage to the engine. It is best to address the issue as soon as possible.
What Are Some Alternatives to Removing a Stripped Oil Pan Bolt?
If all attempts to remove the stripped bolt have been unsuccessful, you may need to seek professional help or consider replacing the entire oil pan. If possible, using a larger size bolt and nut as a replacement for the stripped one is another option.
Can I Use an Impact Wrench to Remove a Stripped Oil Pan Bolt?
Using an impact wrench can potentially cause more damage to the stripped bolt and should be used with caution. It is best to exhaust all other methods before attempting to use an impact wrench.

Conclusion
If you find yourself in this situation, don’t fret. With a little elbow grease and the right tools, you can remove that stubborn oil pan bolt. Follow the steps we outlined above, and you’ll have that oil pan off in no time. Then you can get back to driving your car worry-free. Need more help? Bring your car into our shop, and our mechanics will take care of it for you.
Hopefully, this article helped explain how to remove a stripped oil pan bolt. If the methods above did not work for you, then feel free to bring your car into our shop, and one of our experts will help you out. Thanks for reading!