
How to Remove Ceiling Light Cover No Screws
Are you trying to remove a ceiling light cover, but there are no screws? Don’t worry, it’s actually much easier than you think! There are common ways to remove a ceiling light cover without the need for screws.
If you have ever wanted to replace your ceiling light cover but have been frustrated by the lack of screws, there is no need to worry. Removing a ceiling light cover without screws can seem daunting, but it is an achievable task that requires just two simple tools and the right method.
In this blog post, we will be exploring how to remove ceiling light cover no screws – providing a quick and efficient way for you to update your room’s lighting fixtures or find creative ways to repurpose them as decorations around the home.
What Will You Need?
In order to remove the ceiling light cover with no screws, you will need the followings:
- A pair of needle-nose pliers
- An old cloth or rag
With these two items, you are ready to get started.
10 Easy Steps on How to Remove Ceiling Light Cover No Screws
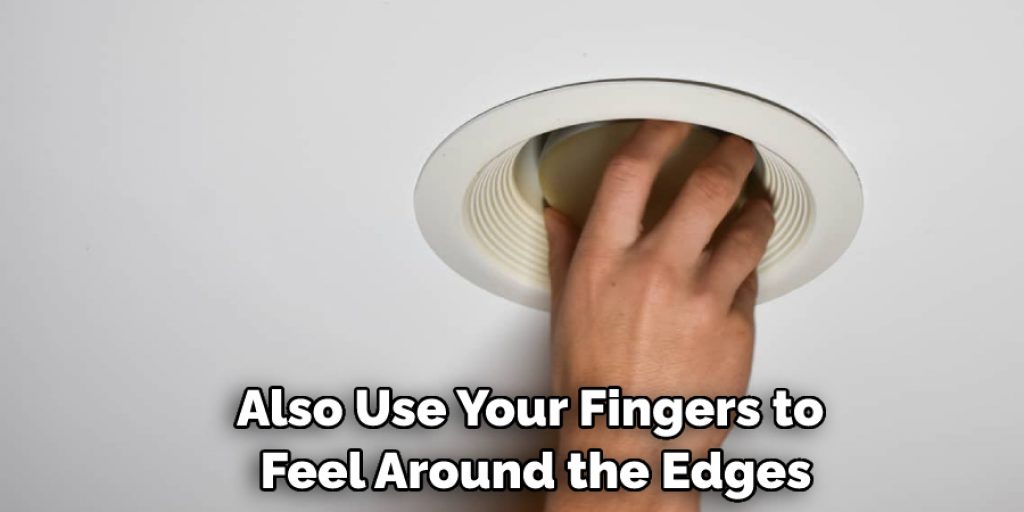
Step 1. Examine the Ceiling Light Cover:
Before you begin, look at the ceiling light cover and try to identify any access points hidden behind it. You can also use your fingers to feel around the edges of the cover for any slots or grooves that may be present. Be careful not to grab onto the delicate pieces of glass.
Step 2. Insert Needle-Nose Pliers:
Once you have identified a gap, insert your needle-nose pliers into it and carefully push the ends towards each other in order to open up the gap. This will create a wider gap that you can use to remove the ceiling light cover with no screws. You can also try to move the pliers from side to side to loosen up any stuck pieces.
Step 3. Rotate and Wiggle Pliers:
Take your needle-nose pliers and carefully rotate and wiggle them around in order to remove any debris or dirt that may have accumulated around the edges of the ceiling light cover with no screws. Be sure to keep an eye on the delicate pieces of glass so they don’t break off as you do this. As you wiggle and rotate the pliers, the pieces of glass may become loose and begin to jiggle.
Step 4. Pry Up Edges:
Once you have cleared away any debris, use your needle nose pliers to carefully pry up the edges of the ceiling light cover, no screws, one at a time, until it is loosened from its frame. The trick is to keep the pliers in a horizontal position as you do this so that the edges are not damaged. Don’t apply too much force, as this can cause the cover to snap and break.
Step 5. Create Leverage:
Once you have loosened the ceiling light cover, create leverage by inserting your needle-nose pliers into any gaps between the cover and its frame. Gently pull back and forth on the pliers until the cover pops off of its frame. This method may take a few attempts, but eventually, you will have enough leverage to remove the cover without damaging it.
Step 6. Place Old Cloth or Rag Underneath:
Before you remove the ceiling light cover, no screws, and place an old cloth or rag under it to catch any dust or dirt that may fall off when it is removed. This will help prevent any damage to your flooring and make cleanup easier later on. Moreover, it will also help to protect the delicate pieces of glass that may be present.
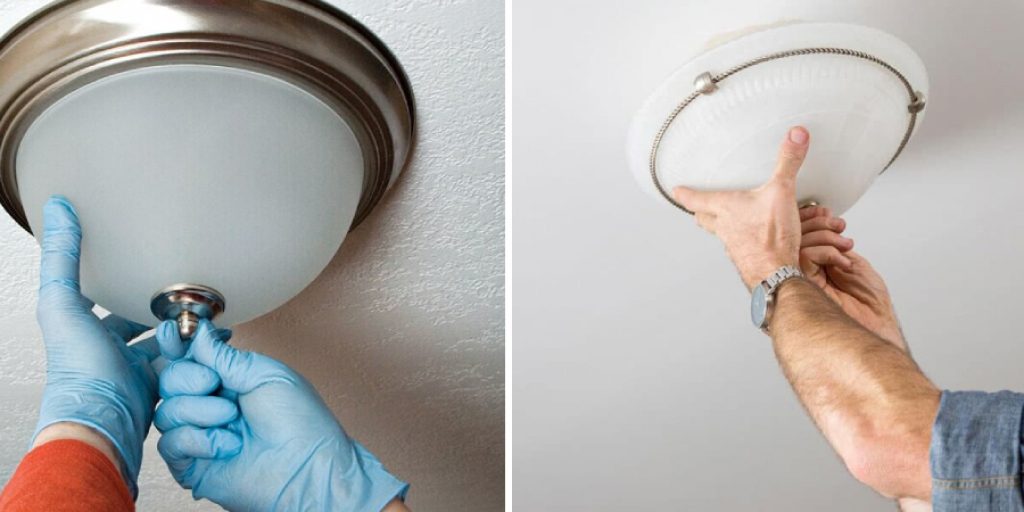
Step 7. Remove Cover:
Gently pull off the ceiling light cover and set it aside on the old cloth or rag you placed underneath. There are no screws to worry about, so the cover should come off relatively easily. You can use the needle-nose pliers to help if you need extra leverage. Another option is to use a screwdriver instead.
Step 8. Check for Damage:
Examine the ceiling light cover with no screws to ensure that no pieces of glass are broken or missing before you attempt to remove any other components. If the cover is damaged, do not attempt to reuse it. Because most ceilings are made of sheetrock, you may need to purchase a new cover.
Step 9. Clean Up:
Once the ceiling light covers have no screws removed, look at the frame and assess if any damage has been done. If there are scratches or dents, you can try to sand them out using sandpaper or emery cloth. Next, wipe down the frame with a damp cloth in order to remove any dust or dirt that may have accumulated over time.

Step 10. Enjoy Your New Light Fixture!
Now all you need to do is install your new ceiling light cover and enjoy your refreshed room lighting fixture! With just two simple tools and the right method, you have successfully managed to remove a ceiling light cover with no screws. Remember always to be careful and take all the necessary safety precautions when working on projects around your home.
By following these ten easy steps, you can quickly and easily remove a ceiling light cover with no screws and upgrade your room lighting fixtures. With the right tools, you can repurpose existing lights or install new designs for an updated look in any space of your home.
5 Additional Tips and Tricks
1. To remove a ceiling light cover without screws, use needle-nose pliers or tweezers. Gently wiggle the pliers or tweezers around the edge of the cover until it pops off.
2. If you don’t have any needle-nose pliers or tweezers handy, you can also use a butter knife to pry off the cover carefully. Just be sure not to scratch or damage the light fixture in any way!
3. When attempting to remove a ceiling light cover without screws, make sure that you are
wearing protective gloves for safety reasons and so as not to get injured by sharp edges on the light fixture itself.
4. Another trick is to tap lightly on the sides of the light cover using a rubber mallet. This should break the seal and make it easier to wiggle off with your fingers.
5. If all else fails, you can always try using suction cups for larger covers to help pull them away from the fixture. Just be sure that you’re using enough suction so that the cup doesn’t slip off!

With these tips and tricks, you should be able to remove a ceiling light cover without screws in no time! Just remember to be careful with any tools you use and protect yourself with gloves in case of sharp edges.
5 Things You Should Avoid
1. Never try to use a drill or screwdriver to attempt to remove the ceiling light cover without screws. This can cause permanent damage to your fixture and make it difficult for you to replace it in the future.
2. Do not force off the cover if it won’t come off easily—this could result in serious injury or property damage.
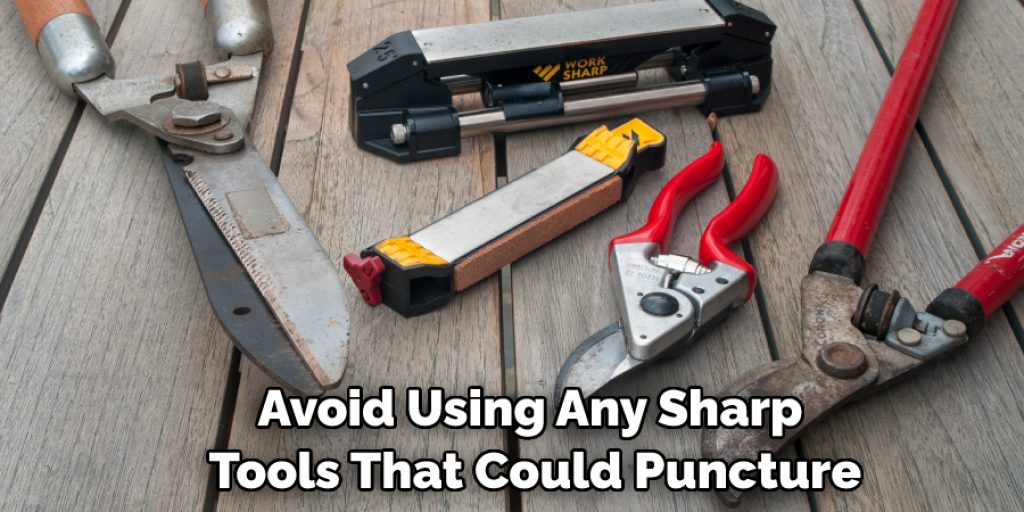
3. Avoid using any sharp tools that could puncture, gouge, or scratch your light fixture when trying to remove it.
4. Refrain from using too much force when attempting to remove the cover, as this can cause parts of the light fixture itself to break apart and become hazardous pieces of debris falling onto your floor or causing other injuries.
5. Lastly, never try to reuse a broken or damaged ceiling light cover without screws. This could lead to electrical shock or even a fire hazard in your home.
By taking the proper precautions and avoiding these five don’ts, you can safely remove a ceiling light cover without screws and avoid any potential harm to yourself or your property. With the right knowledge and tools, you should be able to quickly and easily replace your fixtures for an updated look in no time!
Conclusion
All in all, removing a ceiling light cover can be easier than you initially thought. With the right tools and tips, and tricks, it only takes a few simple steps for you to do it yourself. No need to have expensive equipment or knock walls out of your house. Just follow the easy instructions outlined above and see that this task is manageable on your own.
However, when in doubt, you should always call an experienced electrician who will be better equipped with knowledge and skill set. They can also help ensure safety while working with electricity. So don’t be afraid to DIY, but also consider seeking help from a professional if needed!
Hopefully, the article on how to remove ceiling light cover no screws were helpful. There are plenty of other home improvement tasks that you can tackle safely and successfully, but always remember to be cautious when working around electricity and other hazardous materials. Good luck!


