How to Remove Ceiling Speakers
Do you want better sound quality in your home theater, but don’t know how to install new ceiling speakers on your own? Installing a pair of new ceiling speakers can drastically improve the quality of sound at home and is a relatively easy task for anyone with basic knowledge of electrical wiring.
In this blog post, we’ll explore an overview of the steps of how to remove ceiling speakers so that you can enjoy clearer audio during movie night or when listening to music at home.
Equipment You’ll Need to Remove Ceiling Speakers
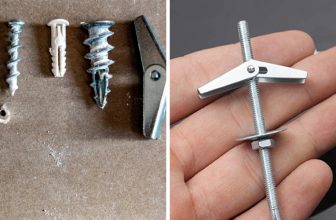
- A set of screwdrivers (Phillips and flathead)
- Wire cutters/strippers
- Voltage tester
- Ladder
- Plaster saw or drywall saw
- Drill with hole-cutting attachment for speakers
- Gloves and safety glasses
Step-by-step Guidelines on How to Remove Ceiling Speakers
Step 1: Turn Off the Power to the Room
Before you start removing your ceiling speakers, make sure to turn off the power to the room at your circuit breaker box. Use a voltage tester to double-check that no electricity is running through the speaker wires. Turning off the power will prevent any electrical accidents from occurring while you work on removing the speakers.
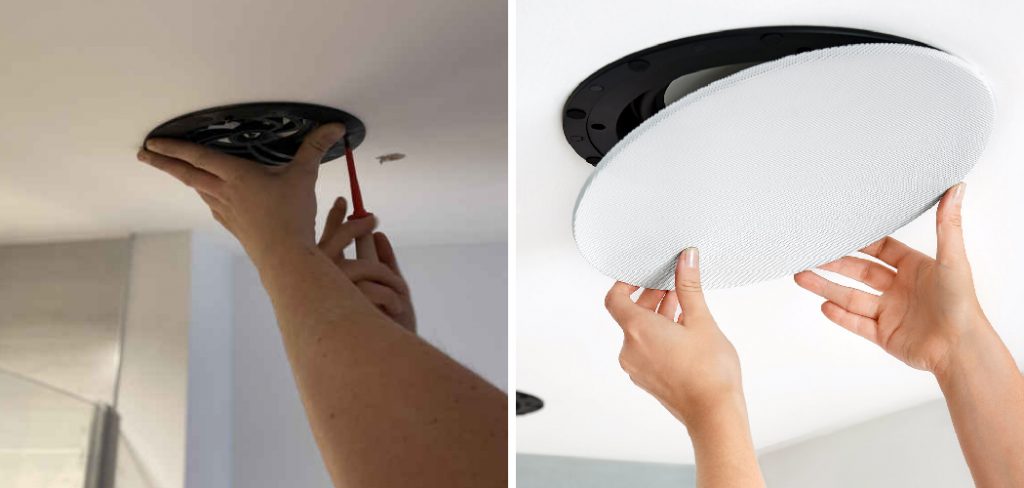
Step 2: Locate and Remove the Speaker Grille
Most ceiling speakers come with removable grilles that can be easily unscrewed or pried off with a flathead screwdriver. If you cannot find any screws, gently pry the grille off with a plastic putty knife. Be careful not to damage the ceiling or wall surrounding the speaker. This will expose the speaker and its wiring.
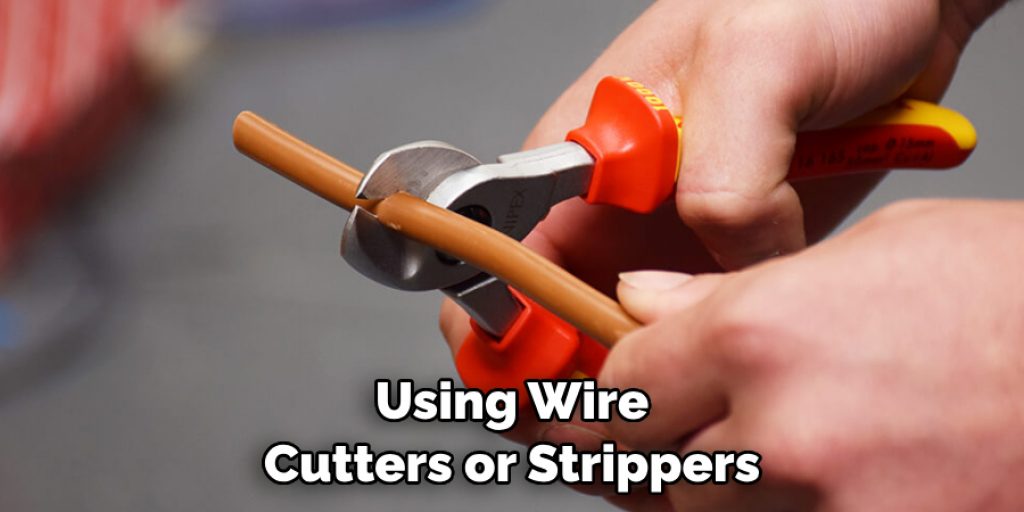
Step 3: Disconnect Speaker Wires
Using wire cutters or strippers, disconnect the speaker wires from the terminals on the back of the speaker. The wires may be connected with clips, screws, or clamps. If you are unsure how to remove them, consult your speaker’s manual or a professional for guidance. While removing the wires, be careful not to damage them or cause any electrical shorts.
Step 4: Unscrew and Remove the Speaker from Ceiling
Using a Phillips screwdriver, unscrew any screws holding the speaker in place. If your speakers are attached with clamps or brackets, loosen them using a flathead screwdriver. Once all attachments have been removed, gently pull the speaker out of the ceiling hole. Be careful not to disturb any insulation or wiring in the ceiling.
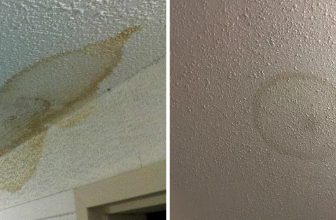
Step 5: Patch Up the Ceiling Hole
After removing the speaker, you may notice a hole in your ceiling where it was installed. Use a plaster saw or drywall saw to cut away any excess drywall, leaving a clean and even opening. You can then patch up the hole using drywall, plaster, or spackle. Allow the patch to dry completely before sanding and painting over it to match your ceiling.
Following these simple steps will allow you to remove your ceiling speakers safely and efficiently. Remember to always turn off the power and use caution when handling wires and equipment. Once removed, you can now install new speakers or leave the space for a future upgrade. Enjoy your improved sound quality!
Additional Tips and Tricks to Remove Ceiling Speakers
- While removing ceiling speakers, it is important to take extra precautions to avoid damaging the surrounding area. You can use drop cloths or plastic sheets to protect your furniture and floor from any falling debris.
- Before starting the removal process, make sure that you have all the necessary tools required for the job. This may include a ladder, screwdrivers, pliers, wire cutters, and a pry bar. Having all the tools on hand will save you time and frustration.
- It is always a good idea to turn off the power supply before removing any electrical components such as ceiling speakers. This will prevent any potential hazards and keep you safe while working.
- If your ceiling speakers are connected to a home theater system or other audio system, make sure to disconnect all the wires and cables before attempting to remove them.
- Before removing the speakers, mark their exact location on the ceiling using a pencil or tape. This will help you easily reinstall them in the same spot later on.
- If your ceiling speakers are screwed into place, use a screwdriver to unscrew them. If they are attached with nails, use a pry bar to gently remove them from the ceiling.
- Once the speakers are removed, check for any visible damage or wear and tear. You may need to replace them if they are not in good condition.
- After removing the old speakers, clean the area where they were installed using a damp cloth. This will help remove any dust or debris that may have accumulated over time.
- If you plan on installing new speakers, make sure to carefully read the installation instructions before proceeding. This will ensure that the new speakers are installed correctly and function properly.
- Lastly, don’t forget to dispose of the old ceiling speakers responsibly. You can either recycle them or donate them if they are still in usable condition.
By following these tips and tricks, you can successfully remove your ceiling speakers without any hassle or damage. Remember to always take the necessary precautions and use the right tools for the job. Happy removing!
Things You Should Consider to Remove Ceiling Speakers
1. The first thing you should consider is the type of ceiling speakers that you have. There are two main types – flush-mount and surface-mount speakers. Flush-mount speakers are installed directly into the ceiling, while surface-mount speakers are attached to the surface of the ceiling. The type of speaker you have will determine how you remove them.
2. Next, you should make sure that you have all the necessary tools for removing ceiling speakers. This may include a screwdriver, hammer, ladder, and wire cutters. It’s important to have all the tools on hand before you start the removal process.
3. Another important consideration is whether or not your ceiling speakers are connected to a central sound system. If they are, you will need to disconnect them from the wiring before removing them. This may require additional tools such as wire strippers or a voltage tester.
4. It’s also important to take note of the location of your ceiling speakers. If they are located near plumbing or electrical wiring, extra caution should be taken when removing them to avoid any damage to those systems.
5. Before beginning the removal process, it’s recommended to turn off the power supply to the room where the ceiling speakers are located. This will ensure your safety and prevent any potential damage to the electrical system.
6. Once you have all the necessary tools and precautions in place, you can begin the removal process. Start by removing any screws or fasteners that are holding the speakers in place. If the speakers are flush-mount, you may need to use a pry bar to gently remove them from the ceiling.
7. If your speakers are surface-mounted, they may be attached with adhesive or brackets. In this case, you will need to carefully remove the adhesive or unscrew the brackets before removing the speakers.
8. As you remove each speaker, remember to disconnect them from any wiring and remove any excess wires using wire cutters. It’s important to label each wire before disconnecting them to ensure easy reinstallation in the future.
9. Once all the speakers have been removed, check the ceiling for any holes or damage. If there are any holes, fill them with spackling paste and sand it down to create a smooth surface.
10. Finally, if you plan on installing new speakers, now is the time to do so. Make sure to follow the proper installation instructions and guidelines for your specific speakers.

By considering these factors and following the appropriate steps, you can successfully remove ceiling speakers without any hassle. Remember to always exercise caution and follow safety protocols when dealing with electrical systems. Happy removing!
Precautions Need to Be Followed for Removing Ceiling Speakers
- Before you start removing your ceiling speakers, it is important to turn off the power to avoid electrical shocks. Make sure to locate the correct circuit breaker and switch it off before proceeding.
- Wear protective gear such as gloves and safety glasses to avoid any injuries while removing the speakers.
- Keep a steady ladder or step stool nearby to safely reach the speaker without overstretching.
- If you are not comfortable with electrical work, it is best to hire a professional for the removal process.
- Make sure to have a plan for how you will remove the speaker from the ceiling without damaging it or causing any damage to the surrounding area.
- If possible, remove any furniture or objects that may obstruct your path while removing the speaker.
- It is also important to have a designated space nearby where you can safely place the removed speaker. This will prevent any accidents or damages.
- Before removing the speaker, make sure to read the manufacturer’s instructions as they may have specific steps for removing their particular model.
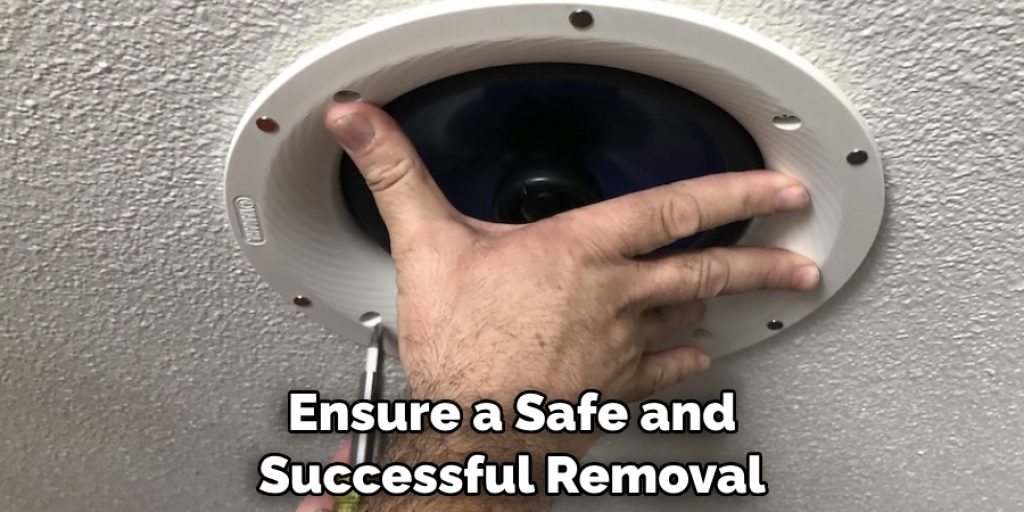
Following these precautions will ensure a safe and successful removal of your ceiling speakers. Remember to proceed with caution and take your time to avoid any accidents or damages. So, be careful while removing the speaker from the ceiling and follow all necessary precautions for a smooth process.
Frequently Asked Questions
Can I Remove My Ceiling Speakers by Myself?
Yes, you can remove your ceiling speakers by yourself if you have the necessary tools and knowledge. However, it is recommended to seek professional help to avoid any damage or accidents.
Will Removing My Ceiling Speakers Damage My Ceiling?
If done correctly, removing your ceiling speakers should not cause any damage to your ceiling. However, it is important to be careful when handling the tools and wires to avoid any mishaps. Also, make sure to patch up any holes created in the ceiling during the removal process.
Do I Need to Turn off My Power Before Removing Ceiling Speakers?
Yes, it is essential to turn off the power before removing ceiling speakers. This will prevent any electrical accidents or damage to your speakers and other devices connected to them.
Can I Reuse My Old Ceiling Speakers?
If your old ceiling speakers are still in good working condition, then you can definitely reuse them. However, if they are damaged or outdated, it is recommended to replace them with new ones for better sound quality and safety.
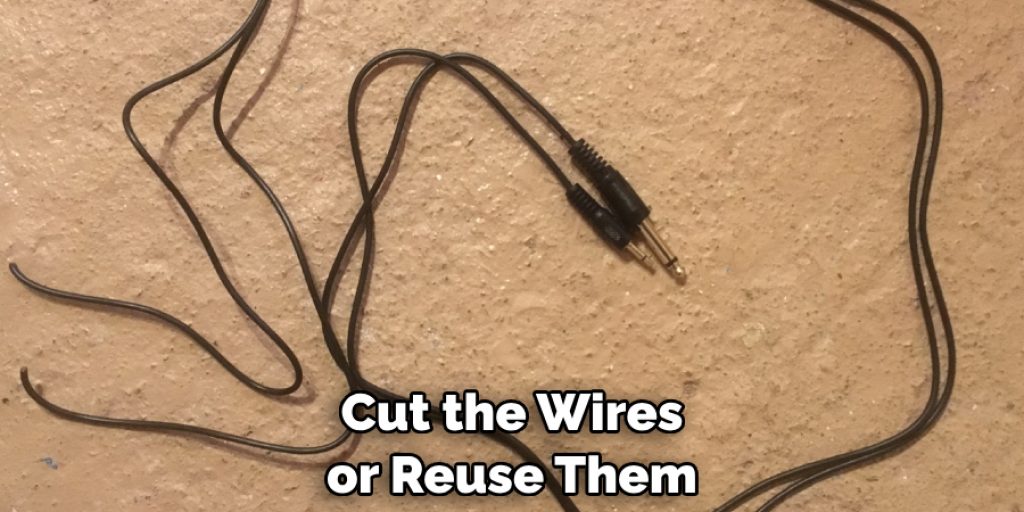
What Should I Do with the Wires After Removing My Ceiling Speakers?
After removing your ceiling speakers, you can either cut the wires or reuse them for your new speakers. If you choose to cut them, make sure to turn off the power and safely dispose of the wires. If you want to reuse them, carefully remove them from the old speakers and label them for easier installation.
Conclusion
With the above outlined you can easily learn how to remove ceiling speakers by yourself. However, it is always advised to seek professional help if you are unsure or not confident in doing it on your own. Remember to follow safety precautions and carefully handle the tools and wires to avoid any accidents.
By properly removing your ceiling speakers, you can either reuse them for your new setup or safely dispose of them and upgrade to better-quality speakers. So go ahead and confidently remove your ceiling speakers to enhance your audio experience. Happy listening!
Angela Ervin
Angela is the executive editor of DIY quickly. She began her career as an interior designer before applying her strategic and creative passion to lifestyle and home. She has close to 15 years of experience in creative writing and online content strategy for housekeeping, home decorations as well as other niche efforts. She loves her job and has the privilege of working with an extraordinary team. She lives with her husband, two sons, and daughter in Petersburg. When she's not busy working she spent time with her family.