
How to Remove Impeller From Water Pump
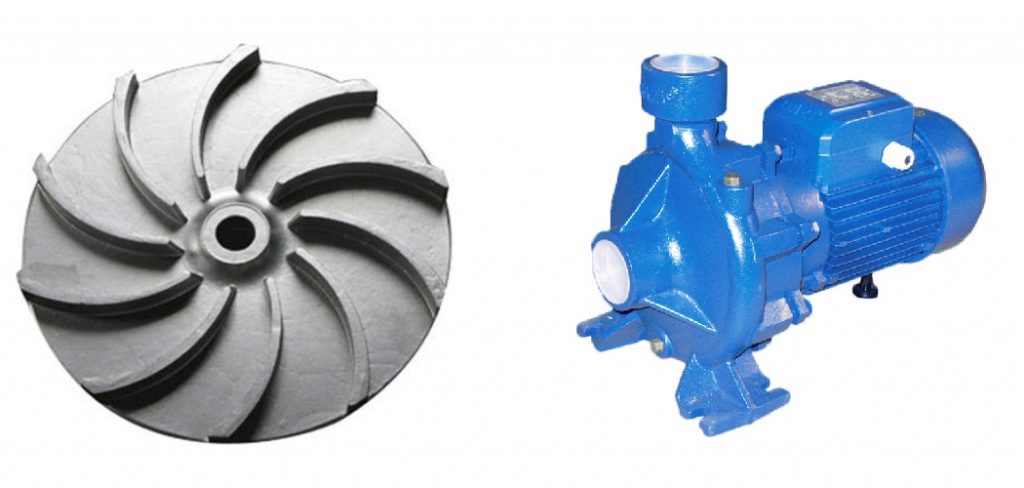
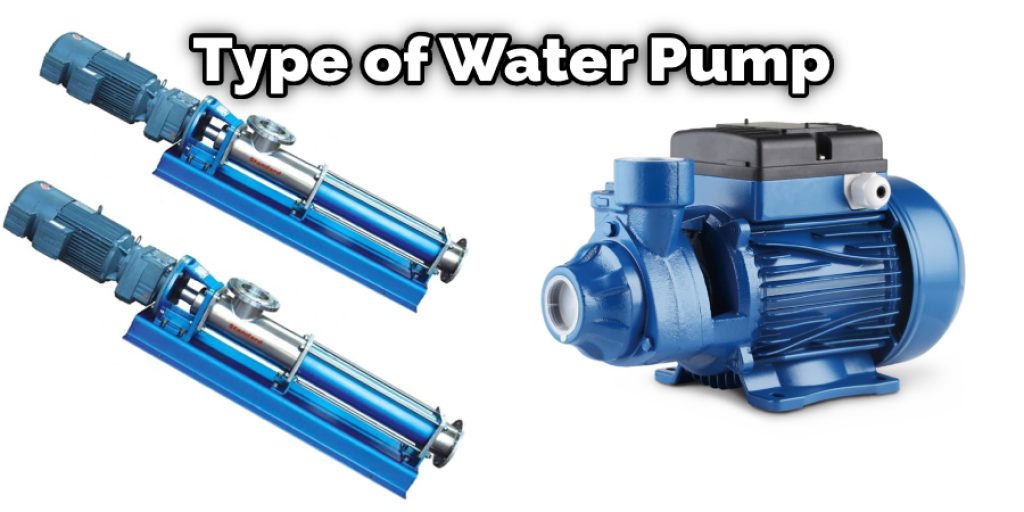
An impeller is a type of pump used to move liquids or gases by spinning a blade inside a casing. The blade creates a vacuum that draws in the fluid or gas and propels it through the casing. Impellers are commonly used in centrifugal pumps, which are widely used in industry for moving large volumes of fluids.
If your water pump is not working properly, you may need to remove the impeller. The impeller is located inside the pump and is responsible for moving water through the pump. Unfortunately, impeller removal can be tricky. In this blog post, we will walk you through how to remove impeller from water pump. We’ll also give you some tips on avoiding any potential damage. So, if you need impeller removal instructions, read on.
What Does an Impeller Do?
The impeller in your water pump is responsible for moving water through the pump and into your home. Over time, the impeller can become clogged with debris or sediment, which can reduce the efficiency of your pump and cause it to overheat. If you notice your pump isn’t working as well as it used to, it’s important to clean the impeller regularly to maintain optimal performance.
Materials Required
- Pump
- Screwdriver
- Wrench
- Impeller removal tool (if needed)
Step by Step How to Remove Impeller From Water Pump
1. Turn Off the Power to the Pump.
The first step is to turn off the power to the pump. This can be done by shutting off the circuit breaker or unplugging the pump from the power source. If you’re not sure how to do this, consult your pump’s manual.
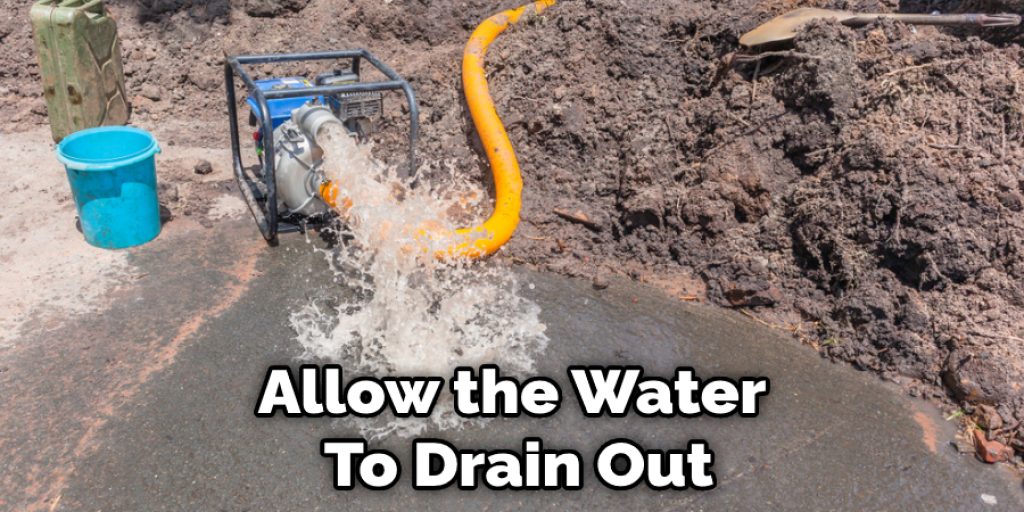
2. Drain the Pump.
Once the power is off, you will need to remove the water from the pump. To do this, you will need to find the drain plug on the side of the pump. Remove the plug and allow the water to drain out. You may need a bucket to catch the water as it drains out.
3. Remove the Pump Cover.
With the power off and the water drained, you will be able to remove the pump cover. This is usually done by unscrewing bolts or screws that hold it in place. Be careful not to damage the gasket that seals the pump cover to the pump body. Use a putty knife or a flathead screwdriver to help pry the cover off if necessary.
4. Locate the Impeller.
Once the cover is off, you should be able to see the impeller inside the pump. The impeller is a small, fan-like blade that helps to move water through the pump. In order to remove the impeller, you will need to locate it inside the pump.
5. Remove the Impeller.
Once you have located the impeller, you will need to remove it from the pump. Depending on the type of water pump you have, the impeller may be held in place by a retaining ring, screws, or bolts. To remove the impeller, you will need first to remove the retaining ring, screws, or bolts that are holding it in place. Once the impeller is loose, you should be able to pull it out of the pump.
6. Use an Impeller Removal Tool.
If you’re having trouble removing the impeller, you may need to use an impeller removal tool. This is a small, specialized tool that can help you remove the impeller without damaging it. You can find impeller removal tools at most hardware stores.
7. Use a Screwdriver.
If you don’t have an impeller removal tool, you can try using a screwdriver. First, insert the tip of the screwdriver into one of the impeller’s blades and twist it to loosen the blade. Then, pry the blade out with the screwdriver. Repeat this process with the remaining blades. Once all the blades are removed, you should be able to pull the impeller out of the water pump.
8. Clean the Pump Housing.
Once the impeller is removed, you’ll need to clean the pump housing. Use a brush and some vinegar to remove any build-up from the housing. You may also need to use a toothpick or other small tool to remove any debris from the impeller shaft.
8. Clean the Impeller.
Once you have removed the impeller from the water pump, inspect it for any dirt, debris, or other contaminants. If the impeller is dirty, clean it with a soft cloth and some soapy water. Next, inspect the blades of the impeller to make sure they are not damaged or bent. If the impeller is damaged, it will need to be replaced.
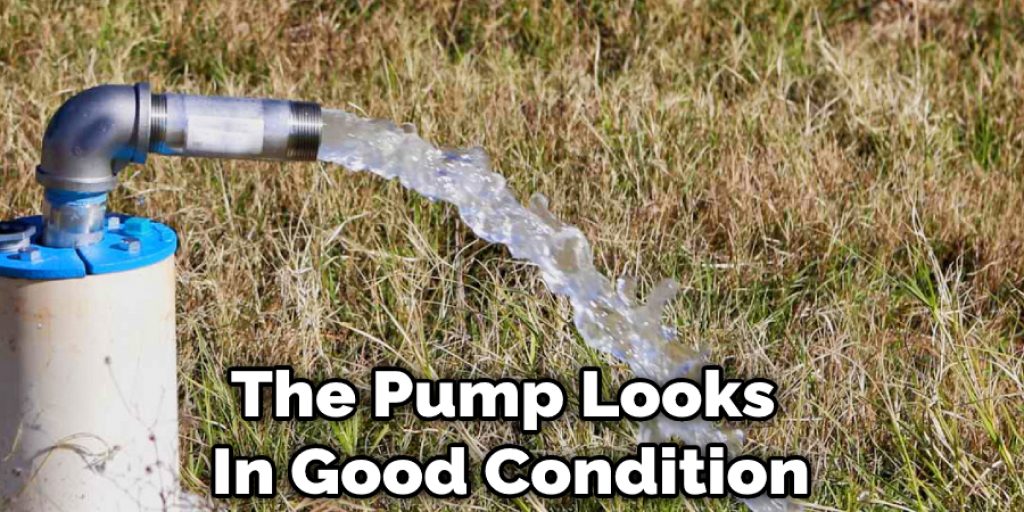
9. Inspect the Pump.
Once you have removed the impeller, take a look at the pump to make sure there is no damage. Look for any cracks, breaks, or wear and tear. If there is any damage, you may need to replace the pump. On the other hand, if the pump looks in good condition, you can reinstall the impeller.
10. Reassemble the Pump.
To reassemble the pump, start by putting the impeller back into the housing. Make sure that the impeller is properly seated and aligned before screwing the housing back together. Reattach the hoses once the housing is secure and power up the pump. With the pump running, check for leaks and make sure that the impeller is rotating properly. If everything looks good, you’re finished.
You Can Check It Out to Vacuum a Pool Without a Pump
How Long Does It Take to Remove Impeller From Water Pump
Removing an impeller from a water pump is a relatively simple process that can be completed quickly. How long it takes to remove the impeller will depend on the type of water pump you have and the size of the impeller. If you have a small impeller, it may only take a minute or two to remove it. However, if you have a large impeller, it could take up to 10 minutes to remove it.
Tips and Warnings – How to Remove Impeller From Water Pump
Tips:
- Always use gloves when dealing with the water pump or impeller to avoid getting cuts.
- Make sure to unplug the water pump before beginning any work on it.
- Use a flathead screwdriver to remove the screws holding the impeller in place.
- Be careful not to damage the shaft while removing the impeller.
- Once the impeller is removed, clean off any debris that may be on it.
Warnings:
- Do not use power tools to remove the screws, as this can damage the pump.
- Do not try to remove the impeller without first unplugging the water pump.
- Be careful not to drop the impeller as this can damage it.
- Do not use any kind of lubricant on the impeller or pump, as this can damage it.
How Do You Fix a Broken Impeller?
If the impeller on your water pump is broken, you’ll need to fix it. Here’s how to do it first, remove the broken impeller from the pump. Then, use a drill to make a hole in the center of the impeller. Next, use a screwdriver to remove the screws from the impeller. Finally, use a hammer to tap the new impeller into place.
How do you remove the impeller from a sump pump?
The impeller is the heart of the sump pump, and removing it can be a delicate process. Depending on the sump pump model, there may be a few different ways to remove the impeller.
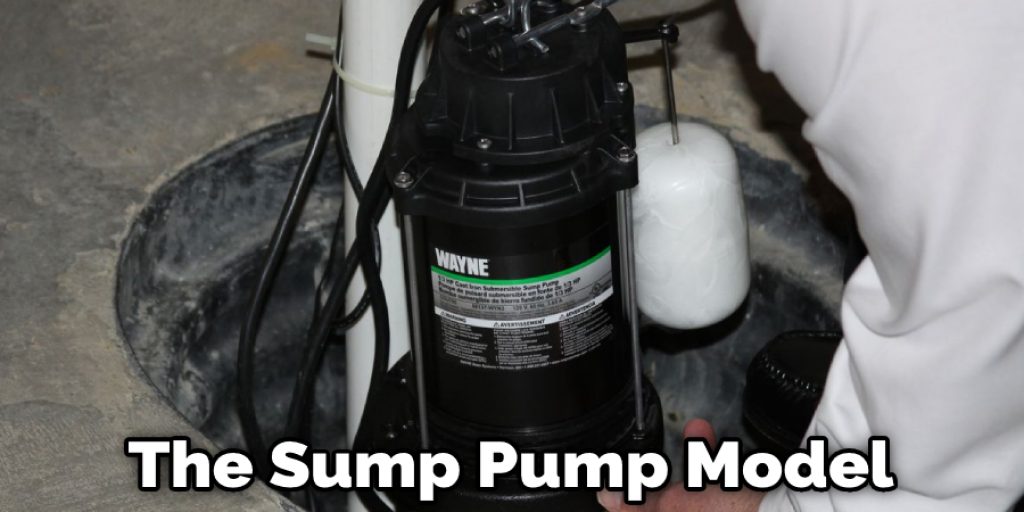
One way to remove the impeller is to unscrew it from the shaft. This can be done by hand or with a pair of pliers. Be careful not to damage the shaft while unscrewing the impeller. Another way to remove the impeller is to first remove the entire sump pump motor from the housing. This may require a screwdriver or wrench to loosen the housing. Once the motor is removed, the impeller will be exposed and can be removed.
Once the impeller is removed, you may need to clean it or replace it, depending on the condition of the impeller. If the impeller is damaged, it will need to be replaced. If the impeller is not damaged, you can clean it with a brush and reattach it to the shaft. Be sure to follow the manufacturer’s instructions when removing and to attach the impeller to ensure that you do not damage the sump pump.
Conclusion
Now that you know how to remove impeller from water pump, you can easily fix the issue without calling a professional. Remember, if at any time you feel uncomfortable or uncertain about the process, stop and consult with a professional. Always be safe when working on equipment that contains water!
You Can Check It Out to Insulate a Well Pump House


