
How to Remove Led Strip Lights
Removing led strip lights can be necessary for a variety of reasons. Perhaps you need to replace old or faulty lights, upgrade to brighter and more energy-efficient models, or just change the look of your space. Additionally, when moving house, it may be necessary to remove existing lighting fixtures to adhere to new regulations or laws. Regardless of the reasons, knowing how to safely and correctly remove LED strip lights is important.
The use of LED strip lights offers many advantages compared to traditional lighting. For starters, they’re energy-efficient and require minimal maintenance. They also last a long time, up to 25 times longer than regular incandescent bulbs, making them cost-effective in the long run. In addition, LED strip lights are easy to install and can be used in various settings. They are also flexible, allowing them to be bent or twisted into any shape desired. In this blog post, You will learn in detail how to remove led strip lights.
Tools and Materials You Will Need
- A screwdriver
- Pliers
- A ladder (if necessary)
- Led strip light mounting clips
- Led strip light connectors
- Electrical tape
- Wire cutters
- Masking tape
- Razor blade (optional)
- Vacuum cleaner (optional)
Step-by-Step Processes for How to Remove Led Strip Lights
Step 1: Inspect the Connection
Take a close look at the connection between the LED strip and its power source, ensuring it is correctly connected and unscrewed. Before doing anything else, turn off any power source from the LED strip lights. Unplug them from their outlet or switch off the circuit breaker connected to them.
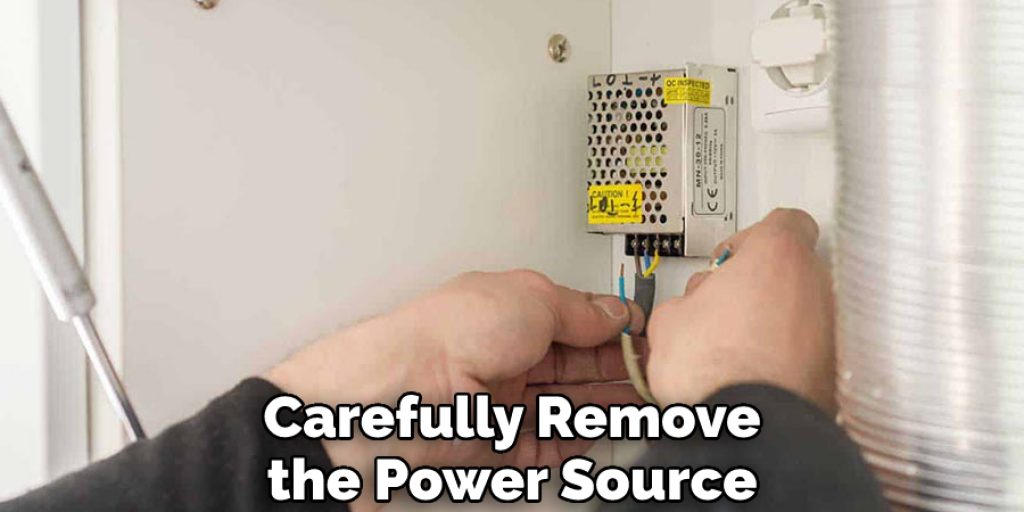
Step 2: Remove the Power Source
Once you’ve ensured that the connection is secured and no power source is running to it, carefully remove the power source from its position. This could be a plug, a switch, or a circuit breaker. If there are any screws attached to the power source, unscrew them before attempting to remove the power source.
Step 3: Remove the LED Strip Lights
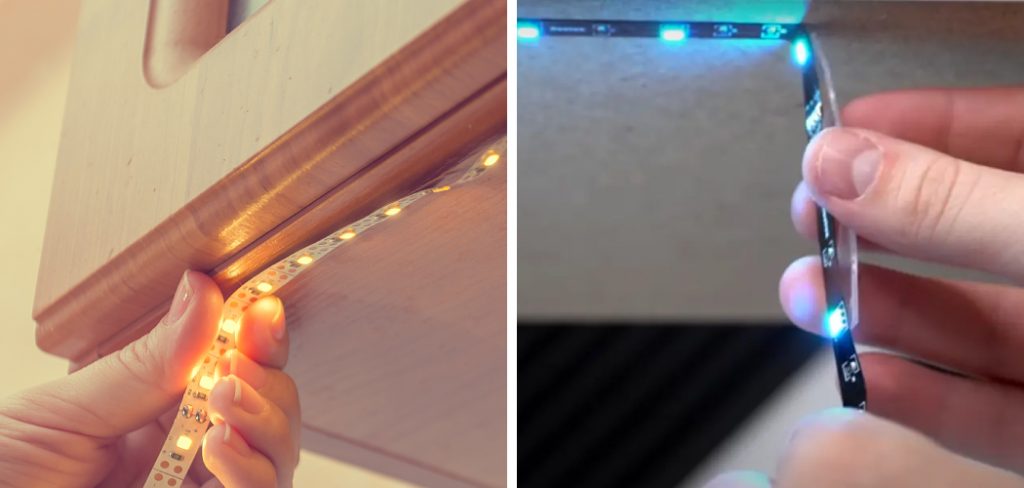
Once the power source is removed, you can now start to remove the LED strip lights from their position carefully. Gently pull on each side of the strip light and ensure not to tear any wires or cables are attached to it. If any adhesive strips are attached to the strip lights, then you can use a flat-head screwdriver or a knife to remove them carefully without damaging the LED strip.
Step 4: Cut the Wires and Cables
Once the LED strip lights are removed from their position, you will need to cut off any wires or cables that were attached to them. Use a pair of wire cutters to carefully snip away at the wires and cables without causing any damage to the LED strip lights themselves. After you’ve removed and cut all of the wires or cables attached to the LED strip lights, you can discard them appropriately. Ensure that the LED strips are placed in a proper container for disposal and not thrown out along with your regular trash.
Step 5: Clean the Surrounding Area
Before you install new LED strip lights, make sure to clean the area where the old LED strips were removed from. Use some cleaning agent and a cloth to wipe away any dust or dirt that may have been left behind. This will help ensure that your new LED strip lights will function correctly and not be affected by any dirt left behind.
Before you start installing the new LED strip lights, make sure to check your connections thoroughly. Make sure that all wires and cables are properly connected and secured in their place before turning on the power source. This will help prevent any electrical accidents or damage to the LED strip lights.
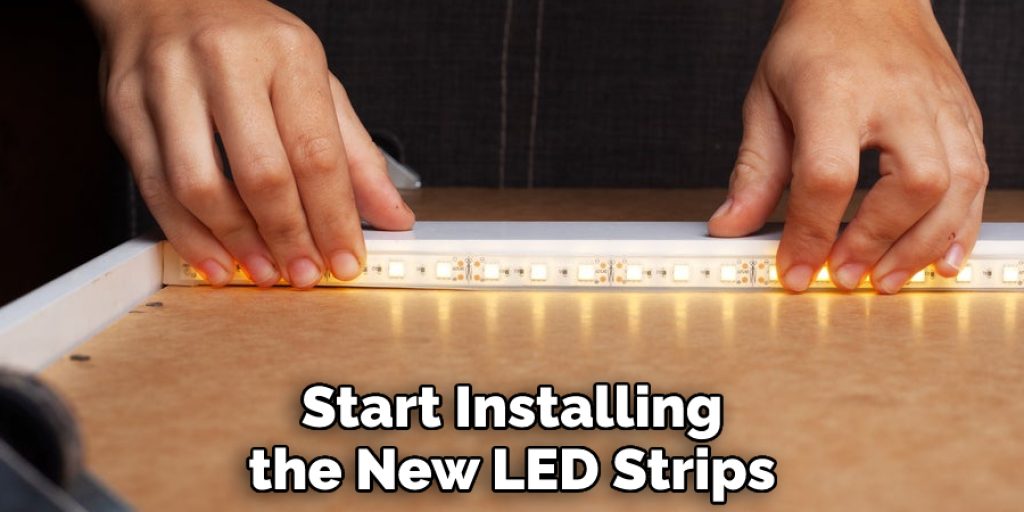
Step 6: Install the New LED Strips
Once all of your connections have been checked, it is now time to start installing the new LED strips. Start by measuring out the length of the strips and cutting them accordingly using a pair of wire cutters. Attach any adhesive strips to each end of the LED strips and ensure they are firmly secured.
Step 7: Connect the New Power Source
Once your new LED strips have been installed, you can connect the power source. Depending on what type of power source you are using, connect it up accordingly and make sure to give it a thorough check-up before turning on the power.
Step 8: Test It Out
Once you’ve connected up the new power source, it is now time to test out your newly installed LED strip lights. Turn on the power source and ensure all the LED strips are lit up correctly. If everything looks good, then you have successfully removed and replaced your LED strip lights.
Installing and removing LED strip lights is a simple process that requires little effort or time to do. Following the steps outlined above, you can easily remove or replace your LED strips and keep them functioning correctly for many years.
Precautions for How to Remove Led Strip Lights
- Make sure to turn off the power source that is providing electricity to your LED strip lights before attempting to remove them. This will help you avoid any potential electrical shocks or other issues related to electrical safety.
- Wear protective gear such as gloves, eyewear, and a dust mask when removing LED strip lights. This will help protect you from any sharp edges or particles that may be released during removal.
- Work in a well-ventilated area, as some of the chemicals used to adhere to LED strip lights can have strong odors and fumes. Use appropriate ventilation systems such as fans, windows, or exhaust vents if available.
- Take note of the way that your LED strip lights were installed. This will help you when it comes time to reinstall them in a different location.
- Use appropriate tools for removals, such as pliers, screwdrivers, and spudgers, to carefully remove any adhesives or mounts attached to the wall or ceiling.
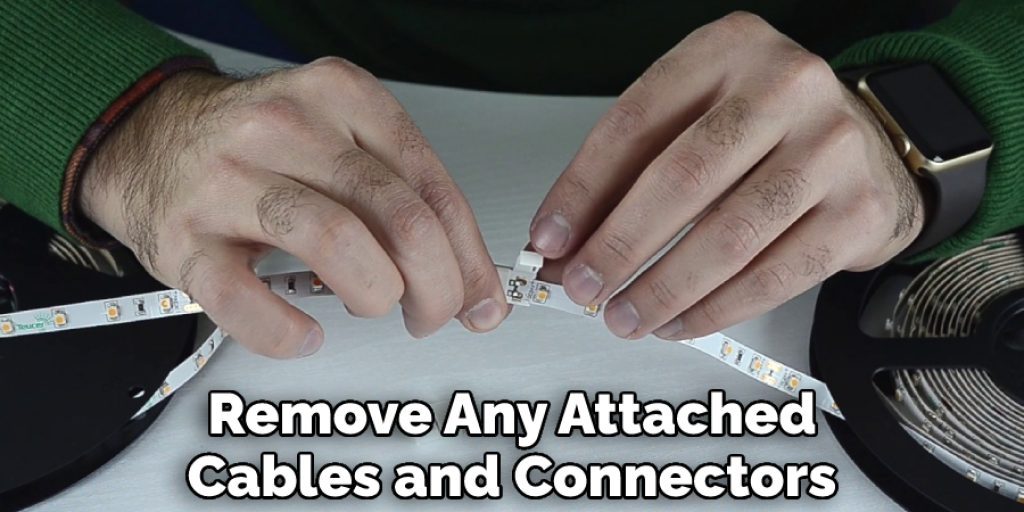
- Dispose of the LED strip lights properly and recycle or repurpose them where possible. Make sure to remove any attached cables and connectors as well.
By following these steps for Removing Led Strip Lights, you can ensure that the process is quick and efficient while protecting your safety.
How Can You Prevent Damage While Removing Your Led Strip Lights?
Removing LED strip lights can be difficult, especially if it is not done correctly. It is important to take proper precautions when removing LED strips to ensure that the light and its components are not damaged. Here are some tips on how you can prevent damage while removing your LED strip lights:
- Disconnect the Power Supply First: Before removing the LED strip lights, ensure the power source is disconnected from the wall. This will prevent any potential shocks or other electrical problems.
- Take Precautions When Handling the LED Strips: LED strips are delicate and prone to damage if not handled properly. Hold them gently, and be careful not to bend or twist them while handling them. This will ensure that they are not damaged when you remove them from the wall.
- Use Proper Tools: Using the right tools for the job is important when removing LED strip lights. Make sure to use pliers, cutters, and screwdrivers that are specifically designed for electrical work in order to avoid any potential damage.
- Wear Protective Gear: Wearing the proper safety gear is also important when removing LED strip lights. Make sure to wear gloves, goggles, and other protective equipment to protect yourself from any potential electrical shocks or hazards.
Following these simple tips can help you prevent damage while removing your LED strip lights. Taking the time and being careful when removing LED strips is important, as doing so incorrectly can cause irreversible damage.
Why Should You Hire a Professional to Help Remove Your Led Strip Lights?
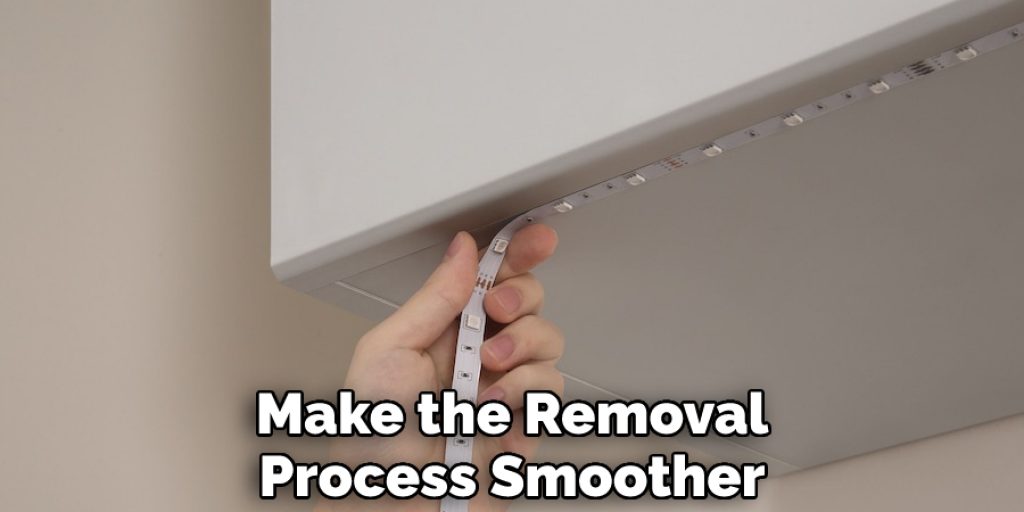
If you choose to remove your Led strip lights yourself, it is important that you take the time to research and understand the process. However, if you are not comfortable taking on such a task or feel as though it may be too difficult for you to handle, then hiring a professional may be your best option. A professional can help assess the specific situation and provide the necessary tools and guidance. They will also have experience in dealing with these specific types of installations, which can help make the removal process smoother by ensuring that everything is done safely and properly.
Before you hire a professional, make sure to ask them about their expertise in Led strip lights. You should also inquire about their availability and any extra fees or charges that may be included with their services. Additionally, ask for a written contract outlining the agreement between you and the removalist. This will help protect your interests if anything goes wrong during removal.
How Often Should You Replace Your Led Strip Lights?
The lifespan of LED strip lights can vary depending on the quality of your product and how often you use them. Generally speaking, LEDs used in strip lighting applications have an average life expectancy of 25,000 to 50,000 hours. This is significantly higher than traditional incandescent bulbs, which typically only last between 1,200-2,000 hours. So when it comes to replacing your LED strip lights, most people will only need to do it once every few years.
However, if you are using a high-quality product and care for them properly, you may be able to extend the life of your LED strip lights even further. This includes cleaning them regularly and avoiding overexposing them to heat, moisture or dust. You can also take additional steps, such as adding a protective sealant or covering them with a UV-resistant film to increase their lifespan further.
How Can You Clean and Maintain Your Led Strip Lights to Prevent Damage and Keep Them Looking New?
- Turn off the power supply before cleaning or maintaining your LED strip lights.
- Gently wipe down the surface of the strip light with a damp cloth. Avoid using any abrasive cleaners, as these can damage the plastic coating on the LED strip lights and impair their performance.
- If dirt or residue is stuck on the strip light, you can use a non-abrasive cleaner and a soft cloth to remove it.
- Once you have wiped down the surface of your LED strip lights, follow up with another layer of cleaning using isopropyl alcohol and a soft cloth. This will help sanitize the lighting and remove any remaining dirt or residue that may have been left behind.
- Before plugging in your LED strip lights, ensure they are completely dry. If you notice any water spots on the strips after cleaning, use another damp cloth to remove the spots before re-installing them.
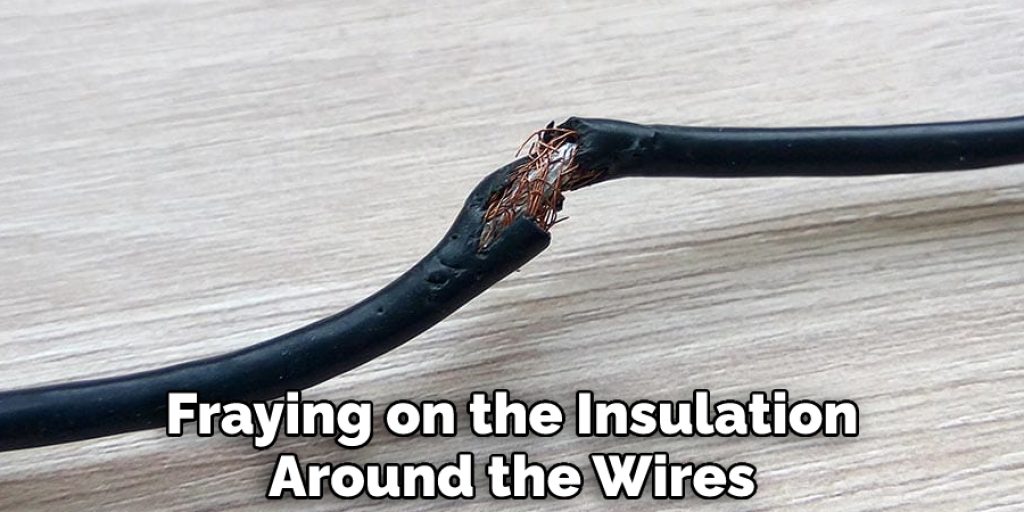
- After installing your LED strip lights, check them periodically for signs of wear and tear. If you notice any fraying on the insulation around the wires or breaks in the strip, it may be time to replace them.
By following these steps, you can ensure your LED strip lights remain in top condition and look their best for years to come. Cleaning and maintaining them regularly will help prevent unnecessary damage and keep them looking new.
Are There Any Potential Risks or Dangers Associated With the Removal of Led Strip Lights?
Yes, there are potential risks and dangers associated with removing LED strip lights. It is important to take the necessary safety precautions before attempting to remove them:
- Make sure to turn off the power supply for your LED strip lights before attempting to remove them. This will help reduce the risk of electric shock or other accidents occurring while removing the lights.
- Carefully disconnect the power supply from the LED strip lights by unplugging them or turning off a breaker switch in your circuit box.
- Wear protective gloves and eyewear while handling the LED strip lights to protect you from any shocks, hot surfaces, or sharp edges on the fixture.
- Use a razor blade or sharp knife to remove the adhesive backing from the LED strip lights carefully. Ensure you are careful not to cut into any wires, as this could cause damage to your lights.
- Once all of the adhesives have been removed, disconnect the cables connected to each LED strip light by gently pulling them apart.
- Unscrew the mounting brackets that are holding each LED strip light in place and carefully remove them from the surface.
- Finally, dispose of your used LED strip lights properly to avoid any potential hazards or environmental damage.
Following these steps will help ensure your LED strip lights’ safe and successful removal. Be sure to refer to the manufacturer’s instructions for additional safety information and guidance.
Conclusion
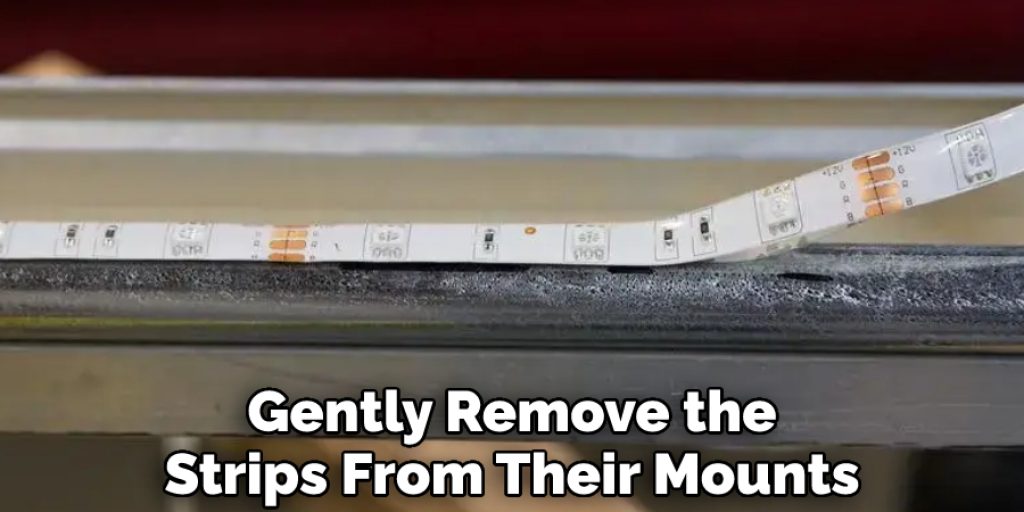
In Conclusion, removing led strip lights is a fairly simple task that can be completed in a few steps. First, ensure you have the appropriate tools to remove the strips from their mounts (a small Phillips head screwdriver or flathead may be required). Secondly, carefully disconnect any wires and plugs connected to the strips before proceeding with the removal. Thirdly, gently remove the strips from their mounts. Finally, store the LED strip lights properly for reuse or dispose of them properly if you no longer need them.
Additionally, it is important to ensure that the area being worked on is free from dust and dirt. Taking the time to clean the area will make the removal process easier and ensure that you do not damage any of your belongings or the LED strip lights in the process. I hope this article has been beneficial in learning how to remove led strip lights. Make Sure the precautionary measures are followed chronologically.


