How to Remove Roller Brush From Shark Vacuum
Do you have a Shark vacuum that needs to be maintained? If so, then removing the roller brush is an important step in keeping your vacuum running smoothly. Removing the roller brush might seem like a daunting task for DIYers, but it’s not as difficult as you may think.
In this post, we’re going to explain exactly how to remove roller brush from shark vacuum safely. After reading through our simple steps and following along with the illustrated images provided, you’ll be ready to tackle any future maintenance tasks on your own!
11 Step-by-step Guidelines on How to Remove Roller Brush From Shark Vacuum
Step 1: Unplug the Vacuum
Before you start any maintenance on your vacuum, the most important thing to do is unplug the machine. This will ensure that no one gets shocked while working on the vacuum. This is especially important if you’re taking the roller brush off a corded Shark vacuum. You’ll also want to make sure the machine is off and that the roller brush has stopped spinning before you attempt any maintenance.
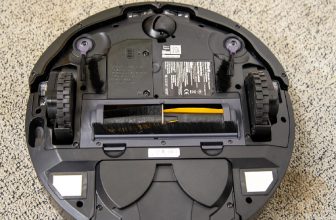
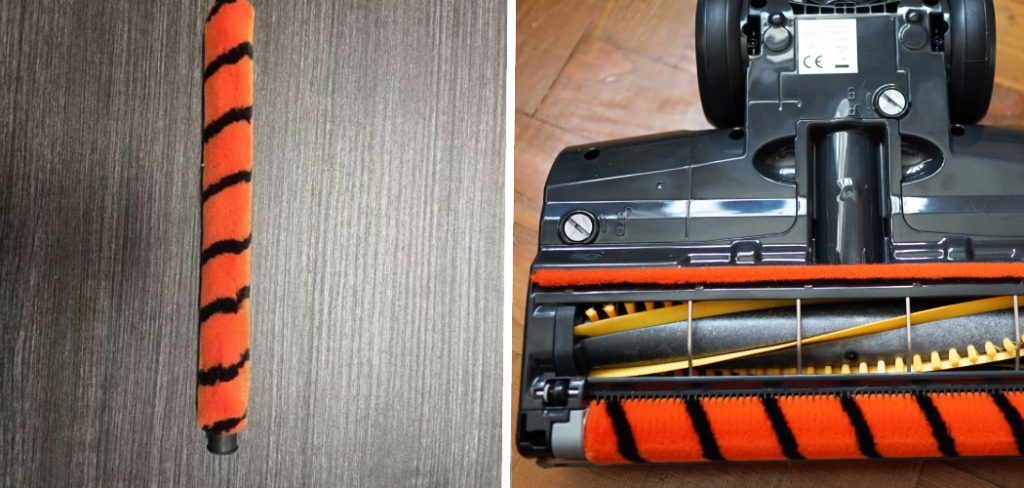
Step 2: Identify The Roller Brush
Once your vacuum is unplugged, locate the bottom of the machine and find where the roller brush is located. If there are any screws or bolts attached to it, loosen them until they can be taken off with your hands. Then remove the roller brush with your hands. It should come off with little effort.
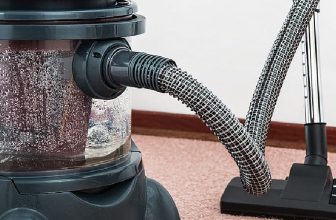
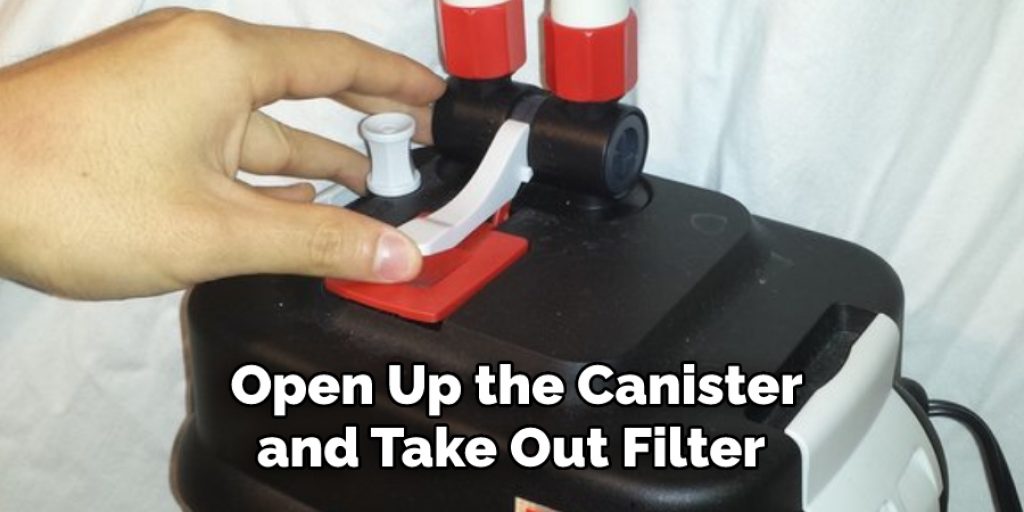
Step 2: Remove the Canister and Clean the Filter
Next, open up the canister and take out the filter so that you have access to the roller brush. Make sure to clean the filter before putting it back. Then take out the roller brush and dispose of it. You may want to check the roller brush for any signs of damage before you dispose of it. This is especially important if you’ve been using your vacuum for a long time.
Step 3: Locate the Roller Brush
You should be able to see the roller brush at this point, as it is typically located near the bottom of the vacuum. Remember, the roller brush may be held in place with screws or bolts. If there are any, loosen them before taking out the roller brush. This should be done carefully, as it can be easy to damage the roller brush.
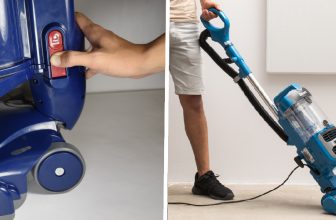
Step 4: Disconnect Belt from Motor and Roller Brush
Depending on your model, you will need to either unscrew the belt or press down on a release tab. This will disconnect the belt from both the motor and roller brush. You may need to use pliers or a wrench to loosen the screws on some models. Then remove the belt and set it aside. It is recommended that you keep the belt in a safe place, as it will be needed later.
Step 5: Lift Out Roller Brush
Take your hands and carefully lift out the roller brush from the vacuum. Be careful not to snag any wires while doing so, as it could cause damage. This is an important step as the roller brush could become lodged in the vacuum if it’s not removed correctly. This could lead to more complicated repairs.
Step 6: Inspect Roller Brush
Once you have the roller brush out of the vacuum, take a few moments to inspect it for any damage or debris. If there is any obvious damage, then you should replace the roller brush as soon as possible. It is important to keep your vacuum free of dirt and debris, as this will help it run more efficiently.
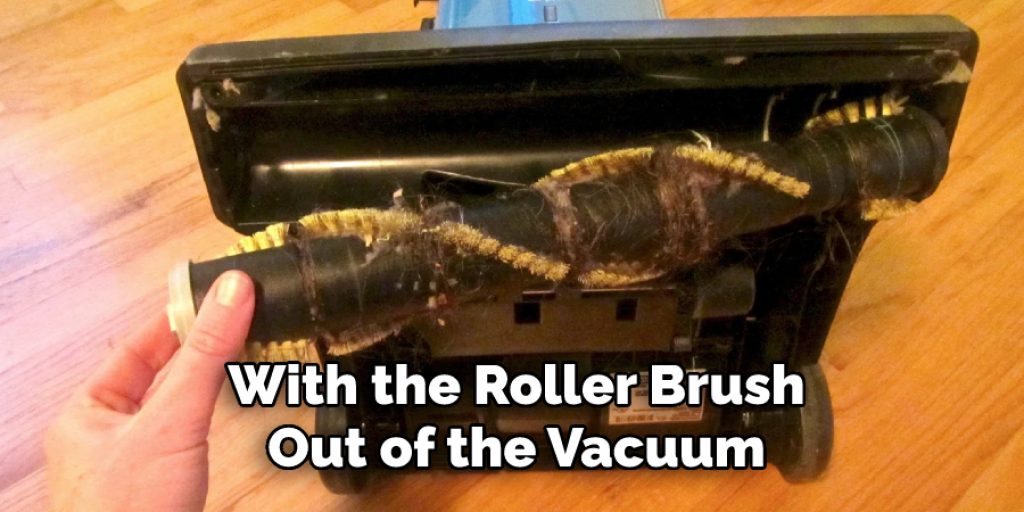
Step 7: Clean Out Vacuum Chamber and Roller Brush
With the roller brush out of the vacuum, take a few moments to clean out any built-up debris from the chamber and roller brush. This will help ensure optimal performance when you put it back in. Then use a damp cloth to wipe down the roller brush and remove any remaining dust. You can also use a vacuum attachment to help remove any stubborn dirt.
Step 8: Reassemble Vacuum
Once you have thoroughly cleaned out the chamber and roller brush, you can now start to reassemble the vacuum. Start by putting the roller brush back into place, then reconnecting the belt. It is important to make sure that the belt is securely in place, as it will help keep the roller brush from coming off. Finally, put back the filter and screw or bolt the roller brush in place.
Step 9: Tighten Belt and Secure Motor Mounts
Make sure that the belt is tight, and then secure all motor mounts so that they are in their correct places. This should be done before plugging the vacuum back in. This will help ensure optimal performance and make sure that the roller brush won’t come off. That’s it! Now all you need to do is plug in your vacuum and enjoy its newfound suction power.
Step 10: Switch On the Vacuum and Test Functionality
Once everything is reassembled, plug the vacuum into a power source and switch it on. Make sure to test all functionality of the machine, such as suction and roller brush movement, before you finish. It is important to make sure that all parts are working correctly before you use the vacuum for regular tasks.
Step 11: Clean the Filter and Reassemble the Canister
Before you finish, make sure to clean the filter and reassemble the canister. This will ensure that your vacuum remains clean and functions correctly in the future. After everything is in place, your Shark vacuum should be ready to use. Make sure to clean and maintain the vacuum regularly, following the instructions in your user manual. This will help keep your vacuum running at its best.
By following these steps, you should now have all the information on how to remove roller brush from shark vacuum. Congratulations! You should now be ready to tackle any other maintenance task that comes up.
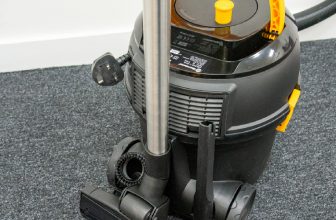
What is the Use of a Shark Vacuum?
Shark Vacuum is a powerful cleaning tool that can help remove dirt, dust, and debris from your floors and other surfaces. It features powerful suction technology to clean deep into carpets and hardwood floors.
The roller brush helps agitate the dirt and debris for an even deeper clean. With regular use and maintenance, Shark Vacuums are designed to provide years of reliable service.
Shark Vacuums can help keep your home clean and healthy, without the need for frequent deep cleaning. Additionally, they are an affordable and efficient way to maintain a clean environment in any home.

Why Should I Remove Roller Brush From Shark Vacuum?
Removing the roller brush from your Shark Vacuum is important for a few reasons. First, it allows you to inspect and clean out any built-up debris that could be interfering with the performance of your vacuum. Additionally, having easy access to the roller brush makes it easier to replace or repair parts if necessary. Finally, cleaning and maintaining roller brush helps ensure that your vacuum can provide optimal performance for years to come.
By removing the roller brush, you will be able to maintain and extend the life of your Shark Vacuum. This easy maintenance task is definitely worth taking a few moments out of your day!
Do You Need to Get Professionals Help?
No, you do not need to hire a professional for the task of removing roller brush from Shark vacuum. This is a relatively simple task that can easily be accomplished with the right tools and knowledge.
However, it is always recommended to consult your user manual before attempting any maintenance tasks on your own. Additionally, if you have any doubts or are unsure of your ability to safely complete the task, then it is best to hire a professional.
The choice is ultimately yours and should be based on how comfortable you feel completing the task and what method you prefer. But with a few simple steps, you can easily remove roller brush from Shark vacuum and keep your machine running like new.
Frequently Asked Questions
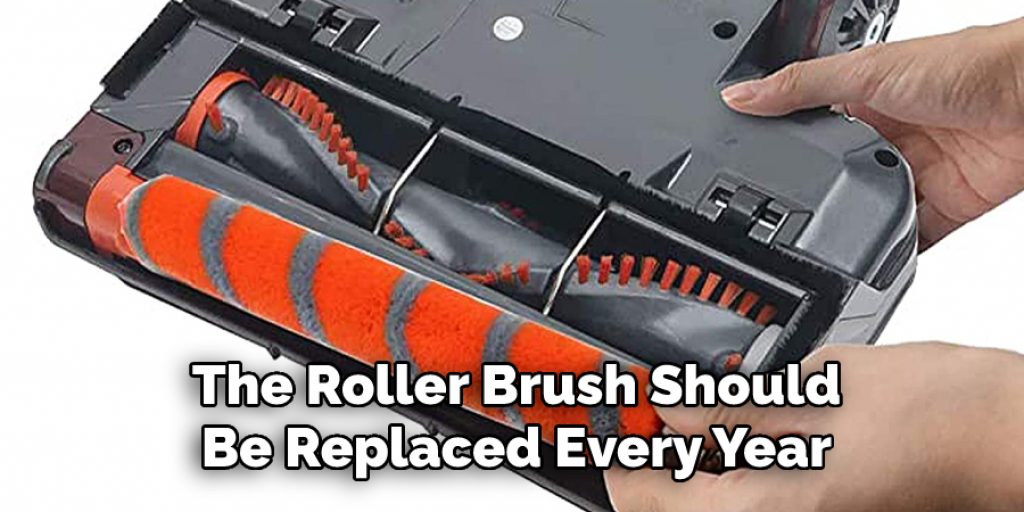
Q: How Often Should I Replace the Roller Brush on My Shark Vacuum?
A: The roller brush should be replaced every 6-12 months, depending on the model of your vacuum and how often you use it. It is important to regularly check for damage or wear and tear, as a worn-out roller brush can decrease suction power.
Q: How Do I Know If My Roller Brush Is Damaged?
A: You should visually inspect the roller brush and look for any signs of damage, such as missing bristles or fraying. You can also check the belt that connects the roller brush to the motor, as a worn-out or broken belt will affect its performance. If you think that your roller brush is damaged, then it is best to replace it as soon as possible.
Q: Can I Clean the Roller Brush?
A: Yes, you can use a damp cloth and vacuum attachment to clean out any built-up debris or dirt from the roller brush. This will help ensure that it is free of dust and running at its best. However, if your roller brush is severely damaged or worn out, then replacing it may be necessary.
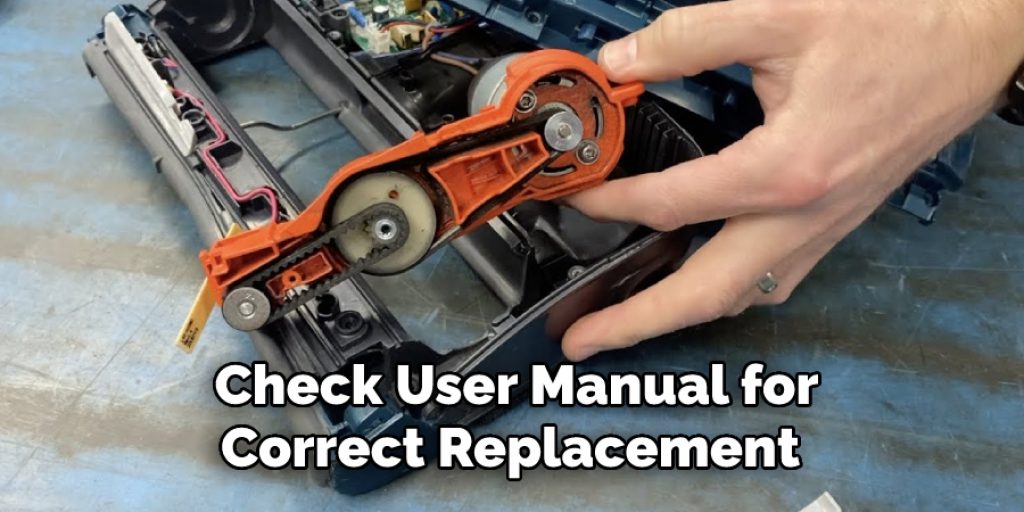
Q: How Do I Know If I Have the Right Replacement Roller Brush?
A: Check your user manual to make sure you have the correct replacement roller brush for your model. Different models require different roller brushes, so it is important to double-check before purchasing a new one.
Conclusion
After reading this article, you know how to remove roller brush from shark vacuum. Removing a roller brush from your Shark vacuum is a fairly straightforward task. It’s important to remember to unplug your vacuum before starting the removal process and make sure to inspect for any debris or dust in the roller chamber for maximum efficiency.
Once you pull the catch button, you should be able to remove the rollers from the vacuum easily. To reinstall your roller brushes, follow these steps in reverse order until they are secure. Finally, it’s important to check your model instructions and ensure your new brush rolls are correctly installed before using them in your vacuum.
With this information in hand, you can now confidently remove any obstructions or issues with your Shark Vacuum’s roller brushes!
Angela Ervin
Angela is the executive editor of DIY quickly. She began her career as an interior designer before applying her strategic and creative passion to lifestyle and home. She has close to 15 years of experience in creative writing and online content strategy for housekeeping, home decorations as well as other niche efforts. She loves her job and has the privilege of working with an extraordinary team. She lives with her husband, two sons, and daughter in Petersburg. When she's not busy working she spent time with her family.