How to Reset Shark Robot Vacuum
Having a robotic vacuum to help keep your floors clean is a great way to save time in your daily cleaning. But if you’re like most people, you probably don’t think about it until something goes wrong and you need to figure out how to reset it!
If that’s the case, then look no further – we’ll walk you through exactly what you need to know in order to get your Shark Robot Vacuum back up and running again. By following these simple steps, you’ll be able to easily understand how to reset shark robot vacuum and troubleshooting issues with your vacuuming machine so that it will work properly once more.
Step-by-step Guidelines on How to Reset Shark Robot Vacuum
Step 1: Unplug the Power Cord
Disconnect the power cord from the power outlet and then remove it from your Shark Robot Vacuum. This will reset the unit to its factory settings. You may also need to disconnect the battery in some models. Be sure to refer to your owner’s manual for specific instructions.
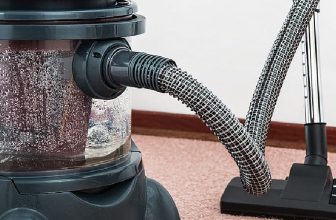
Step 2: Remove the Dust Bin
Next, remove the dust bin from the vacuum and set it aside. Do not discard or throw away any of the contents inside. You’ll need them for re-installing the dustbin later. Then, make sure to empty out any debris that may have been collected inside the dustbin. It’s important to keep it clean so that your robot vacuum can operate properly.
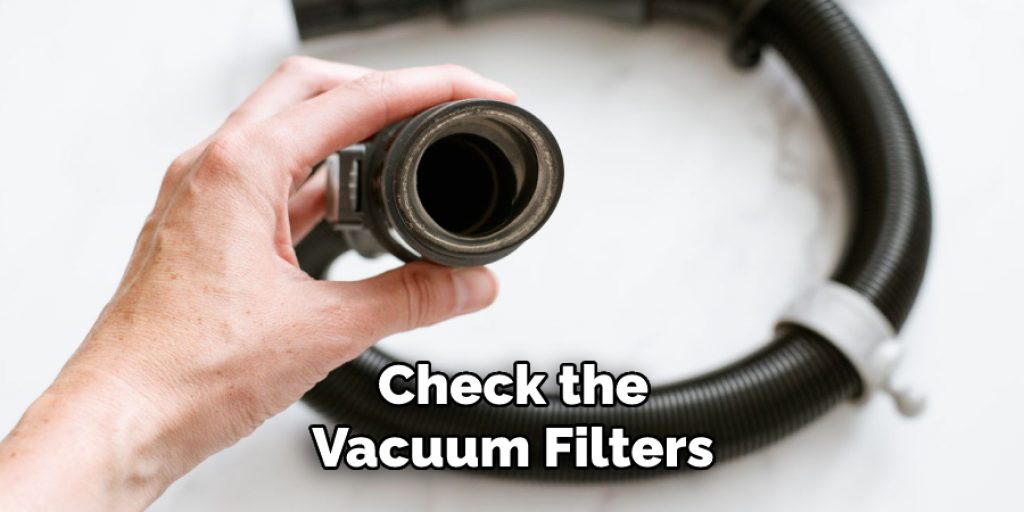
Step 3: Clean Filters and Brushes Regularly
Make sure to clean your robot’s filters and brushes on a regular basis in order to keep them in good working order. That way, the dust and dirt won’t accumulate inside and clog up the system. Refer to your owner’s manual for specific instructions on how to clean the filters and brushes.
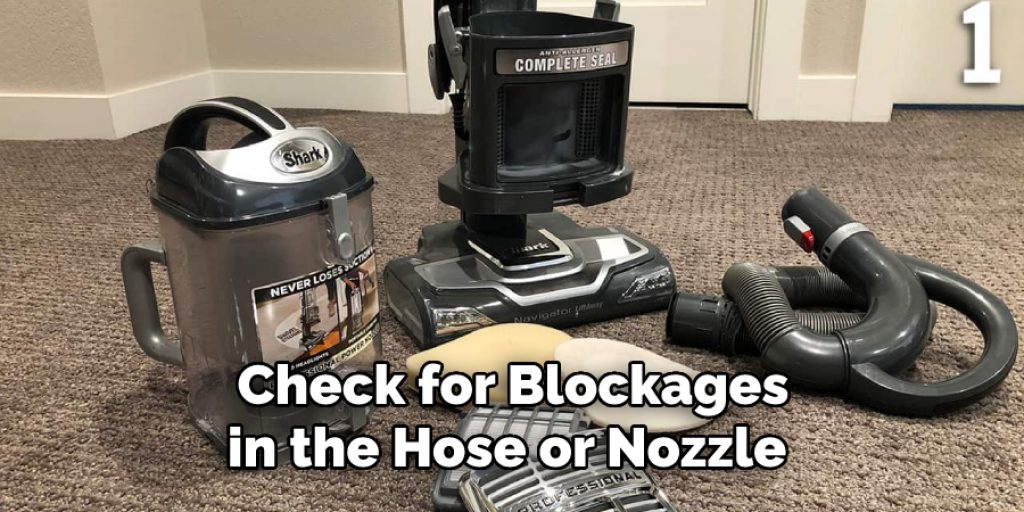
Step 4: Check for Blockages
Check for any blockages in the hose or nozzle of your vacuum, as these can cause it to malfunction. If you find something blocking the flow of air, gently remove it and then proceed with the reset process. You may also need to check the entire system for any signs of damage or lose parts.
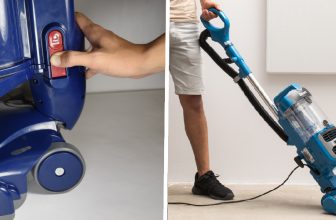
Step 5: Perform a Hard Reset
You will need to do a hard reset on your Shark Robot Vacuum in order to reset it completely. To do this, press and hold the power button for five seconds until you hear a beep. This should clear any errors or glitches that may have caused the malfunction. After all of these steps, your robotic vacuum should be back up and running.
Step 6: Allow the Vacuum to Cool Down
Allow the vacuum to cool down for at least 30 minutes before attempting any reset procedures. This will help prevent any further damage from occurring. You may also want to check the fan for any signs of damage or debris buildup. This should be done every two to three months in order to ensure the optimal functioning of your vacuum.
Step 7: Reconnect the Power Cord
Re-connect the power cord to your Shark Robot Vacuum and then plug it into a wall outlet. You may also want to check the power cord for any signs of damage or fraying before re-connecting it. That way, you can ensure your vacuum runs safely and efficiently. You should also check the reset button on the vacuum to make sure that it’s working properly.
Step 8: Replace the Dust Bin
Put the dust bin back into its place in the vacuum. Then, re-install the filters and brushes that you had taken out earlier. Make sure they are securely in place before proceeding with the reset process. But first, make sure to empty out any collected debris from the dust bin. You don’t want it to clog up the system and cause your vacuum to malfunction again.
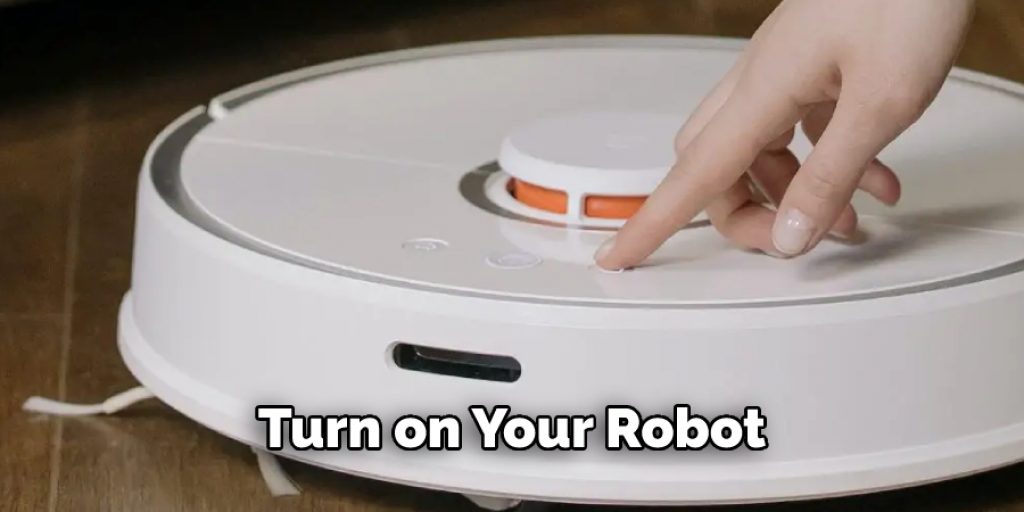
Step 9: Test the Robot
Turn on your robot and see if it is functioning properly. If not, try repeating steps 5-8. You may also need to check the battery in some models. Then, see if the robot is able to pick up any dirt or debris. If it doesn’t seem to be working properly, it may be a sign of a deeper issue that needs to be addressed.
Step 10: Update Firmware
It’s always a good idea to keep your robot’s firmware up to date. You can do this via the app or by connecting your Shark Robot Vacuum to a computer. You may also want to refer to your owner’s manual for specific instructions on how to update the firmware. Doing this will help ensure that your vacuum.
Step 11: Calibrate Sensors
Calibration of your vacuum’s sensors is essential in ensuring that it navigates properly and works efficiently. This should be done on a regular basis, typically every few weeks. Then, you can check the robot’s performance to see if it is performing as expected. If not, you may need to re-calibrate the
Step 12: Replace Parts as Needed
If any of your robot’s components are worn or damaged, you may need to replace them in order to get it running properly again. Consult the user manual for more information on how to do this. That way, you can make sure your vacuum is in tip-top shape and able to perform its duties. If you’re having ongoing issues with your Shark Robot Vacuum, consider contacting a professional for help.
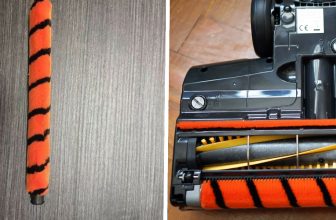
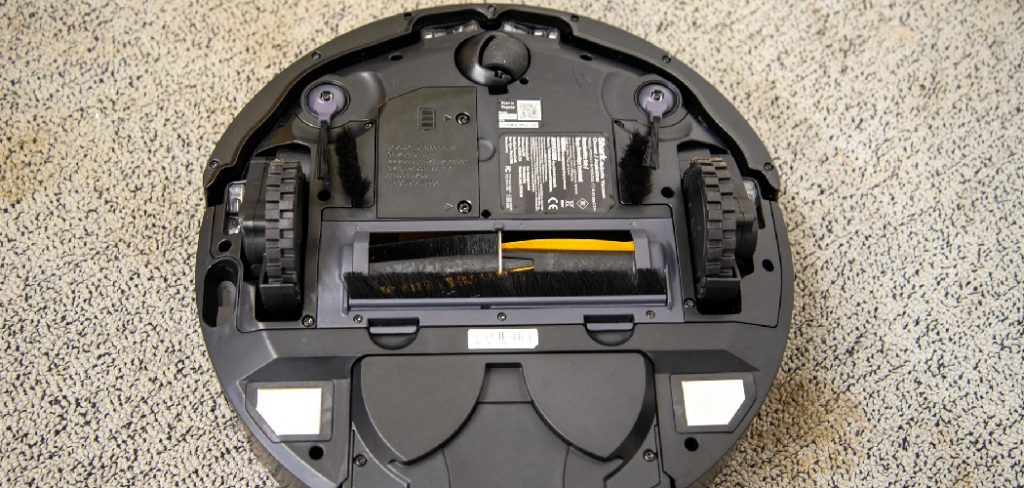
Step 13: Clean Robotic Brush Rollers and Wheels
Make sure to clean the robotic brush rollers and wheels of your robot regularly. This will help keep it running smoothly and efficiently. This should be done every two to three months, or as needed. Use a damp cloth and mild detergent to wipe away any dirt or debris buildup that may have occurred.
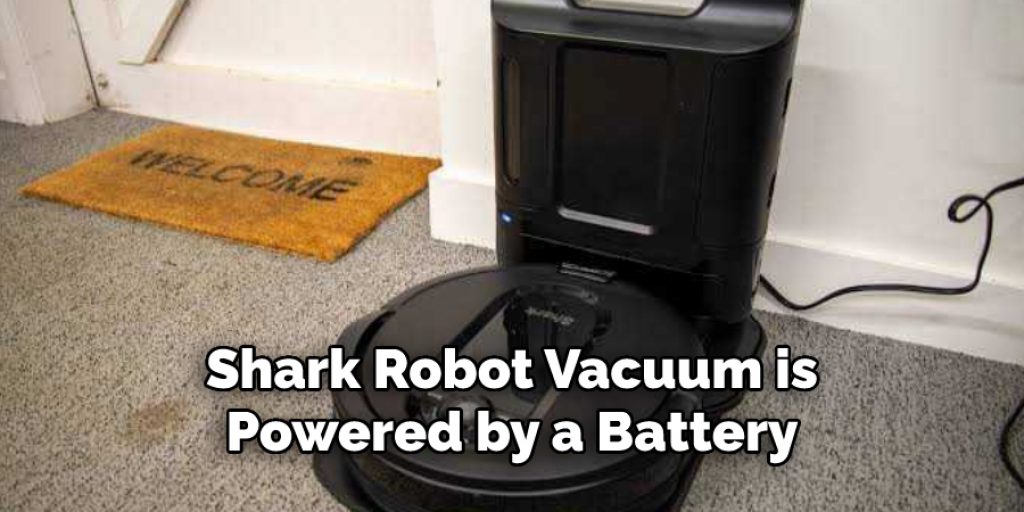
Step 14: Recharge the Battery
If your vacuum is powered by a battery, make sure you allow it to recharge fully before using it again. This will ensure that it has enough power to complete its cleaning tasks. Then, your Shark Robot Vaaum should be back up and running. Enjoy the convenience of having a robotic vacuum to help with your cleaning needs!
By following these steps, you should be able to easily reset your Shark Robot Vacuum and get it back up and running in no time! If you experience any further issues or need more help, contact the manufacturer for additional support. They will be able to provide more specific instructions on how to reset your particular model
Should I Call for Professionals
You will get all the basic knowledge about how to reset shark robot vacuum in this article. If you are still not able to do this by yourself, It’s always a good idea to get help from professionals. Professionals can provide more specific instructions on how to reset your model and diagnose any underlying problems.
They will also be able to suggest ways for you to improve the overall performance of your vacuum, such as suggesting repairs or replacements of parts. Contact a professional for help if you are still having issues after following the steps outlined above.
Frequently Asked Questions
Q: How Do I Reset My Shark Robot Vacuum?
A: The process for resetting your Shark robot vacuum varies depending on the specific model you have. Generally, it involves pressing and holding a particular button or combination of buttons for several seconds. Refer to the user manual for your Shark robot vacuum model for more precise instructions on how to reset it.
Q: What Should I Do if My Shark Robot Vacuum Won’t Turn on?
A: If your Shark robot vacuum won’t turn on, try performing a reset by pressing and holding the appropriate buttons as instructed in the user manual for your model. If that doesn’t work, check to make sure the power cord is securely connected to the vacuum and that it’s receiving power from a working wall outlet. If everything looks in order, contact Shark customer service for assistance.
Q: What Should I Do if My Shark Robot Vacuum Is Not Responding Properly?
A: If your Shark robot vacuum isn’t responding properly, try resetting it using the instructions in your user manual. If that doesn’t work, try dusting off or wiping down the sensors and checking the brushes for debris to ensure they are clear. You may also need to check your Wi-Fi connection or replace any damaged components. If none of this resolves your issue, contact Shark customer service for further assistance.
Q: What Should I Do if My Shark Robot Vacuum Is Not Cleaning Properly?
Check the filters, brushes and sensors to make sure there is no visible debris or blockage. Then try resetting your robot vacuum and running it again. If you are still experiencing problems with cleaning performance, try emptying its dust bin, clearing any clogged hoses or ducts, and making sure the unit is receiving enough power. If that doesn’t work, contact Shark customer service for additional help.
Conclusion
After reading this article now know everything about how to reset shark robot vacuum. Resetting your Shark Robot Vacuum is a vital part of keeping it running like new. Taking some extra time to do so can save money by avoiding costly repairs or replacements.
Plus, resetting the vacuum is simple and satisfying – knowing these few steps can help you maintain one of the most popular and efficient robotic vacuums on the market.
So don’t be intimidated if you ever need to troubleshoot or reset your Shark Robot Vacuum; be confident that you have learned persuasive skills and are now capable of easily resetting it on your own with reliable guidance. With these tips in hand, you can rest assured that no mess will go uncleaned!
Angela Ervin
Angela is the executive editor of DIY quickly. She began her career as an interior designer before applying her strategic and creative passion to lifestyle and home. She has close to 15 years of experience in creative writing and online content strategy for housekeeping, home decorations as well as other niche efforts. She loves her job and has the privilege of working with an extraordinary team. She lives with her husband, two sons, and daughter in Petersburg. When she's not busy working she spent time with her family.