
How to Remove Stripped Wheel Stud
Are you having trouble removing a wheel stud? It may be because the stud is stripped. It’s happened to all of us. We’re driving along, and our car starts shaking. We pull over to the side of the road and realize that one of our wheels is loose. In some cases, the wheel may even come off altogether.
When this happens, it’s usually because a wheel stud has been stripped. We’ll show you how to remove stripped wheel stud and replace it with a new one in this post. We’ll also give you some tips on avoiding stripping the stud in the first place. Let’s get started!
10 Ways on How to Remove Stripped Wheel Stud
1. Remove the Brake Caliper and Rotor:
Use a wrench to loosen and remove the bolt holding the brake caliper in place on your Toyota Sequoia. This will allow you to move it out of the way so that you can access the wheel hub. Once removed, use a screwdriver or drill with a long bit to carefully push out the rotor from the inside of the wheel.
2. Remove the Spindle Nut:
Use a deep socket to remove the spindle nut from your wheel hub. This will allow you to access the studs and tap or cut them out of place. Make sure that you have a piece of wood placed on the other side of the rotor when doing this to avoid damaging the rotor. Once the studs are removed, you can now remove the rotor from your wheel hub. You may need to use a pry bar or a hammer to loosen it up.
3. Drill Out the Center of the Stud:
Use a drill with a piece of metal wire to drill out the center of your wheel studs so that you can remove them. Make sure that you purchase new studs before doing this, as using existing ones will run you into an issue where they are too small. Remove the old studs from your wheels and discard them. Replace them with the new studs that you purchased. Make sure that you hand-tighten the studs in place to ensure that they are properly secured before driving on them.
4. Heat the Studs:
Use a MAPP torch or propane tank to heat up your studs to expand them so that you can remove them. This will require that you hold the metal in one place for several seconds to avoid it breaking off inside the wheel hub. Remove the studs and hub cap using a pair of pliers. Grab the entire stud with the tip of the pliers and pull it out from the inside of the hub.
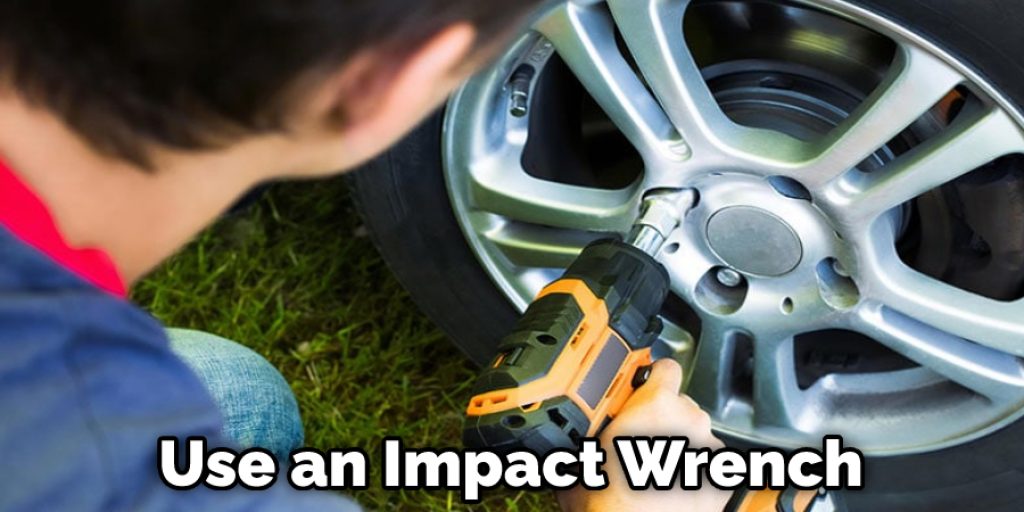
5. Try Impact Wrench:
Use an impact wrench to remove the studs from your wheel hub by applying backward torque on the nut that holds them in place. This should allow you to easily remove them without worrying about them breaking or rusting in place within the hub.
6. Re-Using the Old Studs:
While it is not the best option, if you do not have access to new studs and want to re-use your old ones, this method will work. Use a drill with a tap handle and remove any rust from the studs by heating them up and applying WD40. Next, push the old stud into place, turning the tap handle until it has reached the wheel hub.
7. Use a Saw:
Use a saw to cut through the studs using slow, deliberate movements to prevent breaking or further damaging your wheel hub. You will likely need access to cutting discs to do this properly, but having them will allow you to avoid any unnecessary jagged edges left behind.
8. Use a Drill and Tap Handle:
Use a drill and tap handle to re-thread the wheel hub by inserting it into one of the damaged studs. You will then twist the drill along with the tap handle to remove material from within the stud so that you can create new threads. This process will allow you to reuse the studs.
9. Use Pliers and Heat:
Grip the stud in a pair of pliers and use a blowtorch to heat the surrounding area until it is hot to the touch. Once it has cooled, you should be able to easily pull at the stud until it comes free from your wheel hub. If you are currently having trouble removing a stud from your wheel hub, we encourage you to visit our service department where our highly skilled technicians will remove it for you.
10. Use Vise-Grips:
Hold the wheel stud with a pair of vise-grips and turn the handle counterclockwise to ease it out of its place. Be careful not to apply too much pressure as you do this, as you could snap them off within your wheel hub.
To make sure that you don’t damage any parts of your car during the removal process, it is important to follow these steps carefully. Avoid doing anything that could result in shock damage, or you could end up with damaged parts on your hands.

Safety Precautions and Warnings
1. Locking pliers (vice grips) can damage the stud and make it more difficult to remove.
2. Never attempt to clamp onto a portion of the wheel stud other than the base or nut; doing so will damage/twist/or ruin the stud itself, rendering it unusable.
3. When removing a bent stud, grip the stud by the base or nut for greater control.
4. When removing stuck fasteners, always counter-hold the item to be removed using a second set of pliers. This way, you can avoid twisting it out of shape and rendering it useless for reinstallation later on.
5. Always make sure that all components are securely fastened to their original locations before beginning.
6. Always wear safety glasses or goggles to avoid inflicting injury on yourself during the entire process.
7. Always keep a bucket of water nearby to quickly cool down studs and nuts that become too hot for safe handling during removal procedures. This can help avoid possible burns injuries and damage to surrounding areas.
You Can Check It Out to: Prevent Wheel Theft
Final Thoughts
A wheel stud is a threaded metal rod that extends through the brake drum and attaches to the hub of a vehicle’s wheels. It helps secure the wheel against the brake drum, which stops the wheel’s rotation. If you’ve ever had a problem with your wheel studs, you know how frustrating it can be. In this article, we have shown how to remove stripped wheel studs quickly and easily.
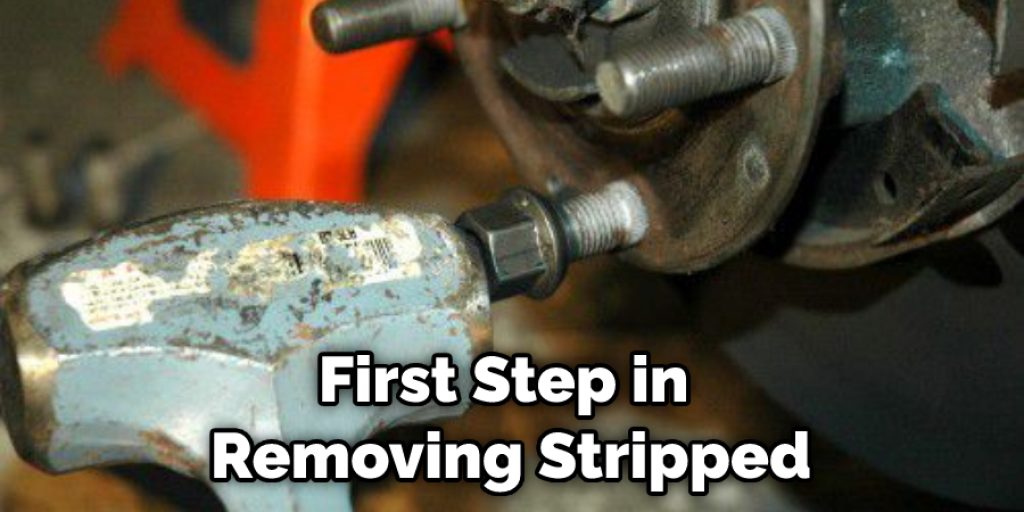
The first step in removing stripped wheel studs is to jack up your car and place it on sturdy jack stands. Once your car is raised, remove the lug nuts from the affected wheel using a lug wrench. Then use a socket wrench to unscrew the damaged wheel stud.
If the stud is extremely damaged, it may be necessary to drill off the head of the stud. We hope this blog post was informative. If you have any questions or want to know more, then feel free to comment below!
Louis Wein
Louis has always been fascinated by cars. He loves the way they look, the sound of the engine, and how they make him feel when he's driving. He is always keen to learn more about different mechanics of cars and how the engine contributes to other aspects of the car. As an automotive technician with over 10 years of experience, he knew how they worked and loved taking them apart to see how they went back together. He was especially interested in the mechanics of combustion engines and loved finding ways to make them more efficient. He loves to work on cars and help people keep their vehicles running smoothly. As a senior editor, he enjoys contributing to Diy quickly because it allows him to share his knowledge and expertise with others.


