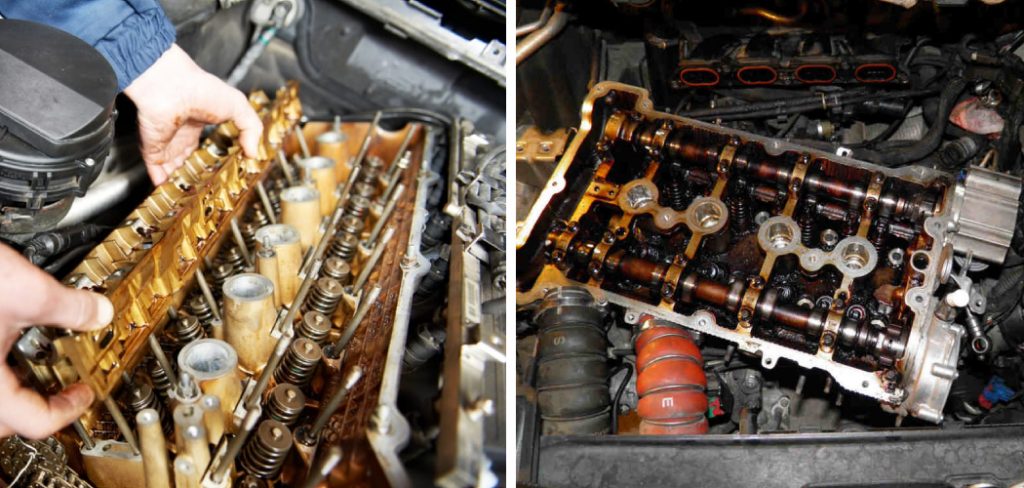
How to Remove the Cylinder Head
If you are like most people, you know very little about the inner workings of your car. In fact, most people don’t even know how to change a spark plug. But what if I told you that it is possible to remove the cylinder head on your own? Believe it or not, it is actually a pretty simple process. This guide will walk you through the steps necessary how to remove the cylinder head.
Removing the cylinder head is a daunting task, but it’s not as hard as it seems. In this blog post, we will walk you through the process step-by-step and show you how to do it like a pro. Keep reading for more information. So without further ado, let’s get started.
Why Do You Need to Remove the Cylinder Head?
The cylinder head in an internal combustion engine is responsible for sealing the cylinders to ensure maximum compression and prevent leakage. It also houses the intake and exhaust valves, spark plugs, and fuel injectors.
There are a few reasons why you might need to remove the cylinder head from your engine. These can include:
1. To Replace a Blown Head Gasket
If your engine has a blown head gasket, it will need to be replaced. This is a fairly common issue, especially in older vehicles. So it can be a reason why you might need to remove the cylinder head.
2. To Repair a Cracked Cylinder Head
Another reason you might need to remove the cylinder head is if it is cracked. This can be caused by overheating, excessive wear and tear, or even engine failure. If your cylinder head is cracked, it will need to be replaced.
3. To Clean the Cylinder Head
If your cylinder head is dirty or clogged, it can cause a variety of problems. These can include decreased engine performance, increased fuel consumption, and even engine damage. So it is important to keep your cylinder head clean. Removing it is the best way to do this.
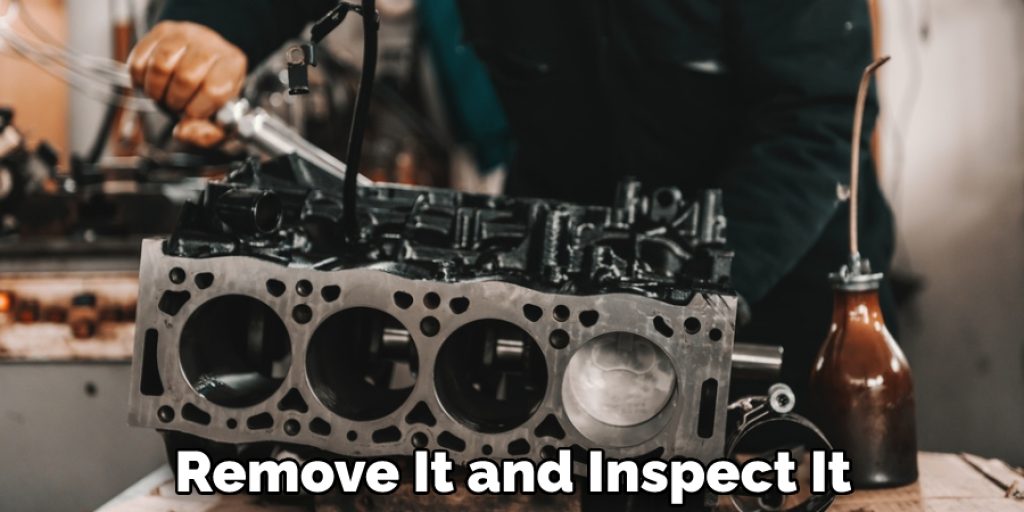
4. To Inspect the Cylinder Head
If you suspect there is an issue with your cylinder head, the best way to diagnose it is to remove it and inspect it. This will allow you to see if there is any damage or wear and tear. So it can be a good idea to remove the cylinder head even if you’re not sure there is an issue.
5. To Install a Performance Cylinder Head
If you are looking to increase the performance of your engine, one way to do this is to install a performance cylinder head. This can give your engine more power and torque. So it is a popular modification for many car enthusiasts.
6. To Conduct a Compression Test
Compression tests are important in determining the condition of an engine’s cylinders and piston rings. They can also be used to diagnose other engine problems, such as a leaking head gasket or a burned valve.
These are just a few of the reasons why you might need to remove the cylinder head from your engine. As you can see, it is not a difficult task and can be done by anyone with basic mechanical knowledge.
Things You Will Need to Remove the Cylinder Head
- Ratchet and socket set
- Wrench set
- Screwdriver set
- Cylinder head removal tool (optional)
- Replacement cylinder head gasket(s)
How to Remove the Cylinder Head in 10 Steps
Step 1: Disconnect the Negative Battery Cable
Negative battery cables can be found on the negative (-) side of the battery. Disconnecting this will help prevent any electrical shorts while you’re working on the engine. Be careful not to let the cable touch any metal surfaces on the car.
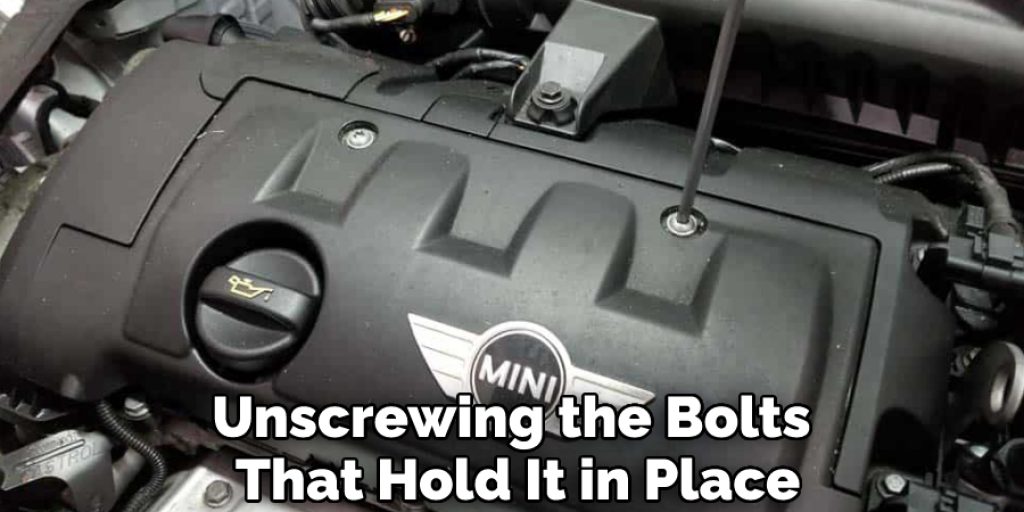
Step 2: Remove the Engine Cover
Remove the engine cover by unscrewing the bolts that hold it in place. Be careful not to drop any of the bolts into the engine bay. Make sure to put the engine cover somewhere safe where it won’t get damaged.
Step 3: Drain the Coolant
Before you can remove the cylinder head, you need to drain the coolant from the engine. Locate the coolant drain plug on the bottom of the radiator and remove it. Place a large pan or bucket under the radiator to catch the coolant as it drains out. Once the coolant has finished draining, replace the drain plug and move on to the next step.
Step 4: Disconnect the Fuel Lines and Electrical Connectors
Next, you need to disconnect the fuel lines and electrical connectors from the cylinder head. Start by disconnecting the negative battery cable to prevent any electrical shorts. Then, remove the fuel line clamps and detach the lines from the cylinder head. Next, disconnect all of the electrical connectors from the cylinder head. Be sure to label each connector, so you know where it goes when it’s time to reassemble the engine.
Step 5: Remove the Exhaust Manifold
The exhaust manifold is attached to the cylinder head, so you’ll need to remove it before you can remove the cylinder head itself. Start by disconnecting the exhaust pipe from the manifold. Then, remove the bolts that hold the manifold to the cylinder head. With the bolts removed, you should be able to lift the exhaust manifold off of the cylinder head.
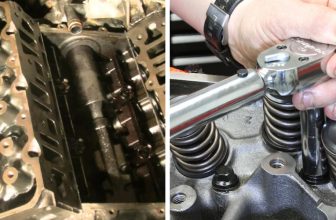
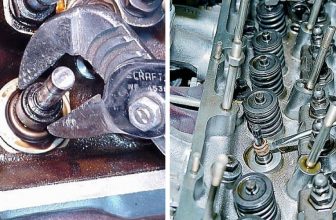
Step 6: Remove the Cylinder Head Bolts
Now it’s time to remove the cylinder head bolts. There are usually between 10 and 20 bolts holding the cylinder head in place. Use a socket wrench to remove the bolts, and be sure to keep them in a safe place so you don’t lose them. With the bolts removed, the cylinder head should lift right off of the engine block.
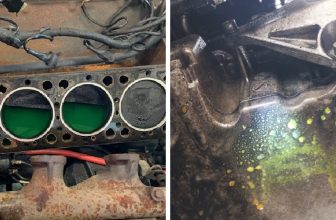
Step 7: Clean the Cylinder Head Surfaces
Once the cylinder head is removed from the engine, it’s a good idea to clean the surfaces of both the cylinder head and the engine block. This will help ensure a good seal when you reinstall the cylinder head. Use a brush and some degreaser to clean any dirt and grime off of the surfaces. Then, use a rag to wipe them down until they’re completely clean.
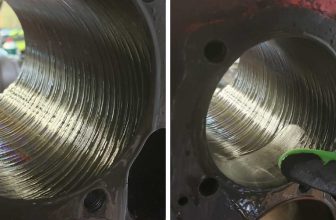
Step 8: Inspect the Cylinder Head for Damage
Before you reinstall the cylinder head, you should inspect it for any damage. Look for cracks, warping, or any other damage that could cause problems when you try to reinstall it. If you find any damage, you may need to replace the cylinder head completely.
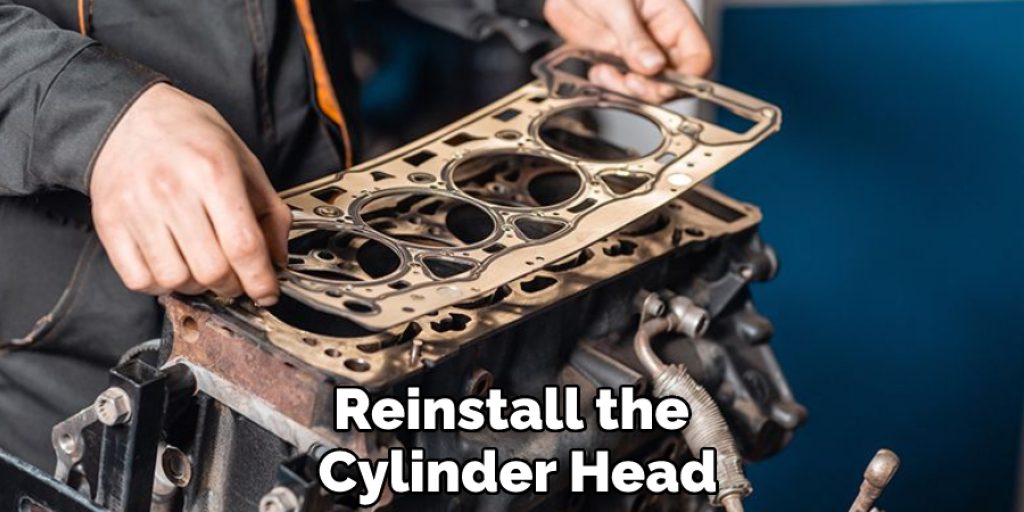
Step 9: Install the New Cylinder Head
Now it’s time to install the new cylinder head. If you’re simply replacing the old cylinder head, you can use the old bolts to secure it in place. If you’re installing a new cylinder head, you’ll need to use new bolts. Start by threading the bolts into the cylinder head. Then, carefully lower the cylinder head onto the engine block and hand-tighten the bolts. Once the cylinder head is in place, use a socket wrench to tighten the bolts until their snug.
Step 10: Reconnect the Fuel Lines and Electrical Connectors
Now you need to reconnect the fuel lines and electrical connectors to the cylinder head. Start by reconnecting the negative battery cable. Then, reattach the fuel lines and tighten the clamps. Next, reconnect all of the electrical connectors. Be sure to use the labels you made earlier to ensure that each connector is going back to its proper place.
Precautions You Must Take While Removing the Cylinder Head
1. Make Sure the Engine is Cold
You must allow the engine to cool down completely before starting any work on it. If the engine is hot, the cylinder head can be extremely hot and cause serious burns. So be careful and make sure the engine is cold before starting.
2. Remove all Electrical Connections
Before removing the cylinder head, make sure to disconnect all electrical connections. This includes the spark plug wires, fuel lines, and any sensors or wires attached to the cylinder head.
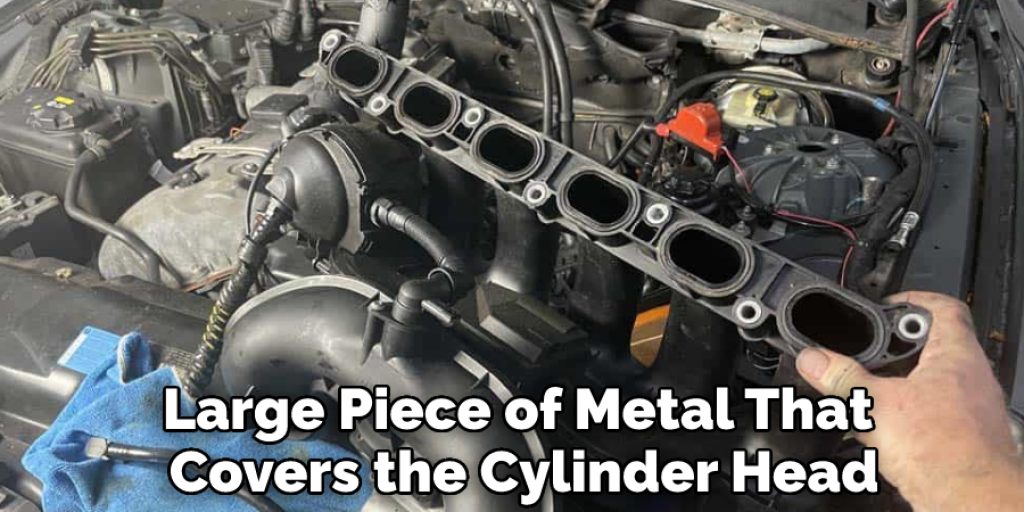
3. Remove the Intake Manifold
The next step is to remove the intake manifold. This is the large piece of metal that covers the cylinder head. To remove it, first, disconnect all the hoses and wires attached to it. Then remove the bolts that hold it in place. Be careful not to damage the gasket that seals the intake manifold to the cylinder head.
4. Remove the Exhaust Manifold
The exhaust manifold is also attached to the cylinder head. To remove it, first, disconnect the exhaust pipes from it. Then remove the bolts that hold it in place. Be careful not to damage the gasket that seals the exhaust manifold to the cylinder head.
Conclusion
Now that you know how to remove the cylinder head, it’s time to get started on your car repair! This process can be daunting, but if you take your time and follow these steps carefully, you’ll be able to do it. With a little patience and effort, you’ll have your engine running like new in no time. Thanks for reading, and good luck!
The process of removing the cylinder head is not overly complicated, but it does require a certain level of mechanical expertise. If you are not confident in your ability to remove the cylinder head, it is best to take your vehicle to a qualified mechanic. With the proper tools and know-how, however, any mechanically inclined individual should be able to handle this repair with relative ease.