How to Hone a Cylinder With Sandpaper
Whether you are a professional or a DIY enthusiast, at some point, you will need to use sandpaper to hone a cylinder. In this blog post, we will show you how to hone a cylinder with sandpaper so that you can achieve the best results. Keep reading for tips on choosing the right sandpaper, holding the tool, and more!
What Causes a Cylinder to Become Less Efficient?
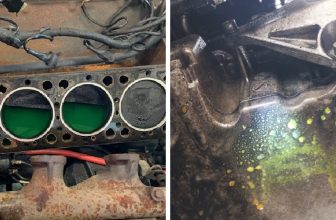
There are many reasons why a cylinder may become less efficient over time. One common reason is that the cylinder walls become worn down from use. This can cause the cylinder to lose compression, resulting in a loss of power. Another reason for decreased efficiency is the build-up of carbon deposits on the cylinder walls. These deposits can prevent the piston from moving smoothly, resulting in a loss of power. The other main reason for decreased efficiency is oil build-up on the cylinder walls. This can cause the piston to “float,” resulting in a loss of power. Lastly, worn or damaged piston rings can also cause a loss of power.
Why Should You Hone a Cylinder With Sandpaper?
There are many reasons why you may need to hone a cylinder. If the cylinder walls have become worn down from use, honing with sandpaper can restore the surface to its original condition. This will allow the cylinder to regain compression, increasing power. If the cylinder has been damaged, honing with sandpaper can remove the damaged area and restore the surface to its original condition. This will allow the cylinder to function properly once again.
Another reason to hone a cylinder is to remove carbon deposits. Carbon deposits can prevent the piston from moving smoothly, resulting in a loss of power. Honing with sandpaper can remove these deposits and restore the surface to its original condition. Lastly, if the cylinder has been damaged, honing it with sandpaper can remove the damaged area and restore the surface to its original condition. This will allow the cylinder to function properly once again.
Step by Step How to Hone a Cylinder With Sandpaper:
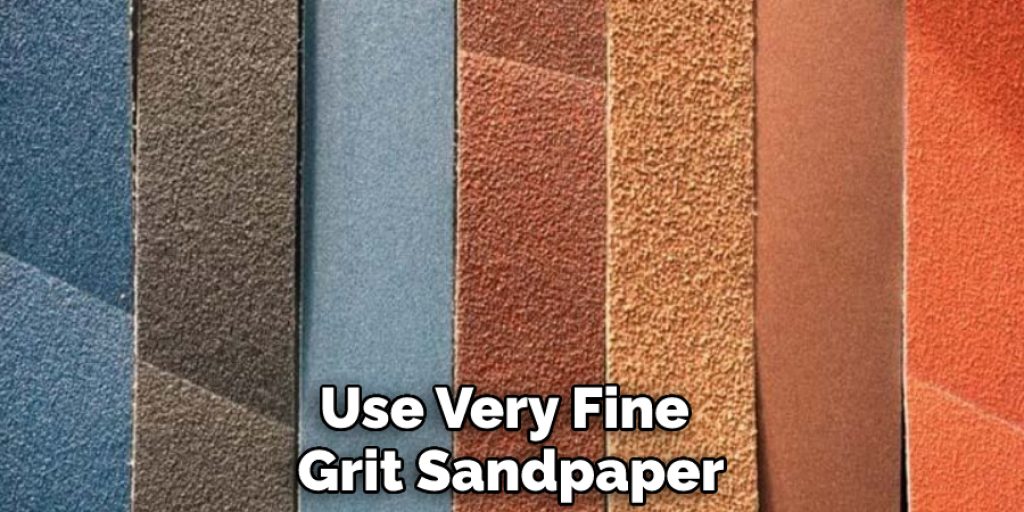
1. Select the Right Sandpaper
The first step in honing a cylinder is to select the right sandpaper. You will need to use very fine grit sandpaper to avoid damaging the cylinder. We recommend using 2000-grit sandpaper. If you are working on a very delicate cylinder, you may want to use even finer grit sandpaper. You can also use a honing stone or ball hone for this process. It is important to note that you should never use a power drill or any other power tool when honing a cylinder, as this can cause damage.
2. Attach the Sandpaper
Next, you will need to attach the sandpaper to the tool. There are many different ways to do this, but we recommend using Velcro. This will allow you to change the sandpaper quickly and easily. First, cut the sandpaper to size. Next, peel off the backing and attach it to the tool. If you are using a handheld tool, you may want to wrap the sandpaper around the tool. You can also use a cylinder key to attach the sandpaper. The type of tool you use will depend on the size and shape of your cylinder. It is important to make sure that the sandpaper is attached securely and evenly.
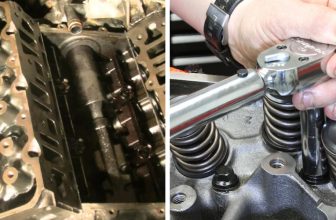
3. Hold the Tool
Now that the sandpaper is attached, you will need to hold the tool in order to hone the cylinder. The process is simple enough that you can do it with one hand. Just make sure that you have a good grip on the tool and that your hand is not slipping. If you are right-handed, you will want to hold the tool in your right hand and use your left hand to hold the cylinder. If you are left-handed, you will want to hold the tool in your left hand and use your right hand to hold the cylinder. It is important to hold the tool steady and apply even pressure.
4. Wet the Surface
Before you begin honing the cylinder, you will need to wet the surface. This will help prevent the sandpaper from clogging and keep the metal from overheating. Wet a sponge with cool water and wring it out so that it is only damp. Rub the sponge over the entire surface of the cylinder. If the cylinder is very dirty, you may need to use a mild soap to remove any buildup. First, clean the surface with soap and water, then rinse it off and dry it before proceeding to the next step. The surface should be clean and slightly damp before you begin honing.
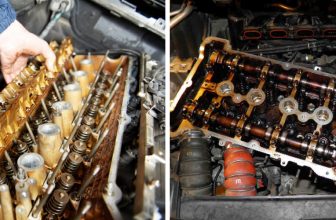
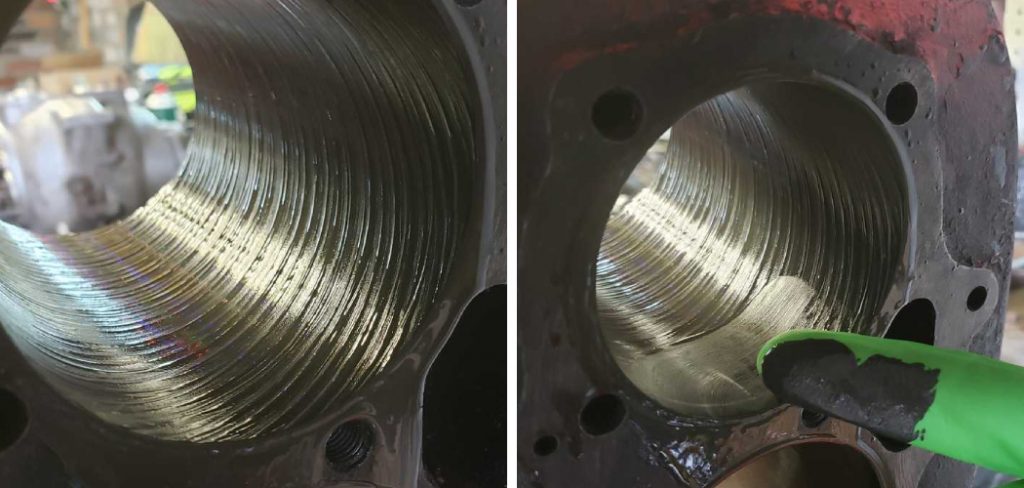
5. Begin Honing
Now, you are ready to begin honing the cylinder. Apply moderate pressure to the tool and move it in a circular motion. Be sure to keep the tool perpendicular to the surface of the cylinder. As you move the tool, it will slowly remove metal from the cylinder walls. Stop and clean it off if you see any buildup on the sandpaper. You may need to wet the surface again if it starts to dry out. Continue honing until you have achieved a smooth and even surface. The amount of time this takes will vary depending on the condition and size of your cylinder.
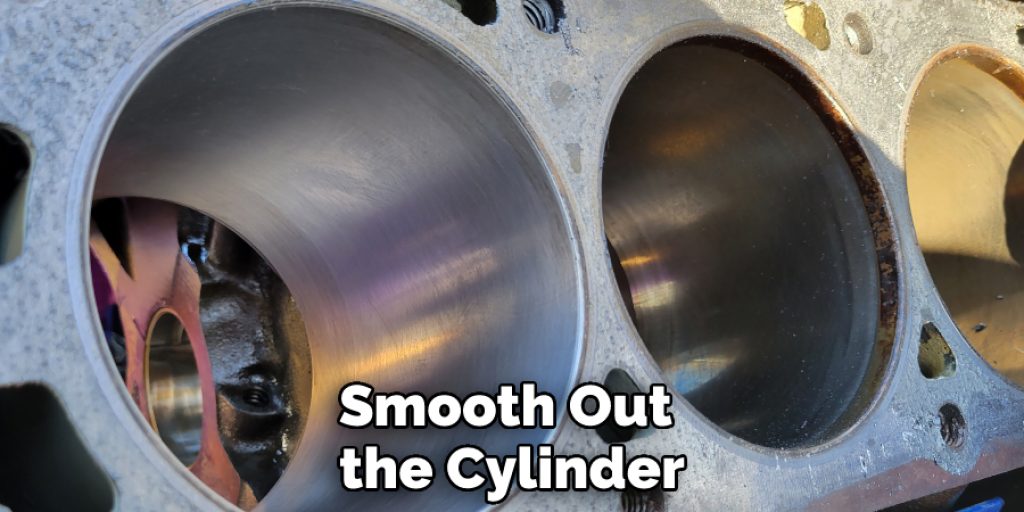
6. Move to a Finer Grit
Once you have finished with the coarse sandpaper, you will need to move to a finer grit in order to really smooth out the cylinder. Begin with medium-grit sandpaper and work your way up to fine grit. Remember to use even strokes and sand in the same direction as the wood grain. If you sand in different directions, you will create scratches that will be visible when you finish. It is important to take the time to work through each grit in order to achieve a smooth and even finish on the cylinder. You may also want to use a finishing grit for an extra smooth finish.
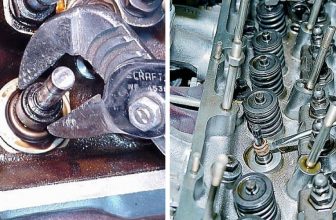
7. Check the Progress
As you sand, you will slowly remove metal from the cylinder walls. You can check your progress by measuring the thickness of the cylinder walls. If you don’t have a micrometer, you can use a caliper to measure the thickness. To do this, first, find the thinnest point on the cylinder wall. Then, measure at this point. Next, find the thickest point on the cylinder wall and take another measurement. The difference between these two measurements is the amount of metal you have removed from the cylinder. It is important to make sure you are not removing too much metal, as this can cause problems with the fit or function of the cylinder.
8. Use a Back and Forth Motion
Once you have reached the desired thickness, you will need to use a back-and-forth motion to create a smooth surface. This will help remove any scratches that may be on the cylinder. You will need to start at the top of the cylinder and move your sandpaper back and forth. Make sure you use even strokes and do not skip any areas. If you do, you may create scratches or uneven areas. Otherwise, continue sanding until you have a smooth and even finish on the entire surface of the cylinder. It may take some time, but the end result will be worth it.
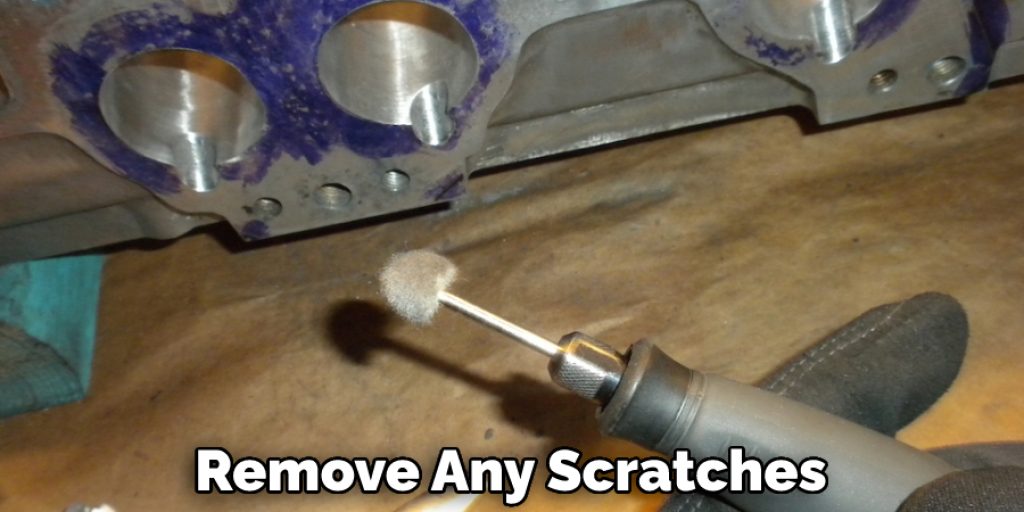
9. Inspect Your Work
Once you have finished sanding, you will need to inspect your work. Make sure that you have removed all of the scratches and that the surface is smooth. You may need to use a magnifying glass to see the cylinder’s surface. If you are unsatisfied with your work, you can always sand it again. The more you sand, the smoother the surface will become. Just remember to be patient and use a finer grit for each round of sanding. You will eventually achieve the perfect finish on your cylinder. You can also use a polishing cloth or compound to achieve an even smoother finish.
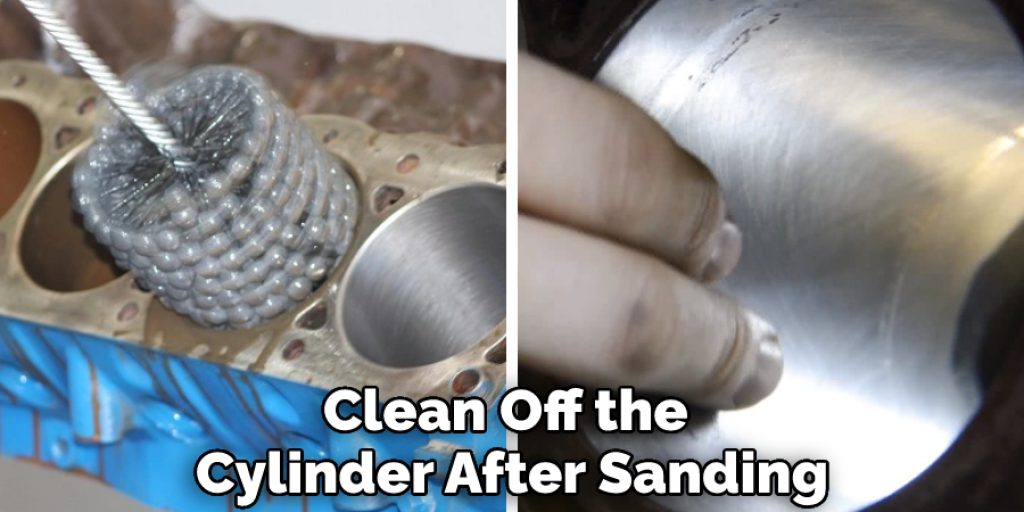
10. Clean the Area
Now that you are finished, you will need to clean the area. Remove any sanding debris that may be on the surface of the cylinder. You can use a brush or a vacuum to remove the debris. First, lightly brush the surface of the cylinder. Next, use a vacuum to remove any remaining debris. Finally, wipe the cylinder down with a clean cloth. It is important to remove all debris before moving on to the next step. Otherwise, it may get stuck in your sandpaper and create scratches when you start sanding again. But don’t worry; cleaning up is the last step of this process. Once you are finished, your cylinder should be smooth and ready for use.
11. Use a Polishing Compound
After you have sanded the cylinder, you will need to use a polishing compound. This will help remove any scratches that may be on the surface and create a smooth, shiny finish. Apply the polishing compound to a clean, dry cloth and rub it into the cylinder in a circular motion. Continue rubbing until the entire surface is evenly coated. Allow the compound to dry for a few minutes before wiping it off with a clean, dry cloth. You may need to repeat this process a few times for a perfect finish. A microfiber cloth is recommended for best results.
12. Apply a Protective Coat
After you have polished the cylinder, you will need to apply a protective coat. This will help keep the cylinder from rusting. You can use a clear lacquer, polyurethane, or even clear nail polish. Apply the coat evenly and allow it to dry completely before using the cylinder. If you do not apply a protective coat, the cylinder will rust, and the finish will be ruined. This final step is crucial in maintaining the smooth and shiny finish of your cylinder. With proper maintenance, your cylinder will last for a long time.
Following these steps on how to hone a cylinder with sandpaper will help you properly hone a cylinder and create a smooth, polished finish. Remember to always use the appropriate grit sandpaper and to work in a well-ventilated area. With patience and attention to detail, you can achieve professional results at home. Happy honing!
Tips and Warnings on How to Hone a Cylinder With Sandpaper:
Tips:
1. Always use a block of wood to back your sandpaper.
2. Use even pressure when sanding.
3. Keep the cylinder as level as possible.
4. Make sure the area you’re working in is well-ventilated.
5. Wear a dust mask to avoid inhaling any particles.
Warnings:
1. Don’t use too abrasive sandpaper, or you could damage the cylinder.
2. Be careful not to sand too hard and create divots in the cylinder.
3. Don’t sand for too long, or you could wear down the cylinder.
4. Never use sandpaper on a wet cylinder.
5. Always clean off the cylinder after sanding to remove any particles.
How Much Does Sandpaper Cost?
The cost of sandpaper will vary depending on the type, size, and brand. Type: The type of sandpaper you need will depend on the project you are working on. The most common types are aluminum oxide, silicon carbide, and zirconia alumina. Size: The size of the sandpaper you need will depend on the project you are working on. The most common sizes are 4×4, 5×5, and 6×6. Brand: The brand of sandpaper you choose will also affect the cost. Normally, the more popular brands will be more expensive.
You can typically find sandpaper at hardware stores, home improvement stores, and online retailers. The cost can range from a few dollars for a single sheet to around $20 for a pack of multiple sheets. It is important to choose the right type and grit of sandpaper for your project in order to achieve the best results.
The cost of sandpaper may seem like an added expense, but it is a necessary investment to properly hone your cylinder and achieve a smooth finish. It is also important to consider the cost of replacing or repairing a damaged cylinder if you do not use proper sanding techniques. In the long run, using quality sandpaper will save you time and money. So, invest in good quality sandpaper and enjoy the satisfying results of a well-honed cylinder.
Frequently Asked Questions:
Q: Can I Use Sandpaper to Hone Any Type of Cylinder?
A: Yes, you can use sandpaper to hone most types of cylinders as long as the material is strong enough to withstand the friction and pressure. You should also make sure to use the correct type of sandpaper for your specific cylinder material. It is always recommended to consult a professional if you are unsure. But for most DIY projects, sandpaper can be used on cylinders made of wood, metal, or plastic.
Q: How Often Should I Check My Progress?
A: It is important to check your progress frequently while honing a cylinder. This will help ensure that you do not remove too much material and cause damage to the cylinder. We recommend checking your progress every few minutes or after each grit change. It is also helpful to measure the thickness of the cylinder walls periodically to ensure you are staying within the desired range.
Q: Can I Use a Power Sander for Cylinder Honing?
A: While power sanders may be more efficient, they can also remove too much material and create uneven surfaces if not used correctly. A hand-held sandpaper or honing tool is recommended for more precision and control when honing a cylinder. The use of a power sander should be left to experienced professionals.
Q: Is Cylinder Honing Necessary Before Using an Engine?
A: It is recommended to hone a cylinder before using it in an engine to ensure a smooth surface for the piston rings to glide on. This will help prevent any leakage of air and fuel which could affect the performance of the engine. Hone the cylinder if it has visible scratches or uneven surfaces, but if it is already smooth and in good condition, honing may not be necessary. Consult a professional for further guidance.
Q: Do I Need to Hone Both Sides of the Cylinder?
A: Yes, it is important to hone both sides of the cylinder evenly to maintain balance and equal pressure distribution. Be sure to flip the cylinder over and hone each side with the same amount of strokes to achieve a uniform surface. Overall, honing a cylinder is an essential step in maintaining its performance and extending its lifespan. With the right tools and techniques, you can easily hone your cylinders at home for various DIY projects or for engine maintenance. Remember to always take your time, work carefully, and consult a professional if needed. Happy honing!
Conclusion
So there you have it! Now you know how to hone a cylinder with sandpaper. Just follow the steps above, and you’ll be able to create a smooth, shiny finish. We hope this article was helpful. Good luck! So go ahead and try honing your own cylinders. You’ll be amazed at the results! Remember to take your time, work carefully, and always consult a professional if you have any doubts or concerns. Happy honing!
You Can Check It Out To Remove Ignition Cylinder without Key Dodge Ram