
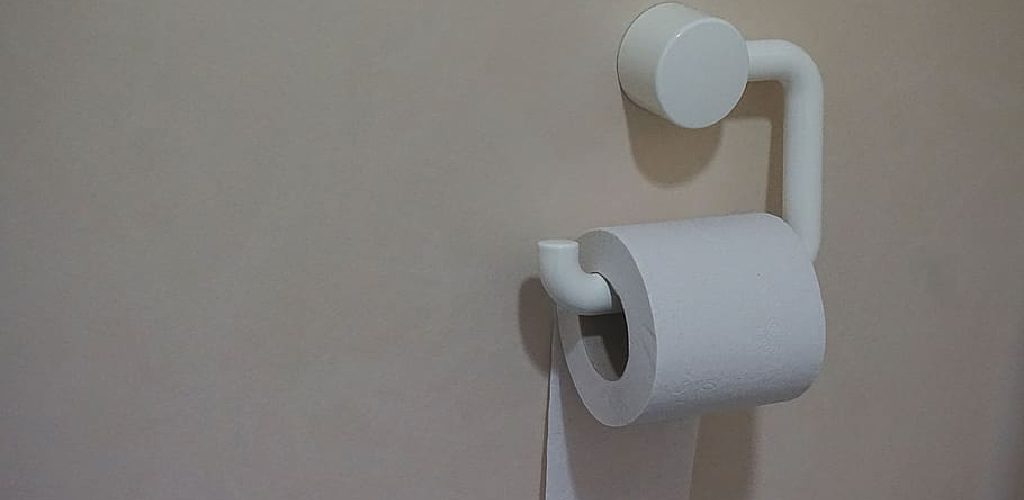
How to Remove Toilet Paper Holder
It’s always embarrassing when you’re in the middle of a bathroom cleaning, and you need to replace the toilet paper holder. If you are looking for a way on how to remove the toilet paper holder, keep reading. This blog post will provide instructions on how to take down your toilet paper holder with ease.
First, locate where it is screwed into your wall or floor. Then, unscrew with either a screwdriver or adjustable wrench. If there is no room inside your bathroom for the new holder, don’t worry! There are many ways to install it outside of your bathroom not to take up any extra space. Once mounted somewhere else, attach an extension cord to power its light bulb and plug it back in!
7 Reasons Why Should You Remove Toilet Paper Holder?
1. It’s unsanitary to have a toilet paper holder attached to the inside of the wall, even if it is mounted high up on a storage shelf so people can’t touch it.
2. If you want a new style or design, you cannot do anything about it unless your old toilet paper holder comes off first.
3. If your guests use the bathroom and don’t keep toilet paper in there, they will not use it.
4. You could accidentally rip down your old holder if it is hard to remove or detach from the wall because the screws become loose as time passes.
5. Your children may play with your new toilet paper holder and damage it by not using the extension cord.
6. Cleaning around your old toilet paper holder may be hard to do without breaking it off of the wall and putting it back up, which would result in a mess.
7. Your old toilet paper holder could become dirty and dingy as time passes, making it look extremely unattractive for guests.
8 Steps to Follow: How to Remove Toilet Paper Holder
Step 1: Flush the Toilet
The first step is to flush the toilet with less water in the tank and flapper. There should be enough water in the bowl for you to see it, but not much more than what fits on a spoon. This will prevent you from spilling excess water all over yourself and the floor as well as wasting excess toilet paper. The second step is to use a rubber or latex glove. Be sure that you have a good fit so that the glove does not slip off while you are wiping. If you are unsure about the fit, you can try on the glove before you put it on your hand.
The next step is to wait. You should wait at least two minutes to allow the freshwater to soak into the bowl before flushing again. At this point, you can flush the toilet and leave it that way until morning if you want to. It will not cause any harm to leave it for longer than that, but you may get complaints from your housemates about the smell or staining of the bowl.
Step 2: Find Appropriate the Size of the Screw
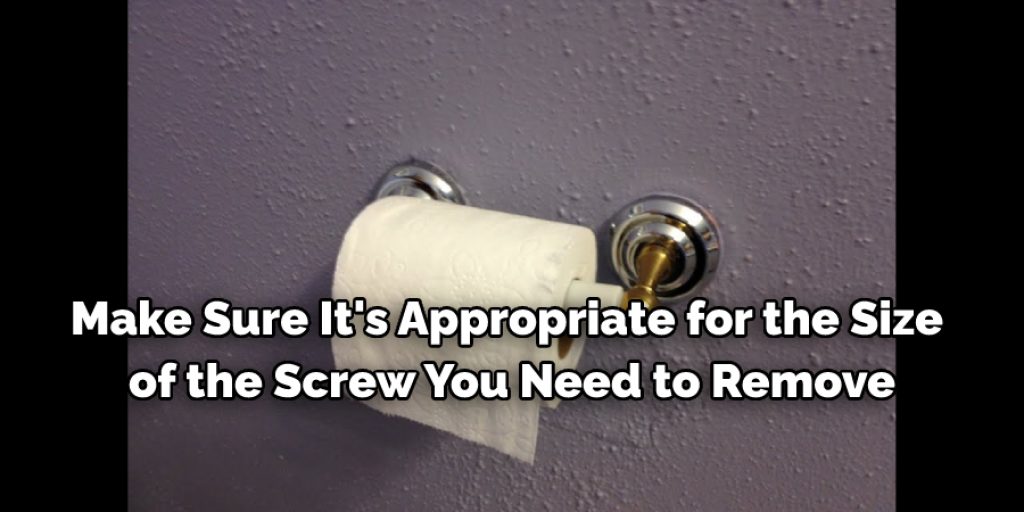
Since most screws are tightened with an Allen wrench, find one and make sure it’s appropriate for the size of the screw you need to remove. Most likely, this will require a medium-sized Allen wrench since the Allen screw is on the inside of the wall. If your toilet has more than one screw holding the toilet paper holder in place, make sure you use more than one Allen wrench. Insert the Allen wrench in the slot where the screw is located and turn it clockwise. Keep going until the entire set screw is removed from the wall and the toilet paper holder is free.
Step 3: Remove Loosened Screws
In order to remove the toilet paper holder, you will need to find an Allen wrench and loosen the screws. Once the screws are loose, you can grab ahold of any part of the toilet paper holder but not the top where it would connect with the wall. It is important that you do not get any toilet paper wet, so you should hold the roll by stretching the spring portion.
Step 4: Pull Out the Shelf
Now that you’ve removed all screws and loosened the shelf enough pull it out while holding it at its base; this is where you held the roll in the previous step; if there’s suction, wiggle the shelf back and forth until it comes loose. Now that you’ve removed the shelf, rotate it 90 degrees clockwise (away from the stove). You’ll see a white plastic component with a small hole; this is a pin called the “lid switch” located behind the lid.
Step 5: Remove All Parts of the Toilet Paper
Remove all parts of the toilet paper roll that are still intact. These include the screws holding the wall mount and any springs or clips near the base of your holder. If you’re having trouble removing these screws with your fingers, use your Allen wrench again.
Step 6: Set Toilet Paper Holder Aside
Now that the toilet paper holder is completely disconnected from your wall, you can set it aside. It’s not likely you’ll use it again since most holes are too small to accommodate the standard size roll now. You can now unscrew your plate-like cap or what remains of it. Some people call this a “toilet paper roller.”
Step 7: Cap That Over the Bolt and a Nut
By now, all you should have left is the cap that goes over the bolt and a nut. This piece doesn’t actually fit into your toilet but instead keeps it from loosening or coming undone. Set these aside and cover the area with a towel, so you don’t get water everywhere when removing your old toilet paper holder.
Step 8: Install a New Toilet Paper Holder
Now that all parts have been removed, you can install a new one. There are two ways to do this: the first is by sticking it onto your wall without screws or another anchor and letting gravity keep it in place. If this option works for you, put the cap on top of your bolt or nut, put the toilet paper holder against your wall, and let it fall.
The second method is to screw it into place. This requires you to remove the towel covering your now-exposed bolt or nut. Then, connect it with another bolt on the opposite side of your holder, tighten them down, and use a wrench to keep them from loosening. Finally, put an Allen screw into the bottom of your toilet roll holder and stick it to your wall.
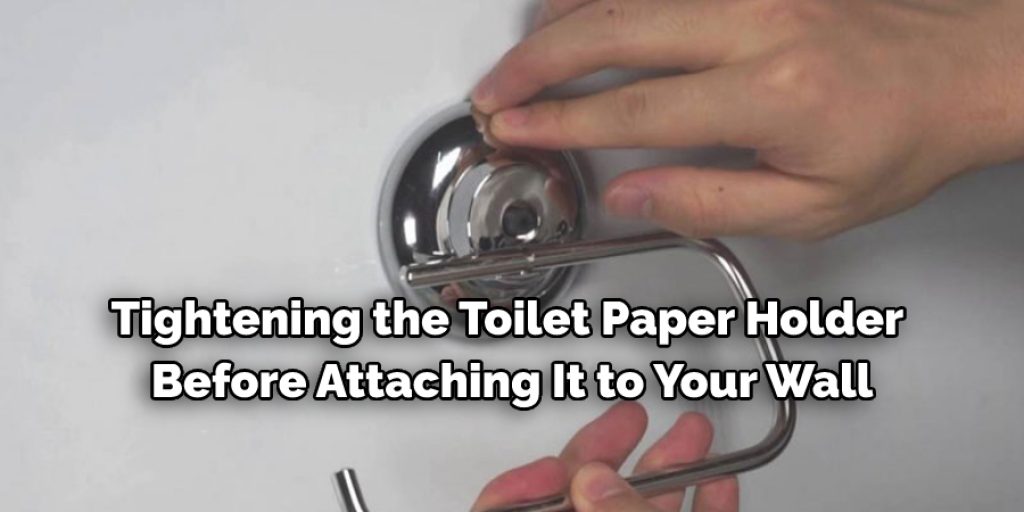
How Do You Tighten Loose Toilet Paper Holder?
Tightening the toilet paper holder is an essential step before attaching it to your wall. You can do this by hand or with an Allen wrench. To tighten a loose toilet paper holder, first, make sure the holder is clean and dry.
Then, twist the nut clockwise to tighten and counterclockwise to loosen. To remove completely and replace with new hardware, hold the plastic piece on either side of the bolt while loosening. If you opt for the latter, loosen any screws you might have already loosened and put in your desired piece.
How Do You Get a Toilet Paper Holder Off the Wall?
If you’re trying to get a toilet paper holder off the wall, you can try a few things. First, make sure to turn off any power source connected to the holder—this could be electrical or gas-powered. Then, try gently pulling the holder from the wall by grabbing its ends with both hands.
If it does not come off easily, take a flathead screwdriver and pry it away from the wall until it’s detached. Be sure to use caution when using force, as this could damage your walls or potentially scratch up the paint on your holder. Finally, use an appropriate lubricant to ease the removal process if needed.
Final Words:
If you find yourself in the unfortunate position of needing to remove a toilet paper holder, we hope these guides on how to remove a toilet paper holder will help. We want your experience with this project to be as carefree and easy as possible! Toilet Paper Holders are often secured into place by screws that can vary greatly in size and type depending on where they were manufactured.
It’s important to know what kind of hardware is holding up your TP Holder before removing it because different types require different tools for loosening them safely. Make sure you have all the right equipment handy, so when disaster strikes, there won’t be any delays getting back to business!
Check out our article How to Remove Toilet Paper From Trees


