How to Remove Tubeless Tire
Removing a tubeless tire is an important part of periodic car maintenance. It offers several advantages, such as improving fuel efficiency and ride comfort, reducing road noise, and prolonging the life of the tires. Removing a tubeless tire also makes repairing punctures or replacing worn tires with new ones easier.
One of the major advantages of removing a tubeless tire is that it is much easier than traditional tire removal methods. The process requires no special tools or expertise and generally only a few basic steps. Additionally, removing a tubeless tire can be done without damaging the rim or causing other damage to the wheel. This makes it easier to replace the tire with a new one if necessary. You can find step-by-step instructions on how to remove tubeless tire in this blog article.
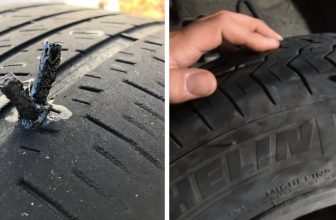
What Are the Common Causes of Punctures in Tubeless Tires?
- Foreign Objects: Pebbles, thorns, and other sharp objects can easily puncture tubeless tires when coming into contact with the tire.
- Low Air Pressure: Tires that are not inflated enough may risk being more susceptible to a puncture due to their increased contact with the road surface.
- Debris: Small pieces of debris such as glass, metal, or gravel can easily puncture a tire if it is not properly maintained and inspected regularly for signs of wear and tear.
- Poor Installation: Improperly installed tubeless tires may be more prone to becoming punctured due to the lack of protective material between the tire and the wheel rim.
- Poor Maintenance: Proper maintenance is key to ensuring that tubeless tires last longer and remain free from punctures. This includes regularly checking for signs of wear and tear and ensuring that the air pressure is correct.
By following these steps, you can help to ensure your tubeless tires remain in good condition and avoid punctures. If you do encounter a puncture, it is important to know to remove the tubeless tire correctly so as not to cause any further damage.
How Can You Identify Whether You Have a Tubeless Tire or Not?
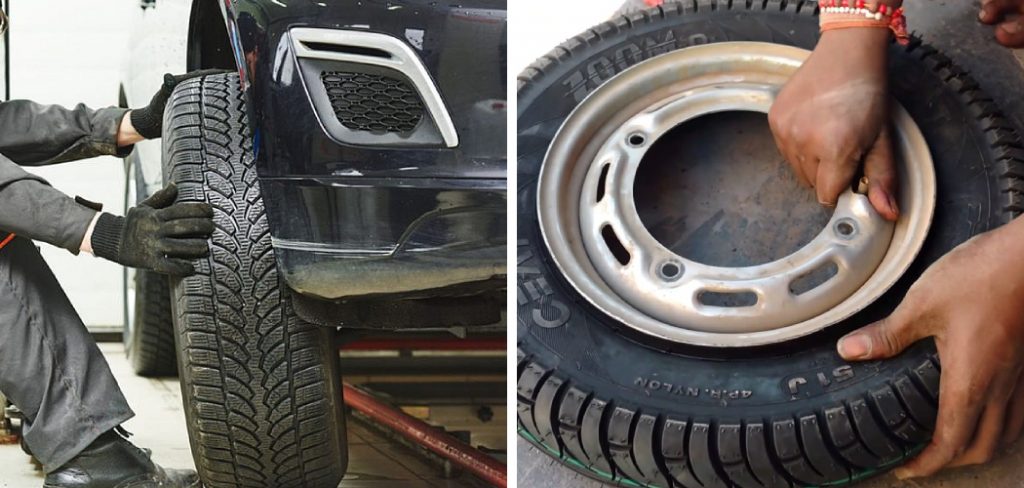
One of the first steps to removing a tubeless tire is identifying whether or not it is, in fact, tubeless. To do this, you will need to look at the sidewall of your tire and read any markings that may be present there. If your tire has “TL” stamped on its sidewall, it is tubeless. TL stands for “Tubeless” and indicates that the tire does not require a separate inner tube.

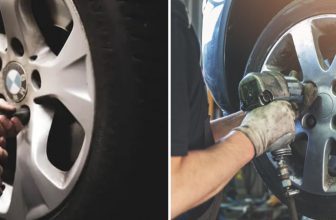
Once you have identified that your tire is tubeless, it’s time to move on to removing it from the rim of your wheel. The process for doing this will vary slightly depending on the type of wheel that you have. The process will be fairly straightforward if you have a standard wheel with spokes. However, the process can be slightly more complicated if you have a disc brake wheel or a tubeless-ready rim.
Tools You Will Needed
- Tire lever
- Tire bead jack
- Air compressor
- Valve stem removal tool
- Detergent or soapy water solution
- Rim protector (optional)
- Valve core remover
- Replacement valve core (optional)
- Bicycle pump (if needed)
- Bucket of warm water (optional)
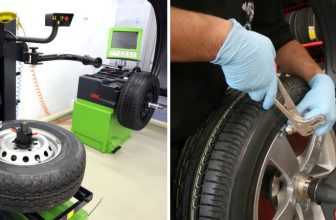
Step-by-step Instructions for How to Remove Tubeless Tire
Step 1: Inspect the Tire
Before you begin, inspect the tire for any signs of damage. Look for cuts, bulges, or other irregularities that may have caused a leak. If sealant residue is still inside the tire, use an air compressor to blow it out before continuing.
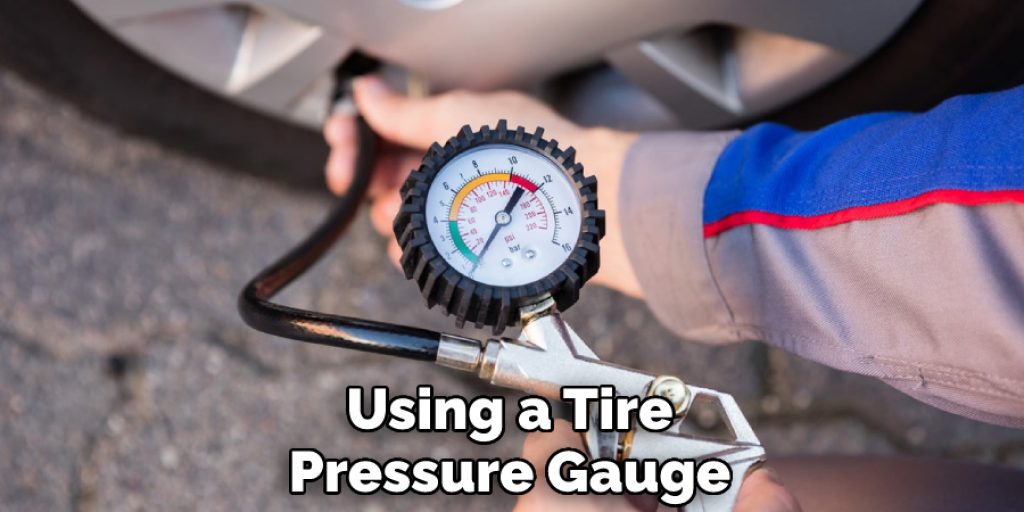
Step 2: Release the Air Pressure
Using a tire pressure gauge or an air compressor, slowly release all of the air from the tire. This will allow you to manipulate the tire more easily and reduce the risk of injury to yourself. Using a tire iron, start at one side of the rim and pry up one edge of the tire. Once you have enough of an opening to get your hands in, grab hold of both sides and gently pull them apart until they separate completely.
Step 3: Separate the Tire from the Rim
Once the tire is free from the rim, use a tire lever to carefully pry apart the tire and remove it from the rim. Work your way around the entire tire circumference until it is completely removed. Once you have successfully removed the tire, you will need to remove any remaining sealant from the inside of the rim. This can be done with a rag and some warm water.
Step 4: Inspect for Damage
Once all of the sealants have been removed, inspect the rim for any signs of damage or other irregularities that may have caused a leak. They must be fixed before the tire is reinstalled if any are found. Before installing a new tire, you should ensure that the rim is completely clean and free of any debris or residue. A damp cloth can be used to wipe away anything that may be preventing a proper seal between the tire and rim.
Step 5: Install the Tire onto the Rim
Using your hands, carefully push one edge of the tire onto the rim. Work your way around until it is completely seated on the rim. Once the tire is installed, you will need to inflate it to the proper pressure. This can be done with a tire pressure gauge or an air compressor. The last step is to check for any leaks. Once you are certain that there are no leaks, you can go ahead and take your bike for a ride.
Following these steps will ensure that you can safely and efficiently remove your tubeless tire and return to the road. It is important to remember to always inspect your tire before riding to make sure that it is in proper working order.
6 Safety Tips for How to Remove Tubeless Tire
- Wear protective gloves and safety goggles when attempting to remove a tubeless tire.
- Carefully loosen the valve stem before deflating the tire; this will help avoid any damage to the rim of your wheel or possible injury from the air pressure in the tire.
- Once the valve stem is loosened, unscrew the nut holding the tire to the rim.
- Use a tire lever to pry one side of the tire off of the rim, then proceed with caution as you slowly leverage that section up and over the rim.
- It may be necessary to loosen more air from the tire to get it completely off of the rim.
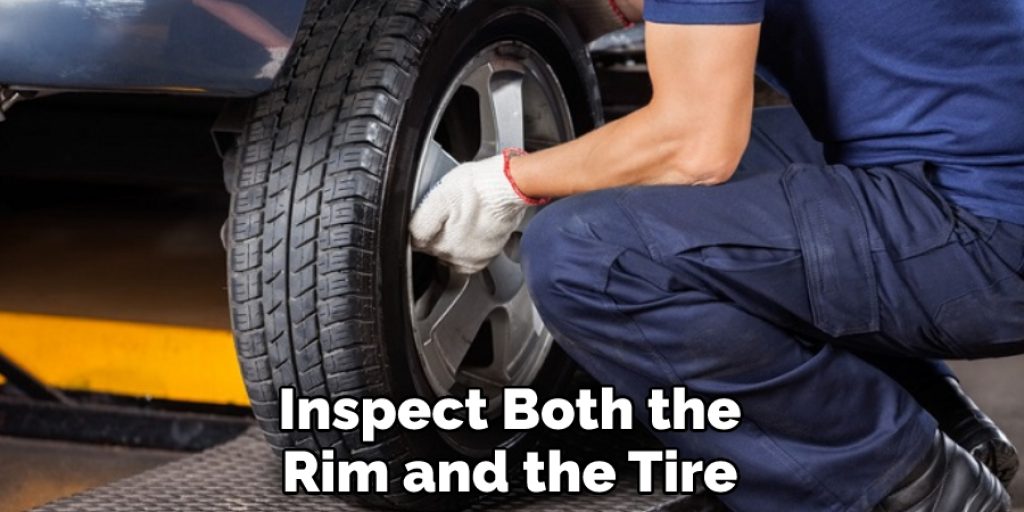
- Once the tire is off, inspect both the rim and the tire for any signs of damage or wear before reinstalling.
Follow these steps to ensure that you safely remove a tubeless tire from your wheel. With just a bit of care, this task can easily be accomplished with minimal effort and maximum safety in mind.
How Can You Prevent Air From Leaking Out of the Tire When Removing It?
- Ensure that the tire is properly inflated before attempting to remove it. This helps reduce the chances of air leaking out when you are removing it from the rim.
- Position the tire lever underneath the tire’s bead, and then wedge it against a spoke or valve stem to hold it in place.
- Reach around the tire with a second tire lever and hook it over the wheel’s rim.
- Pull the second lever away from you, prying the tire’s bead up and off the rim.
- Once one side of the bead is free, use your hand to guide it toward you and off the rim.
- Repeat the process on the other bead of the tire until it is completely removed from the rim.
- When you are finished removing the tire, place a cap or plug over the valve stem to prevent air from escaping while you are working on it. This helps ensure that you can re-inflate the tire quickly and easily once you are finished.
- Finally, when re-installing the tire on the rim, ensure that the tire’s beads are properly seated before inflating it. This will help to prevent air from escaping around the edges of the rim.
By following these steps, you can effectively remove a tubeless tire without losing air, ensuring that you can re-inflate the tire quickly and easily when you are finished.
How Do You Clean and Prepare the Rim for a New Tubeless Tire?
- Clean the rim of any dirt and debris. Use a cloth and some warm, soapy water to gently scrub away any dirt or grit that may be stuck onto the rim.
- Inspect the inside of the rim for potential damage. Check to ensure there are no bent spokes, dings, or other damages that could cause the tire not to fit properly.
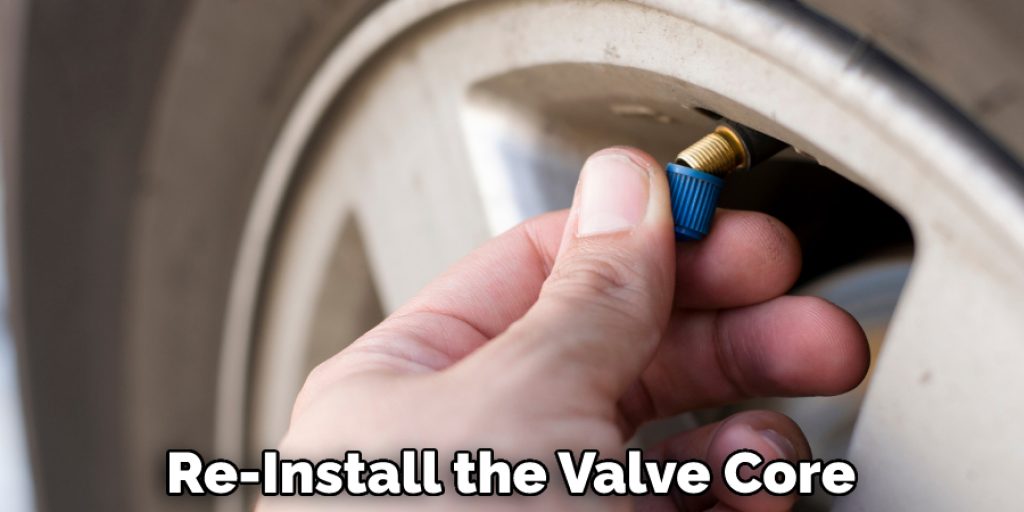
- Remove the valve core from the rim using a valve core tool and set it aside for now.
- Apply a bead of sealant around the inside edge of the rim, ensuring that it’s evenly distributed all along the rim’s circumference. This will help to seal the tire and rim together when you put them on.
- Place your tubeless tire onto the rim, ensuring that the bead is seated all around the rim’s circumference. This may require some effort as tubeless tires can be quite tight on their rims.
- Re-install the valve core that you removed earlier.
Once your new tubeless tire is installed, it’s important to check it regularly for any signs of wear or damage.
Conclusion
In conclusion, removing a tubeless tire is an easy and straightforward process that can be done with the right tools. The most important thing to remember is to use proper safety measures while you are handling the tire, as it could become damaged or cause injury if not handled properly. Begin by deflating the tire, then using a flathead screwdriver to pry off the tire along the seam.
Use a tire lever or two to help you get the rest of the way, then pull out any remaining debris and use a new sealant when replacing your tire. I hope reading this post has helped you learn how to remove tubeless tire. Make sure the safety precautions are carried out in the order listed.
Louis Wein
Louis has always been fascinated by cars. He loves the way they look, the sound of the engine, and how they make him feel when he's driving. He is always keen to learn more about different mechanics of cars and how the engine contributes to other aspects of the car. As an automotive technician with over 10 years of experience, he knew how they worked and loved taking them apart to see how they went back together. He was especially interested in the mechanics of combustion engines and loved finding ways to make them more efficient. He loves to work on cars and help people keep their vehicles running smoothly. As a senior editor, he enjoys contributing to Diy quickly because it allows him to share his knowledge and expertise with others.