How to Repair Textured Ceiling Water Damage
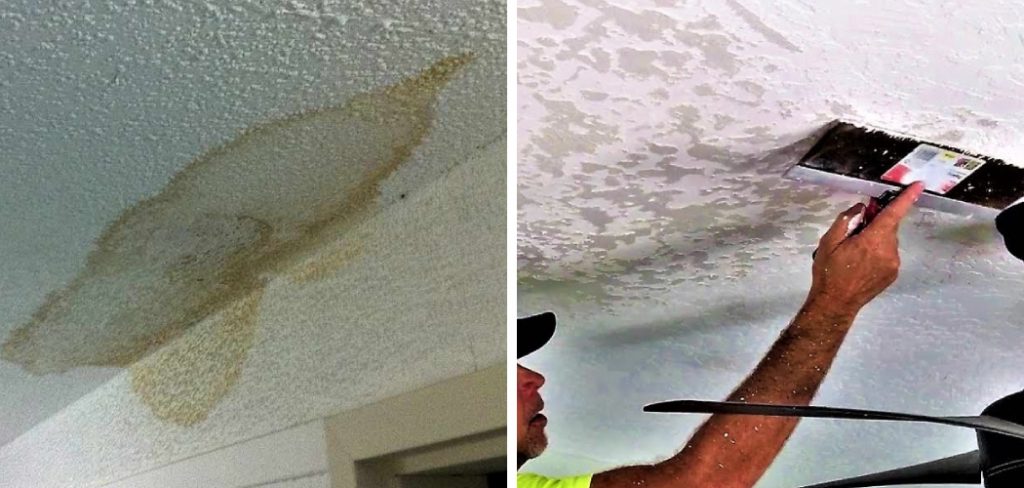
You have got your desired design, and everything is looking perfect now. Enjoying a warm cup of coffee with your dearest person, but suddenly, you notice a drop of water falling into your cup from nowhere. Holy crap! It is the leakage of water from the ceiling. Water leaks through your ceiling will make an ugly appearance on the drywall. Sometimes the texture will become saturated and make the entire ceiling color worst. Honestly, that will be the most annoying to experience after all these efforts you have given to your interior design. You must find how to repair textured ceiling water damage as early as possible.
Don’t worry; now you are here, you won’t have to worry about this annoying problem anymore. I am going to help you out. I have also suffered from this annoying situation but found a way out. After a bit more effort, I found and fixed this problem. So, why not you? I faced some obstacles because there was no one to guide me. But you won’t have to face those complications as I will show you some simple tactics for accomplishing the process before we start to get these tools first.

Required Tools
- Putty knife
- Paintbrush
- Safety glasses
- Stepladder
Required Materials
- Paint
- Scrap cardboard
- Stain-blocking primer
- Plastic sheathing
- Texture
How to Repair Textured Ceiling Water Damage

If you have got all those supplies, follow these simple steps below.
Step 1 – Target the Damaged Texture and Scrap It Off
When water leaks from your ceiling, it will damage the surface making the paints loosen. You have first to target the damaged surface and then use the putty knife to scrap around the cracks. Then use the paintbrush to clean the dust properly. Make sure to wear your safety glasses or masks during this step. If the dust particles from the ceiling go inside your eye, it will create unbearable irritation in your eye.
Step 2 – Block the Area
Dust and water can ruin the floor. When you apply the color, it can also do the same. So, it will be better if you cover your floor with some unused clothes. On the other hand, you can block the damaged area surrounding it with a plastic sheet. Simply pin the plastic sheet surrounding the area. Make sure to keep around 4 ft gaps.
Step 3 – Spray the Primer
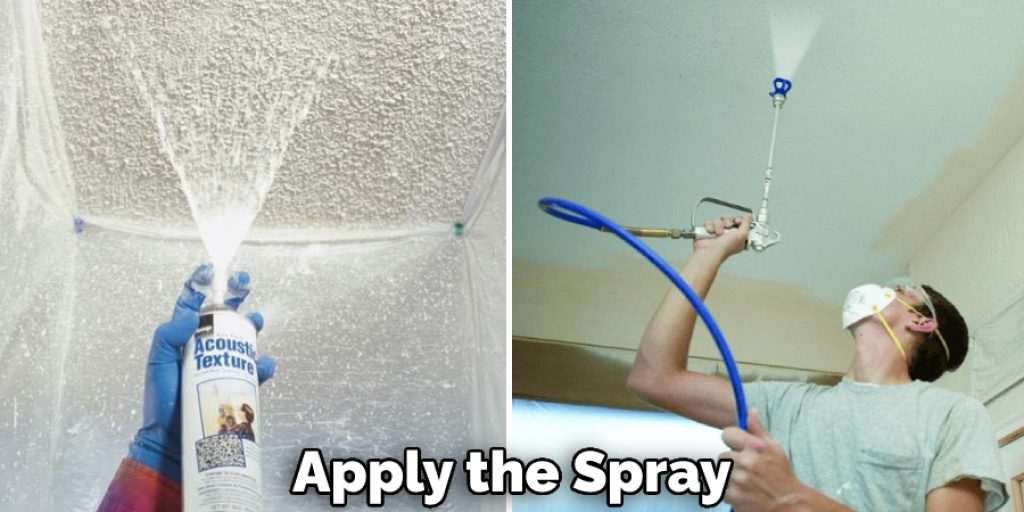
Primers are a great way to block stains and come in different forms. I suggest you buy the sprayer form because it will be easy to apply without any mess when you are working on the ceiling. However, make sure you apply the spray and wait until it gets completely dry.

Step 4 – Spray the Texture
Now, it is time to apply the texture. But before that, you have to shake the texture can properly. It is because the material in the can become jammed, and when you apply it without shaking, it may not provide you with the right amount of usability and texture you have desired to have.
Honestly, I had once used the textured bottle without shaking it and found that the materials inside the can didn’t come out properly. I had through the entire can only after using a few of them. Don’t run the same mistake again.
Anyway, once you have shaken it properly, screw a nozzle inside of the can’s valve stem. Then hold the can at an appropriate distance. In this case, I suggest you hold it around 9 to 16 inches from the surface. Now, squeeze the trigger and sweep it over the damaged area. Keep the texture for 24 hours, at least, and let it dry properly.
Step 5 – Painting!
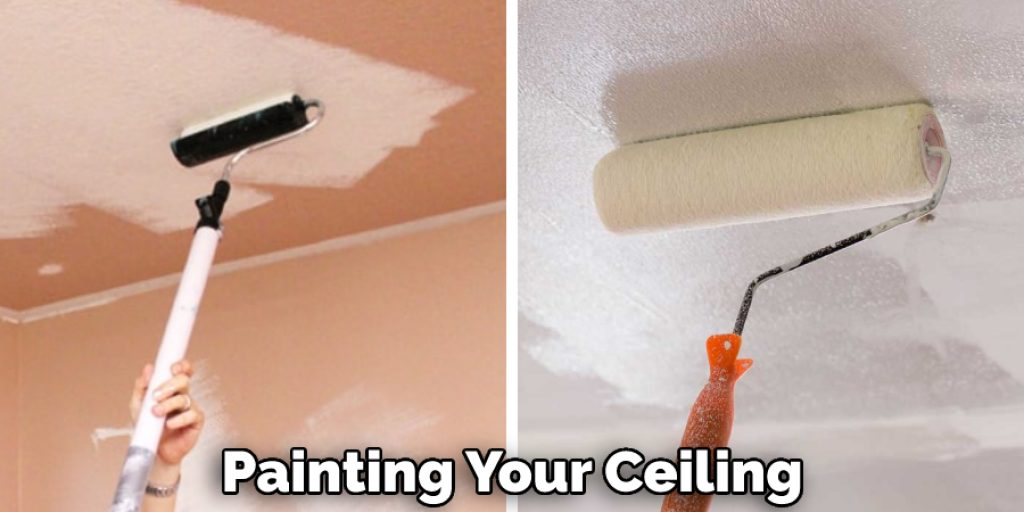
Well, this is the trickiest part. My ceiling had white paint; I struggled numerous times and applied several white paints but couldn’t match it with the older one. So, if you have got white ceiling paint, I will suggest you paint the entire ceiling rather than a particular space.
Painting your ceiling doesn’t have to be a difficult task. With a handy paint sprayer, you can easily paint the entire ceiling in a fraction of the time it would take to do it manually. So, if you don’t have a paint sprayer, get one. It will make your life much easier. Once you finish painting, your job is done. You will get your beautiful ceiling back without any type of leakage.

Tips
The aerosol spray should be of premium quality because many aerosol sprays may not work when you are using them upside down. In this case, using stain-blocking spray will be fruitful. These are specially designed for ceilings and versatile to use in any position.
When applying the texture, make sure to apply a thick layer of it. It is because the texture comes quicker than you can imagine. It comes out within four seconds only after opening the can. So, if you don’t want to buy another one, make sure to apply it as fast as you can. The texture has a special design that can match the original coating. Sometimes you may not have to apply paint at all.
Conclusion
How to repair textured ceiling water damage? Have you got your answer? Is it clear to you now? I have covered the simplest yet appropriate ways of applying it; hopefully, you have understood the steps. If you are still confused, don’t hesitate to use the comment section.


