
How to Clean Up Concrete Dust
Any form of residential construction carries away bits of dirt as well as other dusty drippings. Only when you consider the job is finished has the cleaning problem started. Because the whole removal process could even quickly get to be daunting, employing a post-renovation cleaning company is the right way of dealing with this problem. The benefits will light up your property, and you usually can’t even have to move a finger!

Redecorating a house will also entail operating on the foundation’s concrete structure, which is likely to leave cement debris residue. Such substances produce the feel of a filthy house but, if breathed for a length of time, are often harmful to your safety. It’s why it’s essential that even after home renovations, you gain knowledge of how to tidy concrete debris.
What Things You’ll Need?
- Shop Vacuum
- Wet Mop
- Broom and Dustpan
- Damp Cloth
Step by Step Process: How to Clean Up Concrete Dust
Step 1: Pick up Concrete Dust with Shop-Vac
Using the Shop Vacuum’s hose attachment, carefully suck up any concrete dust on the surface of your garage floor. Be sure to wear safety goggles because dust particles flying through the air can irritate the eyes. Fill a bucket with about 1 gallon of warm water and add 1/4 cup of liquid dish detergent. The amount of soap you’ll need to use will depend on the size of your garage floor, so start with this amount and increase it if necessary.

If you don’t have safety glasses, at least make sure not to directly look into the nozzle of the Shop-Vac as you vacuum up the dust. Also, be certain that there are no cracks or other holes in wall or ceiling surfaces. If this is the case, you might suck up some insulation and create a larger problem than what you started with. 4. Vacuumed up debris can be disposed of using a conventional garbage bin if it isn’t contaminated with harmful materials. When cleaning up vermiculite insulation, however, you will have to dispose of the insulation in an approved hazardous waste facility.
Step 2: Clean Up Smaller Dust Particles
Concrete dust can be swept into a pile, where it is easier to pick up with a broom or pan. Any fine particles that have settled onto furniture or countertops can be swept back onto the dust pile so they can all be swept up at once.
Step 3: Clean Up as Much as You Can
Use a damp cloth or sponge to wipe down any countertops, furniture, and appliances that have been exposed to concrete dust. Next, wipe off any visible dust from household objects such as picture frames and vases. Vacuum again if there are still some loose particles.
Step 4: Get Rid of Dust with Wet Mop
Put on a pair of disposable gloves and dampen another cloth with your household cleaner. Wipe down the floor surface with this damp cloth, then dry mop the floor by going back and forth across it in straight lines. Wash your hands thoroughly with soap and water after removing the gloves.

After you’ve finished mopping the floor, open windows and turn on fans so that fresh air can circulate through the room. This will help to accelerate the drying process since concrete dust can be very difficult to remove from porous surfaces.
Step 5: Wait for Garage Floor to Dry
Continue mopping until you have cleaned up all visible dust, then wait a few hours for the floor surface to dry completely. Next, sweep up any remaining fine particles with a broom or shop-vac, and wipe the floor with a damp cloth. Finally, allow the floor to dry overnight. You can then seal your new concrete garage floor with acrylic water-based or oil-based sealer. Seal the floor before you install the car. Seal the floor after the car is installed. It’s your call. You can also add paint to your new garage floor. This will help protect it from spills and stains, and make it easier to clean.
Why does my concrete become weaker?
There are many explanations for concrete coating deterioration, like impoverished mixing concrete, growing older of the surface, or even inadequate exterior alleviation. Extra moisture leakage at the edge is the most crucial cause for weakness; the vast quantities of water in the blend can come to the ground during the trowelling phase.
The growing water brings small particles that shape a film of laitance to the shore. Laitance is a porous coating of weaker concrete which disintegrates gradually to form a powdery white layer. The wiping of this ground produces very few benefits since the concrete is in a steady condition of decay.
Removing dust
No matter the type of debris reducing you apply, the concrete layer would be filled with dirt or debris after you stop. If you function inside, the residue will also drop on all that house’s internal walls. Until you vacuum the ground, you have to scrub certain areas. The molecules of dust and debris are very finer; actually, vacuuming isn’t going to eliminate all. To clear all the dirt using a spray.
Distill 12 oz. of hydrogen peroxide into one gallon of water, clean the areas with light cotton towels. Water by itself does not collect all the particulates and includes extensive checkups; this answer expels the particulates and makes absorbing them more straightforward for the cloth.
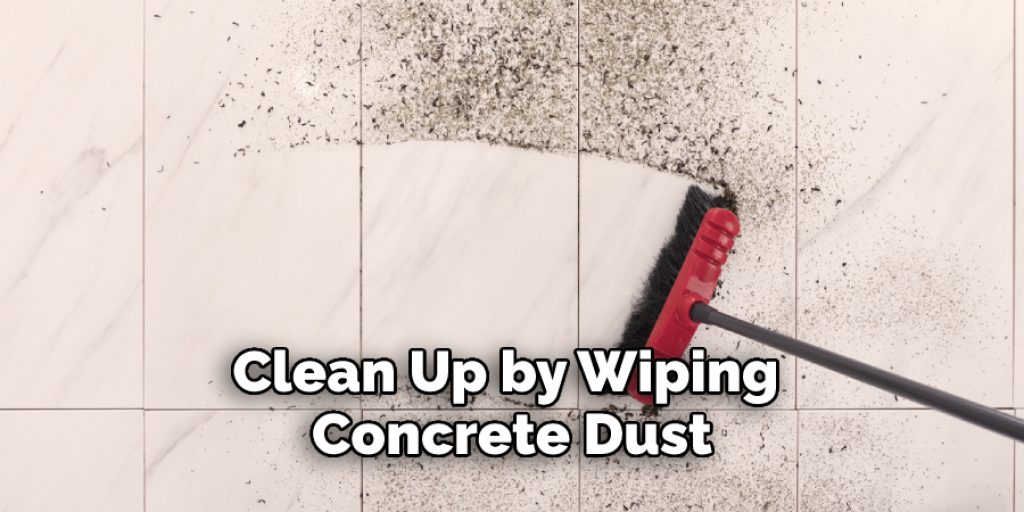
Wipe
Because as construction has concluded, the cleaning up procedure should begin instantly, so that the residue could be efficiently washed. Wiping away all noticeable areas from start to finish is a safe place to begin. Some residual debris would then drop to the surface, where it could be quickly vacuumed afterward.
Should not neglect the concrete walls to the drawer and the internal portions of the racks and shelves. Seek to choose the right sort of cleaning product for the growing surface you approach and don’t do any more harm to it. There are various styles of walls connected to specific techniques of maintenance.
Choose a dry or wet fabric that determines the type you need and carefully keep to the walls to prevent any color damage. When you sweep up all of the dark areas, there won’t be any unwanted dirt leftovers to go on with other tasks.
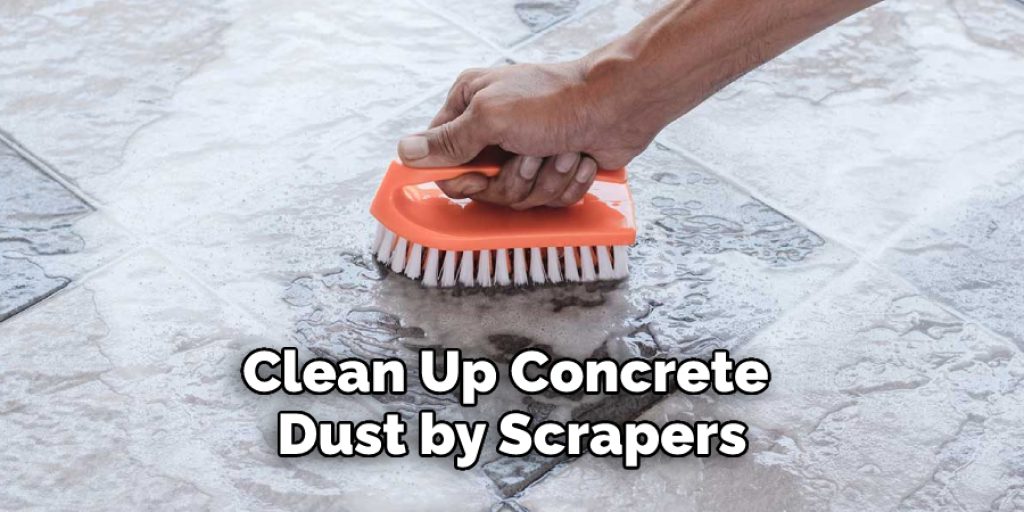
Scrapers
You should seek to scrap items, too. If you want this form of cement removing contaminants, you will be quite cautious not to harm the floors.
Vacuuming
It’s a more detailed portion of the cleanup than it might seem initially. You have already looked after the back wall, but all kinds of blinds and carpeting can still keep ash components. Vacuum them before relocating on to the decor around them. And for effective cleaning outcomes, they need personal time to pay attention to chairs and sofas.
This is why it’s helpful for households to learn how to remove concrete dust in home conditions. This is just after the safekeeping of the appliances that you can go to the bottom floor and turn for the rugs. Also, due to the extremely fine particulates, they may be tough to remove, and you may even have to clean them repeatedly to achieve the expected result.
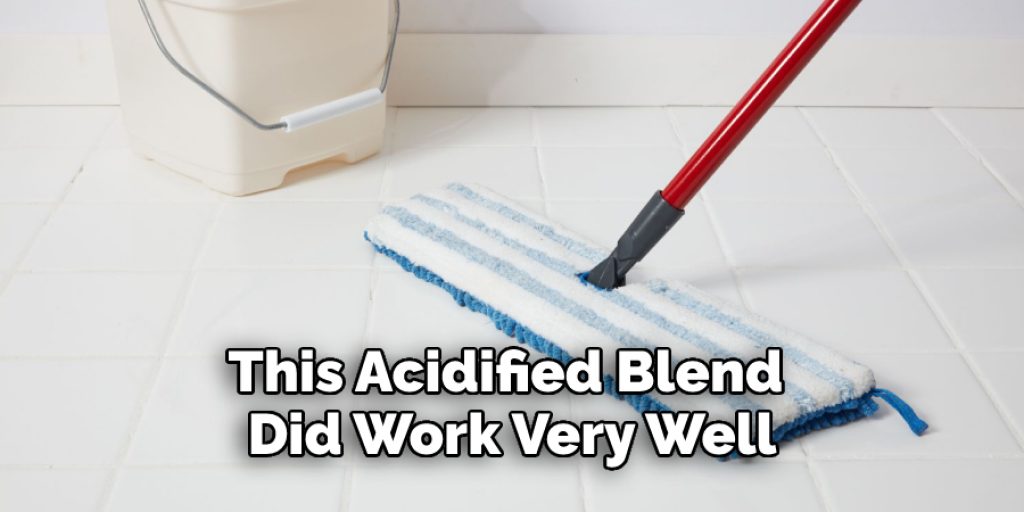
Vinegar mixture
Pair vinegar and water corresponds equally. This acidified blend did work very well with tidy concrete debris. This combination can harm your tiles, so we suggest that you first evaluate it on large flooring quantities. Be careful even with marble compounds and specific ordinary calciferous stones.
If required, discuss it with a specialist for guidance. Do you choose a secure, more straightforward, and less time-intensive process of removing cement debris? Then seek one of several HG methods specifically designed for the elimination of concrete dust.
Cleaning pipes and ventilation systems
Since vent tubes and air ducts are a means of acquiring debris around the whole home, they must not be overlooked during the cleanup process. Even if you don’t feel there’s any debris that can scatter, pull the wall and roof covering off and scrub them in the situation only. It also refers to air purifiers that may have been subjected to harmful material, and there should be no respiratory responses later on.
Additional Reminders and Tips:
1. Ensure that you take the necessary precautions, so you don’t spread concrete dust throughout your house before it has a chance to settle. After sweeping up, keep the dust in one area by covering it with plastic sheeting.
2. Once you’ve mopped up all visible dust and swept up any concrete chunks, take a wet sponge or mop to the area. Keep sponging it down until you don’t see any white dust on your sponge anymore.
3. If your exterior walls get damp from cleaning up water damage, make sure they dry within twenty-four hours by opening windows and using fans. Otherwise, you risk developing a mold problem. If this is the case, call a professional cleaner immediately to deal with it.
4. Consider wearing a mask when dealing with potentially dusty areas of concrete that have been torn up for some reason or another. Dust can exacerbate breathing problems such as asthma, but it can also cause lung irritation, particularly if you’re allergic to concrete, plaster, cement, or other building materials.
5. If you think the dust has settled in your carpet, ensure it sits for at least twenty-four hours before vacuuming. This will allow the dust to resettle on your flooring material, making it easier to pick up with your vacuum cleaner.
6. You must check with local building codes before trying to wash concrete dust off exterior walls. Some municipalities prohibit homeowners from washing away the substance because it can seep into the soil and contaminate groundwater supplies.
Some Helpful Tips and Suggestions:
1. Wear gloves and a dust mask.
2. Use a broom or push the broom to brush away loose particles from the surface gently.
3. When using a shop vac, hold it close to the surface and change your paper filter often.
4. If you have a wet/dry vacuum at home, see if it can suck concrete dust in dry mode.
5. Use a hand broom to wipe away the remaining fine particles
6. If there are stains left on your floor, use TSP in water and vinegar in equal parts to scrub them away.
7. When using TSP or any other chemical cleaners, be sure that they do not discolor your concrete.
Cautions
While breaking or scraping concrete, wear a face mask or breathing apparatus and use protection with the hydrogen peroxide for washing.
Frequently Asked Questions
What Happens if You Breathe in Concrete Dust?
If you breathe in concrete dust, it can cause serious health problems. In fact, breathing in concrete dust can be classified as hazardous.
When you breathe in concrete dust, it enters your lungs and goes into your bloodstream. This can lead to lung inflammation, chronic obstructive pulmonary disease (COPD), and even death.
If you are exposed to large amounts of concrete dust, it is important to seek medical attention immediately. You may also need to take antibiotics to prevent infection.
Can You Get Bronchitis From Concrete Dust?
There is no definitive answer to this question as there is no scientific evidence that concrete dust can cause bronchitis. However, if you are concerned about it, you should avoid breathing in large amounts of concrete dust and contact your doctor if you develop symptoms such as shortness of breath, chest pain, coughing up mucus, or fever.
Can the Lungs Remove Silica Dust?
There is no definitive answer to this question as the research on the topic is still in its early stages. However, it is possible that the lungs can remove silica dust.
You Can Check It Out to: Make a Hole in Concrete Wall Without a Drill
Conclusion:
As you can see, there are a few ways to clean up concrete dust. Which method you choose will depend on the severity of the spill and your personal preferences. Always take safety precautions when cleaning any hazardous material.
It’s also essential that you wear protective gear like gloves and goggles when using these vacuums since they produce powerful suction and may cause harm if not used correctly. We hope this blog post on how to clean up concrete dust has been helpful. If you have any questions or want to know more, then feel free to comment below!
You may read also – How to Clean a Proto Pipe


