How to Repipe a House
Are the pipes in your home not running like they used to? Does it feel like you need to replace them altogether? Replacing old, faulty piping can be intimidating, and many of us don’t know where to start. Repiping a house is something that may seem daunting at first peek, but rest assured—it doesn’t have to induce dread!
With the proper guidance and knowledge base, repiping will become much more manageable. In this post, we’ll discuss exactly what repiping entails, as well as how to repipe a house efficiently and effectively. If you’re looking for answers on how to quickly get started with re-piping or a general refresher course about why it’s so important, then keep reading!
What Is the Best Material to Repipe a House?
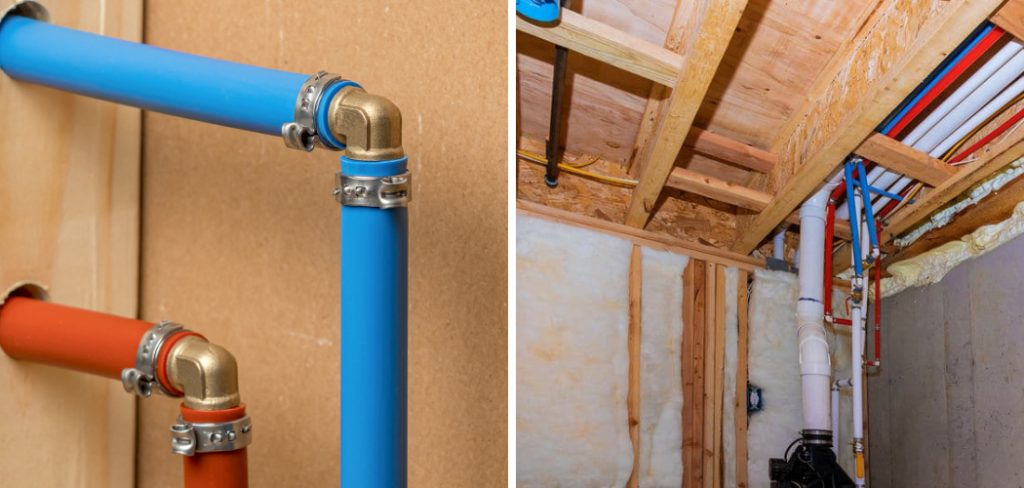
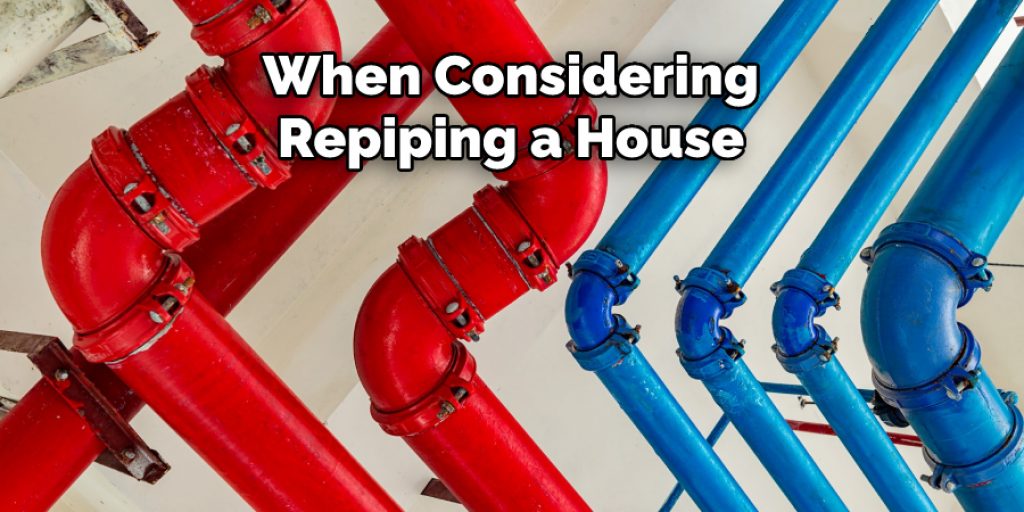
When considering repiping a house, the material is an important consideration. The best materials for water supply pipes are copper and PEX (cross-linked polyethylene), both of which offer durability and flexibility. Copper has been used in residential plumbing systems for many years and can last up to 50 years or more with proper maintenance.
PEX piping is newer but is quickly becoming popular due to its cost-effectiveness and flexible nature, allowing for easy installation without soldering. Other materials such as PVC, CPVC, galvanized steel, and lead should be avoided due to their limited lifespan and potential health hazards associated with them.
In general, copper or PEX are good choices when considering repiping a house since they have the longest life spans and are the most cost-effective. Be sure to check with local building codes before starting a repiping project, as there may be restrictions or regulations in place regarding material use.
Additionally, it is important to hire a licensed plumber familiar with piping materials and installation techniques for best results. With the right material and professional help, homeowners can enjoy reliable plumbing systems for many years to come.
The bottom line is that copper and PEX are both great options when repiping a house. Copper offers longevity, while PEX provides flexibility at an economical price point. When in doubt, consult with a local plumber or building code specialist for advice on which material will best suit your needs. With the proper knowledge and installation techniques, you can ensure a safe and reliable plumbing system for years to come.
10 Methods on How to Repipe a House
1. Turn Off the Water Supply
The first step in repiping a house is to turn off the water supply. This can be done by turning off the main water valve, which is typically located in the basement or garage. Once the water is turned off, flush all of the toilets in the house to empty the tanks and remove any remaining water from the pipes.
If the house has a hot water tank, turn off the power to it as well. To ensure that the water pressure is completely gone, open up a few of the faucets inside and outside the house. Though it may not be necessary, you can also disconnect the water meter if needed.
2. Drain the Pipes
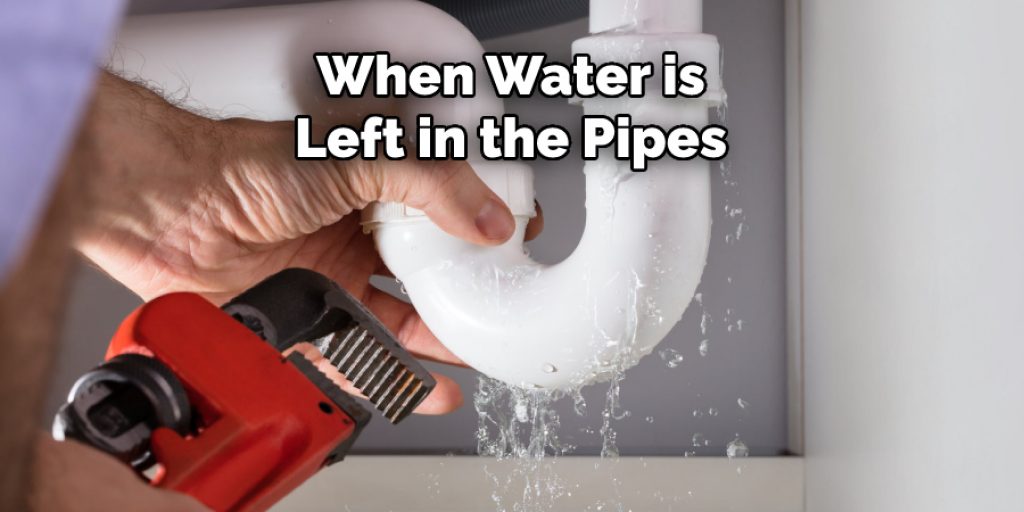
Next, you will need to drain the pipes by opening all of the faucets in the house and allowing the water to run out. Once all of the water has been drained from the pipes, close all of the faucets. This will help to ensure that no water is left in the pipes while they are being repaired.
If any water is left in the pipes, it could cause them to burst or leak. Although it may be a bit of a hassle to turn on and off all of the faucets, this step is necessary for repiping your house.
3. Cut Out Damaged Sections of the Pipe
Once the pipes are empty, you will need to cut out any damaged sections of pipe. Damaged sections of the pipe will need to be replaced with new piping. Use a pipe cutter to make straight and clean cuts.
Make sure to mark the sections of piping that need to be replaced and take measurements before you start cutting. While you are cutting out old sections, it is important to keep the surrounding area clean and protected. This will help prevent dirt or debris from getting into the pipe and causing blockages.
4. Install New Piping
After all of the damaged sections of the pipe have been removed, you will then need to install new piping. New piping can be made from a variety of materials, including copper, PVC, or PEX. Before beginning, be sure to measure the area and cut the new piping accordingly.
Securely attach fittings as needed and connect everything to the main water line. Once the new pipes are in place, turn on the water and check for any leaks. To prevent further damage, make sure to check the pipes periodically for any signs of wear or corrosion.
5. Connect New Piping to Old Piping
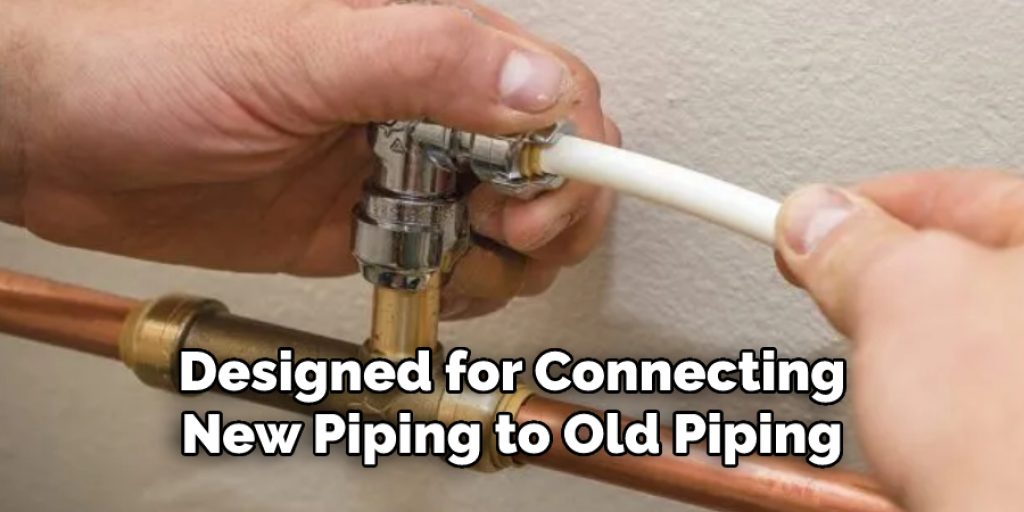
Once the new piping has been installed, you will then need to connect it to the old piping. This can be done using fittings and connectors that are specifically designed for connecting new piping to old piping. In order to make sure that the connections are secure, you will want to use a plumber’s tape and/or pipe dope.
This will ensure a tight seal and help to prevent any leaks. Once everything is connected, you can turn the water back on and check for any leaks. If there are no leaks, then the repiping is complete. However, if there are leaks, then you will need to make repairs or adjustments as necessary.
6. Turn on the Water Supply
After the new piping has been connected to the old piping, you will then need to turn on the water supply. This can be done by turning on the main water valve that is located in the basement or garage. Once the water is turned on, open all of the faucets in the house to allow air into the pipes and help prevent them from bursting.
Check for any taps where the water is not running, these may be signs of a leak somewhere in the new piping. If you find any leaks, then you need to shut off the water supply and fix them before continuing.
7. Flush Toilets and Run Water Through Faucets
After turning on the water supply, flush all of the toilets in the house several times to fill up the tanks and allow water to flow through all of the pipes in the house. Additionally, run water through all of the faucets in each room for several minutes to ensure that they are working properly and that there are no leaks present.
This should be done for both hot and cold water. If there are any leaks present, it is important to address them immediately in order to avoid further damage to the repiping system.
8. Check for Leaks
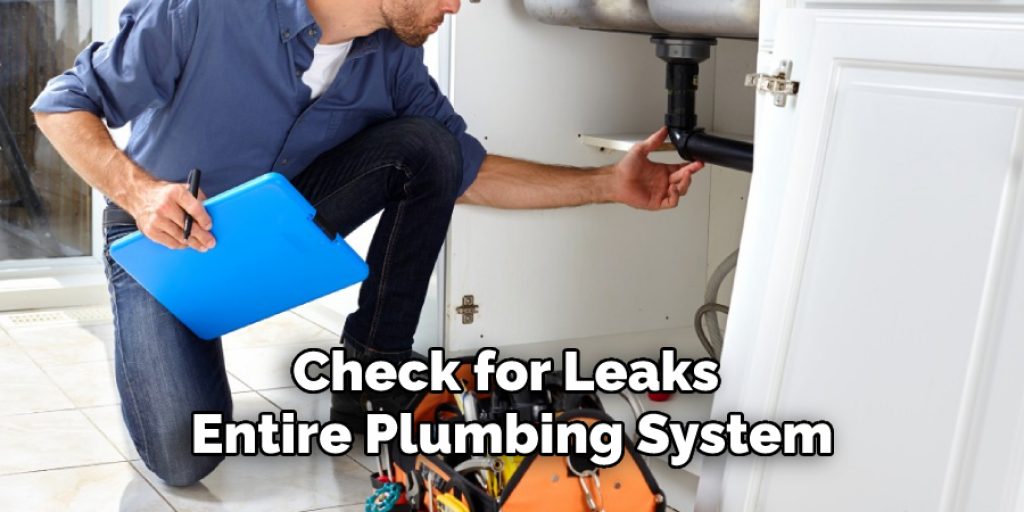
After flushing toilets and running water through faucets, it is important to check for leaks throughout your entire plumbing system. If any leaks are found, they will need to be repaired immediately, as they can cause significant damage if left unaddressed.
Additionally, leaks can also lead to an increase in your monthly water bill. To check for any hidden leaks, shut off the water supply and locate the main water line coming into your property. From there, you can use a handheld leak detector or simply look at all of the pipes and fittings in your house for any signs of moisture or dripping.
9. Test the System
Finally, it is important to test the system by running multiple tests on all of the fixtures in your home. This will help identify any minor issues with the system, such as leaks or faulty connections.
Once you have gone through this process and identified any issues, it is important to take timely action to address them before they become a bigger problem. Additionally, if your new piping system requires additional fixturing or valves, now is the time to install those as well.
10. Take Precautions
To help prevent plumbing problems from occurring in the future, it is important to take proper precautions. Make sure that you use strainers in all the sinks and showers to catch hair, debris, and other clogging agents.
Consider installing a water filtration system that can help reduce contaminants in the water supply. Be aware of what goes down your drains, as it is important to avoid putting things like grease or oil down them.
Some Common Mistakes When Repiping a House
- Installing pipe that is too small for the job. It’s important to only use pipes of the appropriate size for your home, or else it could cause problems down the line.
- Not properly protecting pipes against corrosion. Corrosion can be a major problem if you don’t inspect and treat your new piping system. Rust and corrosion can eventually cause serious leaks or worse.
- Not double-checking the old plumbing lines before connecting them to the new pipe system. If you don’t properly inspect your older pipes, you could end up causing problems for yourself down the road.
- Not using enough sealants when joining pipes. It’s important to properly seal the joints between pipes so that there are no leaks down the road.
- Neglecting to use proper insulation when installing new piping systems. Proper insulation is a must because it helps keep your pipes from freezing in the wintertime, which can result in serious damage or even a burst pipe.
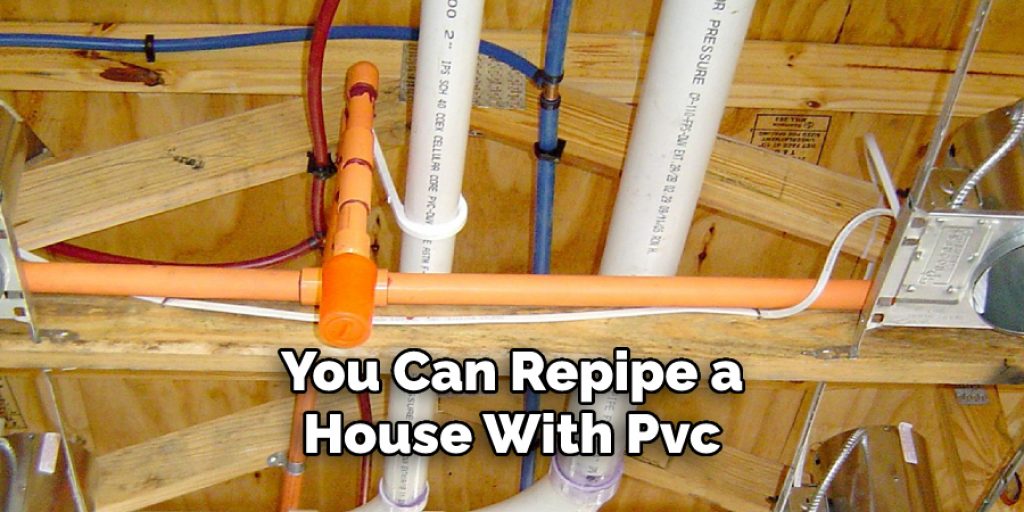
Can You Repipe a House with PVC?
Yes, you can repipe a house with PVC. PVC is an ideal material for repiping because it is durable, resistant to corrosion, and relatively easy to install. Additionally, PVC pipes are also inexpensive compared to other types of pipe materials. Installing PVC requires basic plumbing skills and knowledge of the local building code. It’s important to follow local codes and regulations to ensure your pipe installation meets all safety standards.
The main steps for repiping a house with PVC are: turn off the water supply, remove the existing pipes, measure and cut the new pieces of pipe correctly, glue together any connections, test for leaks after installation is complete. It’s important to keep in mind that PVC pipes do not flex like some other types of pipe, so you will need to use elbows and fittings to make turns or bends in the pipes.
Conclusion
Whether you decide to take on this project headfirst or employ professional help, re-piping your home is an effective way to increase water pressure, decrease water bills and promote sustainability.
Re-piping a house requires careful consideration, but once it’s done correctly, the investment for peace of mind is well worth it! For those considering how to repipe a house for an upcoming project, we hope that this blog post has provided guidance on obtaining satisfactory results. Good luck with whichever route you choose!
Elizabeth Davis
Elizabeth is a creative writer and digital editor based in the United States. She has a passion for the arts and crafts, which she developed from a young age. Elizabeth has always loved experimenting with new mediums and sharing her work with others. When she started blogging, she knew that DIYquickly would be the perfect platform to share her tutorials and tips. She's been writing for the blog from the beginning, and her readers love her helpful advice and easy-to-follow instructions. When she's not writing or editing, Elizabeth enjoys spending time with her family and friends.