How to Replace Drone Propellers
If you’re the proud owner of a drone, then you know that it can be quite complex to maintain. One of the most essential parts of keeping your drone in top condition is replacing propellers on a regular basis—especially if they become worn or broken. Here’s how to replace drone propellers in just a few easy steps.

Can You Replace Drone Propellers?
Drone propellers, specifically the blades, are key components in determining a drone’s performance. Even if you take excellent care of your drone, it is possible that, eventually, the blades may need to be replaced. Fortunately, doing so is relatively straightforward and can be done with minimal hassle.
The key is to find the right type and size of replacement propeller for your particular drone model – there is no sense in purchasing one that will not work correctly or efficiently for your exact model. Doing this ensures that your drone continues operating at peak performance levels and maintains its original quality after a replacement.
Why Should You Replace Drone Propellers?
Drone propellers are essential to a drone as they provide propulsion and thrust to keep it moving. Unfortunately, with frequent usage, propellers can become worn out or damaged due to collisions with foreign objects or wear and tear. To ensure your drone is operating safely and efficiently, it is important that you replace the propellers regularly.
New propeller blades will help extend your drone’s life and improve its performance. Furthermore, replacing drone propellers every few months will enable you to prevent any accidents by avoiding potential breakages, which can cause expensive damage and risk your safety.
By carrying out regular maintenance checks, you can rest assured that your drone is being operated safely and in the most reliable condition possible.
7 Steps to Follow on How to Replace Drone Propellers
Step 1: Buy New Propellers for Your Drone.
Before you even think of replacing propellers, it’s important to have the right ones. So first, make sure you buy propellers that are compatible with your drone’s size and model. If you’re not sure how to find the right size and type of propellers, consult your drone’s manual or contact a professional for help.
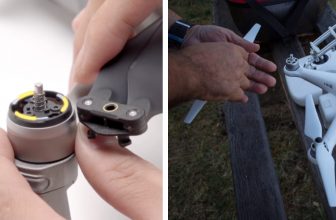
Step 2: Disassemble the Old Props from Your Drone.
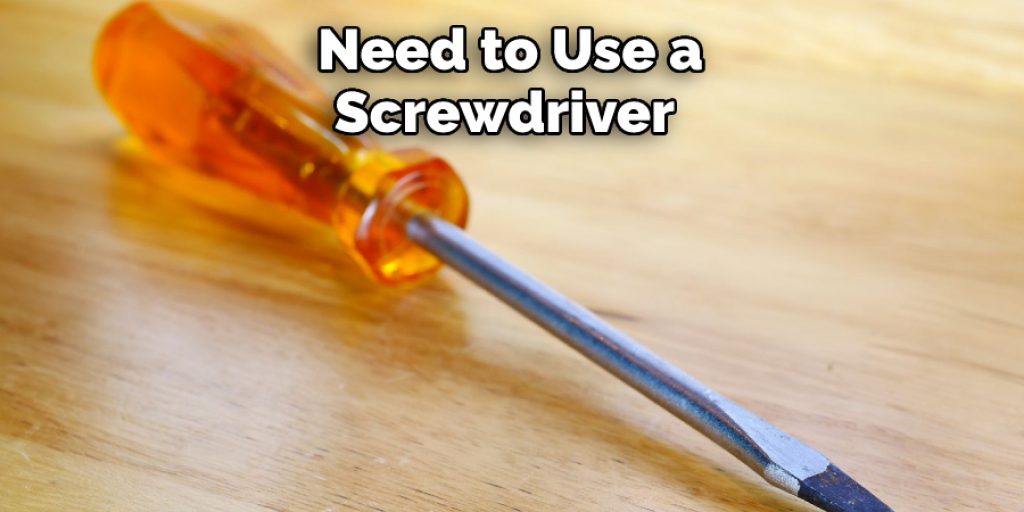
Remove the screws that hold them in place, being careful not to strip their threads in the process. You may need to use a screwdriver or pair of pliers for this step, depending on whether the screws are Phillips head or hex screws. Carefully remove any washers with each prop too, as these will need to be reused when attaching the new ones.
Step 3: Connect the New Props.
Place the new propellers in their designated spots and secure them with the screws you removed earlier. Make sure to keep the washers with each prop, as this help ensure a snug fit and prevent vibrations during flight. Securely tighten each screw to ensure it won’t come loose while flying.
Step 4: Balance the New Props.
Balancing the new propellers is important in ensuring your drone flies safely and smoothly. You will need a prop balancer or a set of weights to do this. This tool allows you to check each prop’s balance before attaching it to the drone. If one side is heavier than the other, you can adjust it by adding or removing weight.
Step 5: Tighten the Props with Loctite.
Once your new props are properly balanced, apply a small amount of Loctite to each one before attaching them to the drone. This will help keep them in place while flying and prevent vibrations that could impede your drone’s performance.
Step 6: Reassemble the Drone.
Make sure all screws are securely tightened before reassembling the body of your drone. Also, check to ensure the propellers are securely attached.
After doing so, attach the battery back into its compartment and reconnect it to the circuit board. Lastly, turn on your drone to test it out! If all goes according to plan, your drone should be up and running with new propellers.
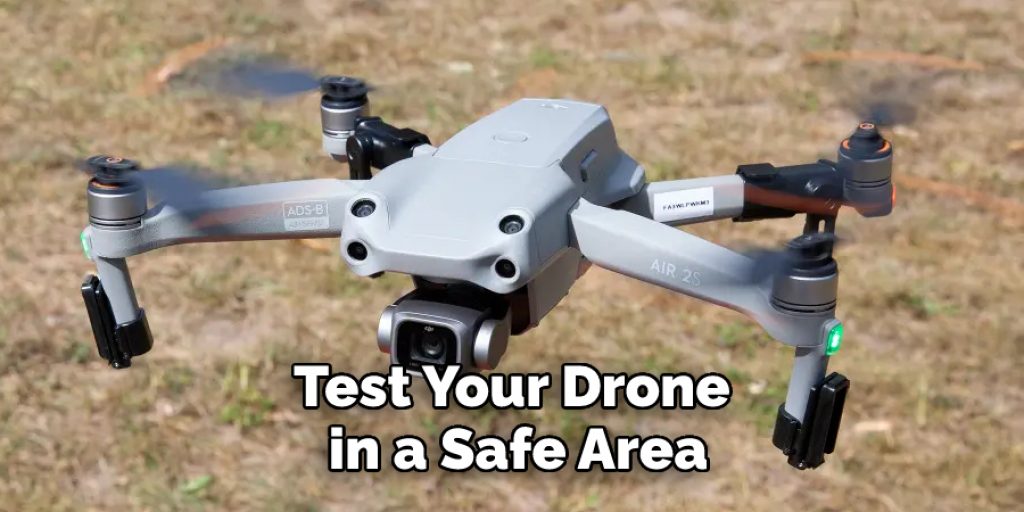
Step 7: Test Your Drone.
Before taking it for a spin, make sure to test your drone in a safe area. Make sure it’s responding correctly, that the propellers are spinning properly, and that all components are working as they should be. If everything is running how it should, you can enjoy your newly replaced drone propellers!
Now you know how to replace drone propellers like a pro! Of course, drone maintenance and repairs are essential, but with the right tools and knowledge, they can be done quickly and efficiently. So, happy piloting!
Things You Need to Know Before Replacing Drone Propellers
Replacing drone propellers is not that difficult, but many important things must be kept in mind. Firstly, be sure to double-check the compatibility of the propellers you want to buy with your drone model.
Secondly, pay attention to the screw configuration and type when purchasing new propellers – this will avoid problems during installation.
Additionally, make sure you are using the correct tool for removing your old propellers; if done improperly, it can lead to motor damage or at least an unbalanced thrust output from the motors.
Finally, if you use the wrong thread locker on your new screws, it can cause them to come loose from time to time. So, all in all, doing a little research before replacing your drone’s propellers can go a long way!
Benefits of Replacing Drone Propellers
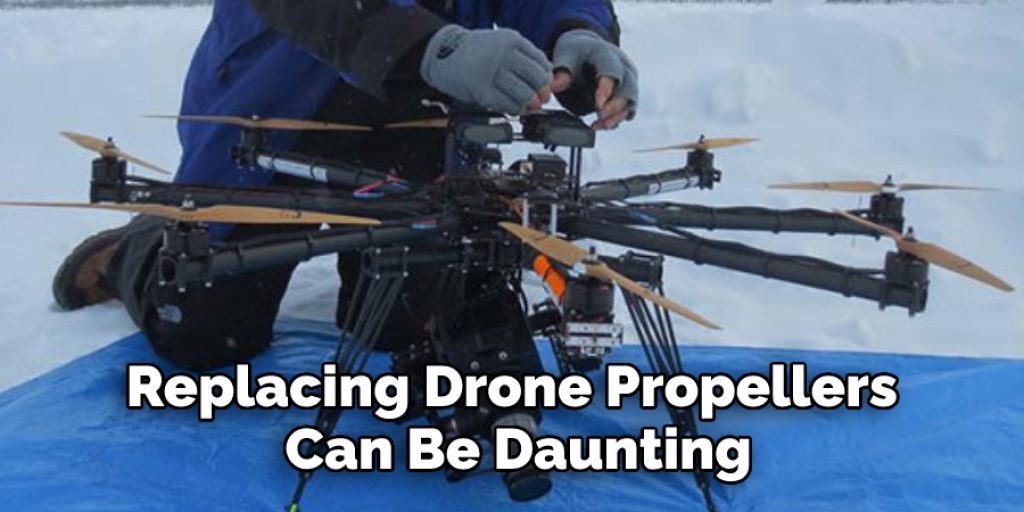
Replacing drone propellers can be daunting, but maintenance is necessary to ensure a smooth and safe flying experience. Replacing one or more propellers is the ultimate way to maximize performance, increase the battery life and safety of the drone, and reduce the noise produced by the propeller’s wind.
New propellers provide great thrust power, meaning your drone will have longer flight times. Additionally, investing in new high-quality propellers can make all the difference in the stability and maneuverability of drones when navigating through tight spaces or during high winds.
Taking advantage of these benefits can pay off with money saved from fewer repairs and replacements in the long run.
6 Common Mistakes People Make When Trying to Replace Drone Propellers
1. Not Checking for Damage
One of the most common mistakes people make when replacing drone propellers is not checking for damage. If the propellers are damaged, they will not work properly and can cause the drone to crash. Therefore, always inspect the propellers before replacing them to ensure that they are in good condition.
2. Not Tightening Propellers Properly
Another mistake people make is not tightening the propellers properly. If the propellers are not tightened properly, they will come loose and can cause the drone to crash. Be sure to follow the manufacturer’s instructions carefully when tightening the propellers.
3. Using the Wrong Size Propellers
Using the wrong size propellers is another common mistake people make when replacing drone propellers. The wrong-size propellers can cause the drone to be unbalanced and can lead to a crash. Be sure to use the correct size propellers for your specific drone model.
4. Not Checking Drone Compatibility
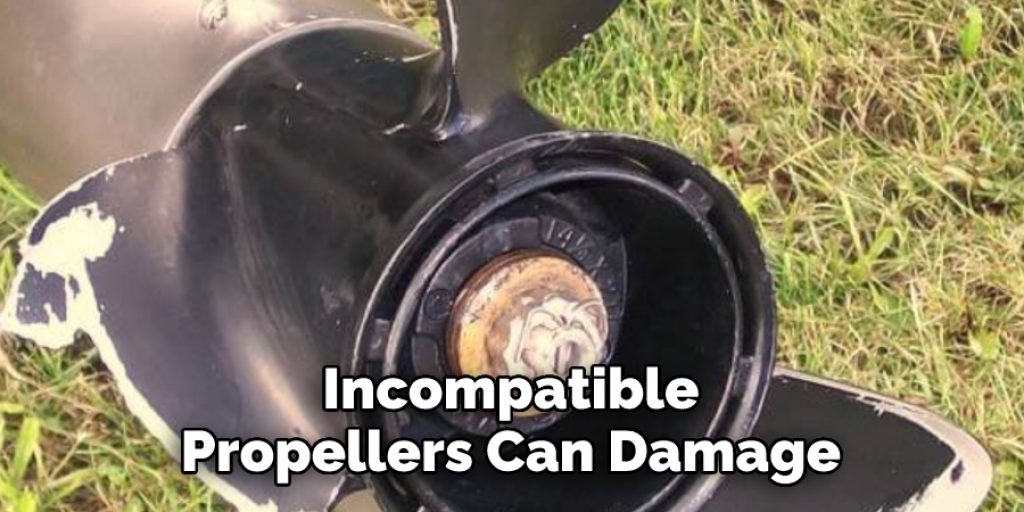
Not all drones are compatible with all types of propellers. Some drones require special propellers that are designed specifically for that model. Using incompatible propellers can damage the drone and may even void the warranty. Be sure to check the manufacturer’s specifications to ensure that you are using compatible propellers.
5. Not Following Manufacturer’s Instructions
One of the most important things to do when replacing drone propellers is to follow the manufacturer’s instructions carefully. Failing to do so can result in damage to the drone or even injury to yourself or others. Always read and follow the manufacturer’s instructions before attempting to replace any drone parts.
6. Trying to Save Money by Buying Cheap Propellers
Trying to save money by buying cheap aftermarket propellers is a mistake that can cost you dearly in the long run. Cheap propellers are often made from inferior materials and can break easily, leading to a crash. In addition, cheap propellers may not be compatible with your specific drone model, which could void your warranty or cause damage to your drone.
Troubleshooting Common Issues with Replacement of Long Lasting, Durable Drone Props
Troubleshooting common issues with a replacement of long-lasting, durable drone props can seem time-consuming and complicated, but there are really only a few basic steps that will have you back up and flying in no time. First, begin your troubleshooting process with a visual inspection of the propellers; inspect them for any signs of damage, discoloration, warping, or correct sizing.
In addition, make sure to check the speed controllers, motors, and circuit board connections for any issues. If all seems well so far, then take advantage of some online tutorials to learn the proper specs for voltage readings, etc.; many often provide helpful instructions on diagnosing malfunctioning components and replacing them safely with their durable drone props.
The Pros and Cons of DIY vs. Professional Replacement of Drone Propellers
Regarding replacing a drone’s propellers, there are both advantages and disadvantages to opting for a professional or doing it yourself (DIY). Replacing propellers by way of a professional is often more expensive than DIY methods, but the benefit is that you know this aspect of the drone has been professionally installed and treated with high-quality products.
On the other hand, choosing the DIY route can help you save money upfront, but this option may result in desiring exact precision, which could be difficult to achieve. Ultimately, when making repairs to a drone or its components, it depends on your comfort level and cost preference, as both options have trade-offs attached to them.
How Often Should Drone Propellers Be Replaced?
Drone propellers are the essential components of an unmanned aircraft, but the frequency at which they should be replaced can vary depending on the operating environment and other factors. Ultimately, replacing drone propellers should depend on the manufacturer’s recommended maintenance schedule and how much wear and tear is visible during operation.
If drone operators notice any cracks, fraying, or strange noises during flight, they should replace their propellers as soon as possible to ensure that their drones remain safe to fly. Additionally, regular check-ups with a professional technician are recommended to ensure that all drone components are operating properly and safely.
Do All Types of Drones Have the Same Rotation Patterns When Replacing Their Props?
The short answer to this question is no; not all drones have the same type of prop replacement rotation pattern. For example, some drones use a tightening pattern where props are alternated clockwise and counter-clockwise for even coverage. Others use an X-pattern, which involves the upper and lower propeller cross-sections in opposing directions.
Even among those patterns, some drones require different levels of tightness than others. In addition, differently sized motors may also be used on different drones, leading to variations in how tightly or loosely they should be installed.
Nuances among drone models should be considered during prop replacement; most manufacturers provide specific guidance depending on the make and model. However, ultimately when replacing props, it is important to do so carefully with attention to your individual drone’s requirements to ensure safety and peak performance levels.
What Is the Best Way to Protect My Drone’s Propellers?
Protecting your drone’s propellers is an important part of properly owning and operating one. The best way to protect them is always to ensure that they have a protective cover on them before moving or storing the drone. This will help prevent any accidental damage from outside sources, such as sand, dust, or other objects that may come into contact with the spinners.

Additionally, inspect them for signs of damage each time you go out flying, as small cracks or bumps can get worse quickly due to the high speeds at which drones travel. Finally, keeping your propellers in check is a surefire way of keeping your drone safe and ensuring its longevity.
Conclusion
Replacing your drone propellers doesn’t have to be complicated or time-consuming! With just a few simple steps and some basic tools, you can ensure that your drone is kept in tip-top shape for all of your aerial adventures!
So don’t forget to regularly check up on your propeller health and ensure they’re replaced when necessary—your safety depends on it! Thanks for reading our post about how to replace drone propellers.