How to Work a Snaptain Drone
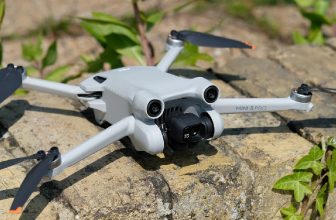
Drones are no longer just a novelty. Companies and consumers alike have embraced the technology, using drones to capture beautiful photos and videos from unique angles. If you’re looking for an easy-to-use drone that won’t break the bank, Snaptain drones are some of the best on the market. So keep reading to learn more about how to work a snaptain drone.
Can You Use a Snaptain Drone?
Snaptain drones can provide hours of enjoyment and fun, allowing you to explore the world from a completely different perspective. In addition, these innovative flying cameras are surprisingly easy to use; even novice drone pilots can get up and running in no time.
The advanced technology automatically stabilizes the device in flight, making capturing amazing aerial footage safe, easy and convenient. You can fly your Snaptain drone through parks, around your backyard, or take it for a joyride down your street.
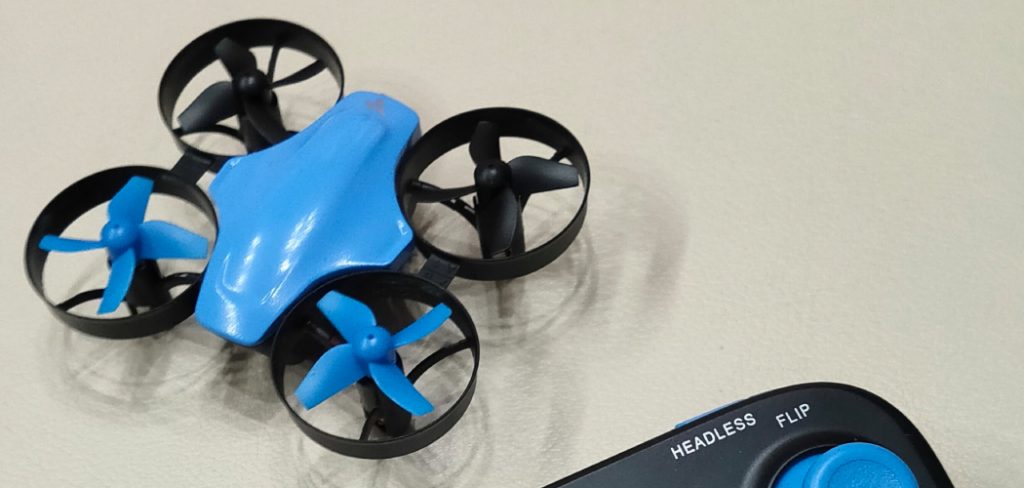
With the powerful remote controller in hand, you’ll be able to perform flips and stunts with incredible accuracy. Flying your Snaptain drone is a thrilling experience that you won’t soon forget!
Why Should You Use a Snaptain Drone?
Snaptain drones are the perfect tool for anyone looking to add a new dimension to their photography or videography. Whether you’re an experienced drone pilot or a complete beginner, Snaptain’s advanced technology makes it easy and intuitive to capture brilliant aerial shots and videos.
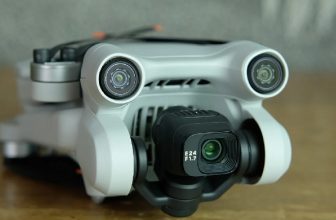
Its powerful yet safe design means that you can experience secure, reliable flight with features such as altitude hold, gravity sensors, and headless mode — all while using the high-definition camera to get stunning pictures of the world around you. With so many awesome features, Snaptain is sure to take your creative skills airborne!
7 Steps to Follow on How to Work a Snaptain Drone
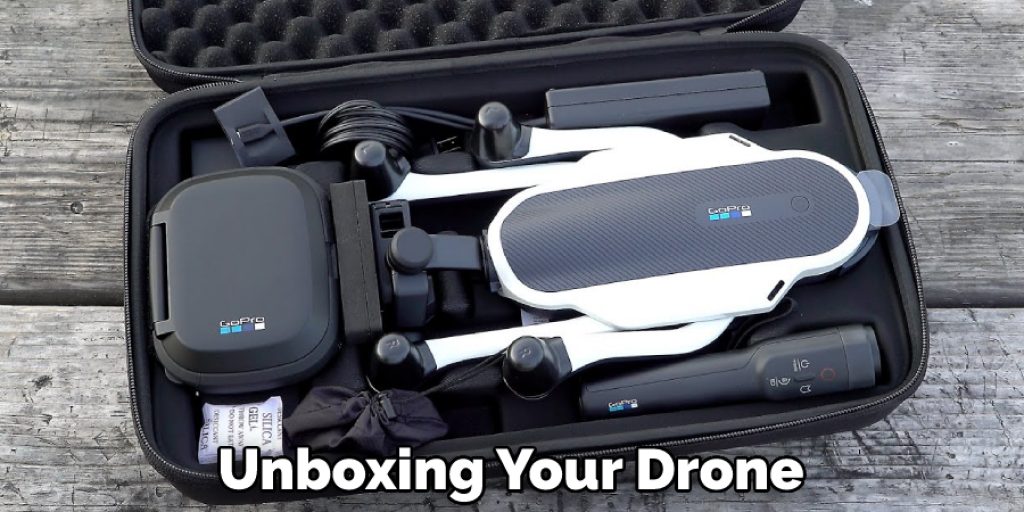
Step 1: Unboxing Your Drone
The first step is unboxing your drone. Inside the box, you should find your drone, its controller, extra propellers, USB charging cables, and two user manuals—one for the drone itself and one for the controller. As soon as you open your package, familiarize yourself with all of these components so that you know exactly what they are and where they go.
Step 2: Connecting Your Device
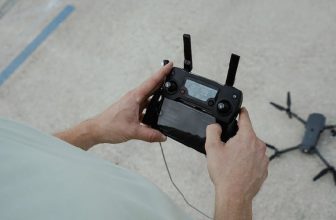
Once everything is out of the box, it’s time to connect your device. First, turn on your drone and its controller by pressing their respective power buttons for about three seconds until you hear a beep sound or see a light flash.
Once connected, take a few moments to practice controlling the drone with its joystick before takeoff. This will help you get used to how it maneuvers in the air so that when it comes time for takeoff, you won’t panic if something goes wrong mid-flight!
Step 3: Taking Off & Capturing Photos/Video
Once you feel comfortable with controlling your device using its controller stick, it’s time to take off! Start by positioning your drone at least 30 feet away from any obstacles or people to be safe during flight.
Then press down on both joysticks simultaneously until your propellers start spinning—this is when it will take off automatically. Now that it’s up in the air, safely use either the app or remote control to take photos or shoot videos as desired!
Step 4: Landing Your Drone
When you’re done capturing photos or videos, it’s time to land your drone safely. To do this, press down on both joysticks simultaneously until the propellers stop spinning and the drone begins to descend slowly. Make sure that it does not get too close to any obstacles or people as it descends.
Step 5: Shutdown & Store Your Drone
Once you’ve safely landed your drone, it’s time to turn off the device and store it away. To shut down the drone, press down on its power button for about three seconds until you hear a beep sound or see a light flash, indicating that it has been successfully shut off. Then store your drone in its protective case, making sure to re-attach the propellers and cables if necessary.
Step 6: Charging Your Drone
After each use, you’ll need to charge up your drone’s battery so that it is ready for its next flight. To do this, attach the USB charging cable to your drone’s battery and then plug it into a power source. You should leave it connected until the notification light turns green, indicating that it has been successfully recharged.
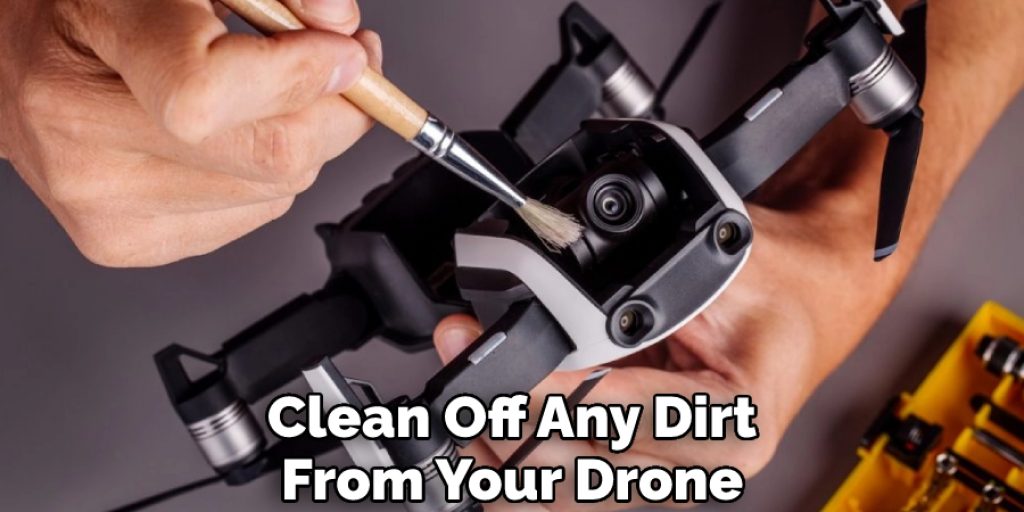
Step 7: Cleaning & Maintenance
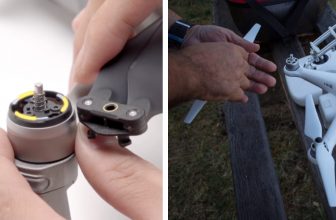
Finally, after each flight, take some time to clean off any dirt or debris from your drone. This will help keep it in great condition and prevent potential malfunctions. To do this, use a damp cloth and gently wipe down the drone’s exterior before wiping off its propellers as well.
That’s it! You’ve now learned how to work a Snaptain drone in 7 easy steps. With practice, you’ll soon be able to precisely control your drone and take stunning aerial photos or shoot amazing videos! Have fun!
Things You Need to Know Before Using a Snaptain Drone
Before you take your brand new Snaptain drone for a spin, it’s important to become familiar with a few basics. Practicing in a wide-open area with minimal interference from other people or objects close by is highly recommended.
As drones can be affected by strong winds, make sure there are no sudden changes in the weather before operating this device. Taking off requires the correct input of power, and rapid gainings of altitude can result in hazardous situations if handled improperly.
Additionally, familiarize yourself with local regulations regarding unmanned aerial vehicles. Then, when you’ve checked all the boxes and feel ready to enjoy the limitless possibilities of aerial photography, take off in confidence and have fun!
Benefits of Snaptain Drone
The Snaptain drone is renowned for its versatile range of capabilities. From taking breathtaking aerial shots to providing hours of family entertainment, this top-of-the-range drone puts the power of the skies in your hands.
The Snaptain drone offers intuitively designed features that make it easy to operate; such as Obstacle Avoidance and Altitude Hold, allowing you to take off without trouble. This versatility provides limitless opportunities for adventure recording stunning images with crystal clarity and precision!
Whether you’re an aspiring videographer or simply a novice hoping to fly high, the incredible benefits delivered by the Snaptain drone will take your experience to new heights!
6 Common Mistakes People Make When Trying to Use a Snaptain Drone
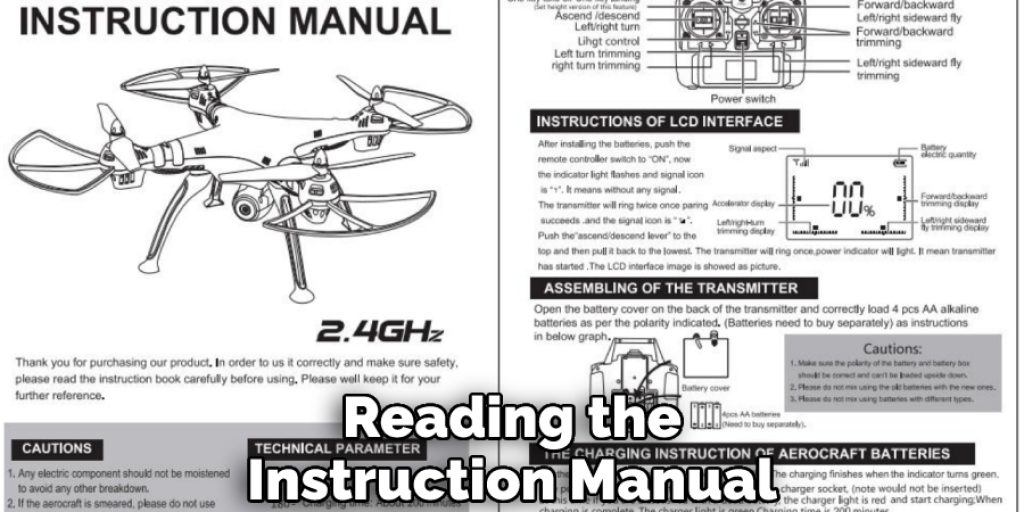
1. Not Reading the Instruction Manual
One of the most common mistakes people make when using a Snaptain drone is not reading the instruction manual. The instruction manual contains important information on operating the drone safely and effectively. Without reading the manual, making mistakes that could damage the drone or put yourself and others in danger is very easy.
2. Not Checking the Battery Life
Another mistake people make is not checking the battery life before attempting to use the drone. The battery life indicator on the drone will let you know how much power is remaining in the battery. If the battery is low, it may not provide enough power to keep the drone in the air for an extended period. This could result in the drone crashing to the ground.
3. Flying in Poor Weather Conditions
Another mistake people make is flying their drones in poor weather conditions. High winds, rain, and snow can all adversely affect a drone’s performance. It is important to check the weather forecast before flying a drone to ensure that conditions are favorable for safe operation.
4. Flying Too Close to People or Property
Another mistake people make is flying their drones too close to people or property. Drones can easily collide with objects and cause damage. Maintaining a safe distance from people and property when operating a drone is important.
5. Failing to Register Your Drone
All drones that weigh more than 0.55 pounds must be registered with the Federal Aviation Administration (FAA). Failure to register your drone can result in civil and criminal penalties. You can register your drone online at the FAA’s website or by mail using Form 8710-13.
6. Trying to Use Advanced Features Before Mastering Basic Flight
Many drones come equipped with advanced features such as GPS, auto-hover, and follow me modes. However, it is important to master basic flight before attempting to use these features. Advanced features can be difficult to use and may cause crashes if not used properly
You Can Check It Out To Washing Machine Outlet Box
Some Essential Preflight Tips for Using Your Snaptain Drone Effectively
When going out to use any drone, it is important to do some pre-flight preparations. For those using a Snaptain Drone, here are some essential tips for getting the most out of your flying experience. First, read the included instruction manuals carefully and ensure you are familiar with all of the features, limitations, and safety protocols built into your specific model.
When arriving at your chosen location, take a few minutes to inspect the environment for any potential risks like wires or buildings nearby. It is also important to begin by registering your drone, calibrating the compass, and checking for software updates for improved performance and stability.
Finally, make sure to always keep an eye on both your battery levels and the changing weather conditions in order to ensure a safe flight and enjoyable experience. Following these steps can ensure that you have everything set up correctly before liftoff!

Conclusion
Working with a Snaptain Drone is easy enough for beginners yet powerful enough for experts! With its easy setup process and intuitive controls, anyone can start capturing beautiful images and videos from above in no time.
So don’t wait – purchase yours today and fly into aerial photography! Thanks for reading our post about how to work a snaptain drone.