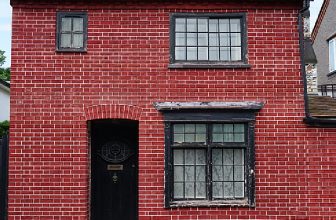
How to Replace Windows in a Brick House
If you live in a brick house and want to replace windows, you’re likely wondering – how do I go about making this happen? Replacing windows on a brick home can be a bit more complicated than an average installation, as the nature of masonry requires extra care and precaution.

In this post, we’ll break down the steps of how to replace windows in a brick house – from picking out new window styles that fit best with your home’s aesthetic sense to preparing construction materials to complete the job with ease. With our clear instructions and helpful advice, even novice DIYers will have no problem learning how to tackle replacing their own windows!
Is It Hard to Replace Windows in a Brick House?
Replacing windows in a brick house can be difficult and time-consuming. Unlike replacing windows in a typical wood-frame house, there is no interior trim or molding to cover up the edges of the window opening when installing new windows in a brick home.
This means that any imperfections in the window installation are visible from both inside and outside of the home. Additionally, it is tricky to get an exact match for existing mortar joints on old masonry walls which can make even professional installations look sloppy if not done carefully.
Since many older homes have unique shapes that are not easy to find replacement windows for, it might also require custom fabrication of new windows or using salvaged ones, which adds additional expense to the project. With all these factors in mind, it is easy to see why replacing windows in a brick house is not as straightforward as other types of homes.
Ultimately, the difficulty depends on the skill and experience of the installer, so be sure to hire someone who has previous experience with this type of project. With an experienced professional, the process can go smoothly and result in beautiful new windows that will last for years! Additionally, working with a quality window manufacturer and installer can ensure that the windows are properly measured and installed.
In short, replacing windows in a brick house can be difficult due to the lack of interior trim or molding to cover up the edges of the window opening. Additionally, it is tricky to get an exact match for existing mortar joints on old masonry walls which can make even professional installations look sloppy if not done carefully.
10 Methods How to Replace Windows in a Brick House
1. Remove the Old Window.
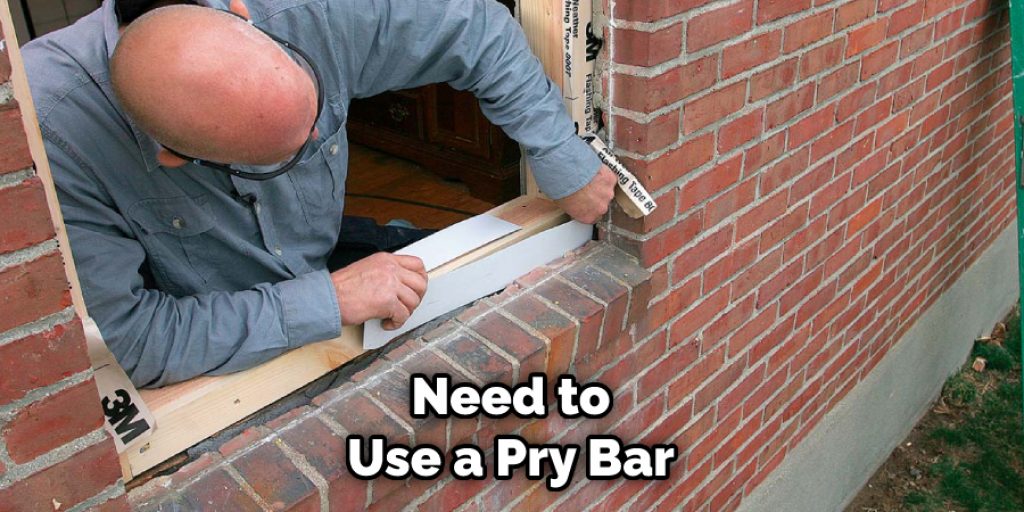
Start by removing the old window. You will need to use a pry bar to remove the trim around the window. Once the trim is removed, you will be able to access the screws that hold the window in place. Remove the screws and then carefully pull the window out of the opening.
Be careful to not damage any of the surrounding brick as you remove the window. If you do damage the brick, it is important to repair it before continuing with the installation. While you have the window out, take the time to check for any signs of rot or damage in the framing. If there is any, it needs to be replaced before you install the new window.
2. Measure the Opening.
Once the old window is removed, you will need to measure the opening. This will ensure that you purchase a window that fits properly. Measure the width and length of the opening at three separate points; these measurements will vary slightly due to any inconsistencies in framing.
Make sure that you measure from both inside and outside the opening. Once you have all your measurements, add 1/2″ to each side for clearance. This will give you a good starting point for the new window size.
3. Purchase a New Window.
Now that you have measured the opening, you can purchase a new window. Be sure to purchase a window that is made from durable material such as vinyl or fiberglass. These materials will be able to resist the elements better than wood and are also more energy efficient.
Make sure that the window is double-paned for maximum energy efficiency. Once the window is installed, seal it with caulk to help protect against water damage and drafts.
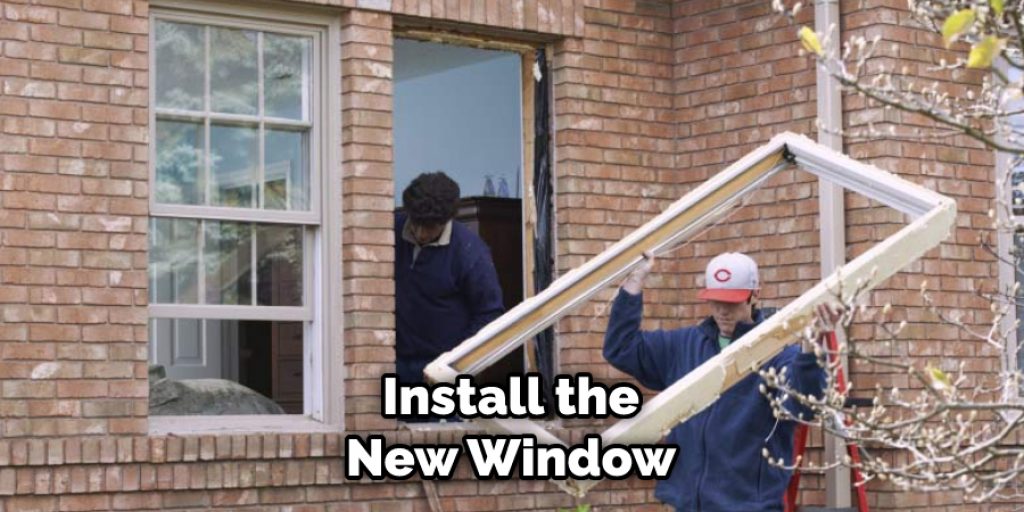
4. Install the New Window.
To install the new window, start by placing it in the opening. Then, use screws to secure it in place. Be sure to use screws that are long enough to penetrate through the brick and into the studs behind it.
Next, apply a generous amount of caulk around the edges to seal it in place. Finally, use mortar or foam insulation to fill any gaps and prevent air leakage. Be sure to smooth out the mortar or foam and allow it to dry completely before moving on.
With the window in place, you can now finish the installation by re-installing the trim and capping. This will not only make the window look more attractive but also provide an additional layer of insulation to help save on energy costs.
5. Add Weatherstripping.
Once the new window is installed, you will need to add weatherstripping around it. This will help to seal out drafts and keep your home more energy-efficient. Start by adding a small strip of weatherstripping around the window frame.
Then, add a strip along the sides and bottom of the window. You can also use a caulk gun to fill any gaps or cracks. Once the weatherstripping is in place, test the window to make sure it seals properly. If there are still drafts, you can add more weatherstripping or use additional sealants to fill the gaps.
6. Install a Sill Pan.
A sill pan is a piece of metal that helps to protect your windowsill from water damage. To install one, simply place it under the lip of the new window and screw it into place. Make sure to seal the edges with waterproof caulk.
This will minimize the risk of water seeping in and causing damage over time. If you’re not sure how to install a sill pan, consider having a professional do it for you. Try to look for a contractor who is experienced in replacing windows in brick homes.
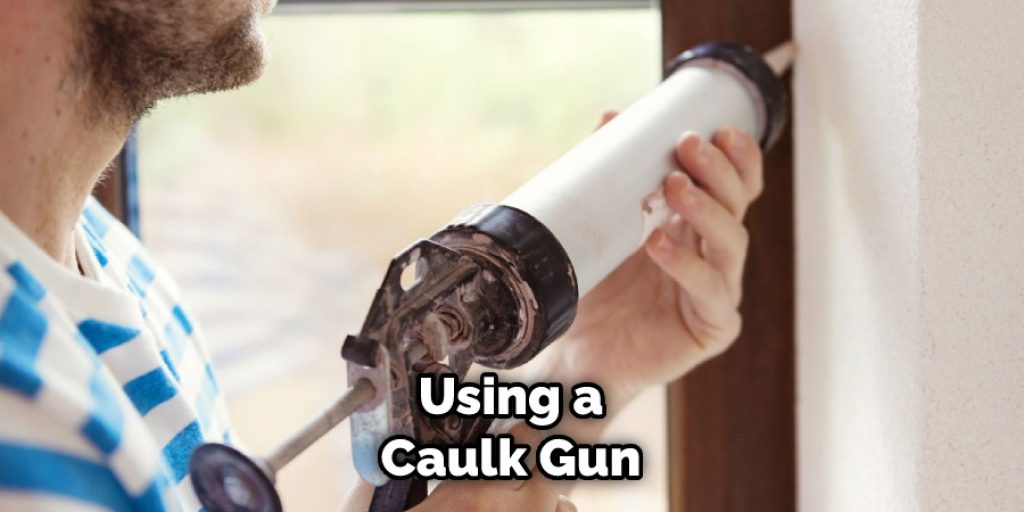
7. Add Caulking around the outside of the Window.
Caulking helps to further seal out drafts and keep your home energy-efficient. To apply to caulk, simply run a bead of it around the outside of the new window using a caulk gun. Work slowly and evenly to get consistent coverage.
When you are finished, smooth the caulk with your finger or a damp cloth to create a neat, professional finish. Additionally, you may want to place a piece of masking tape over the caulk so that it doesn’t get smudged. Once the caulk is dry and sealed, it’s time to enjoy your newly installed window!
8. Add Trim around the outside of the Window.
Trim helps to give your windows a finished look and also provides an additional layer of protection against drafts and moisture damage. To install trim, simply attach it around the outside of the window using nails or screws.
You can use pre-cut trim or cut your own to fit the dimensions of the window. To create a good seal, apply caulk between the trim and the wall. Finally, paint or finish the trim to match the rest of your home.
9. Paint the Trim and Caulk.
Once all of the pieces are in place, you can finish up by painting the trim and caulking to match your home’s exterior. This will help your new windows blend into their surroundings and look like they were always a part of your brick house. Start by lightly sanding any rough edges or areas that need attention.
Then, use a quality paintbrush to apply the primer and finish coats to ensure a neat and even finish. Finally, use caulk to fill any small gaps or cracks between the window trim and brick. This will help prevent rain and moisture from entering the window frame and causing damage.
10. Enjoy Your New Windows!
Once everything is painted and finished, enjoy your beautiful new windows that will last for years to come! Make sure to regularly check them for any signs of wear or damage so that you can maintain their optimal performance over time.
With new windows, you can enjoy all the benefits that come with them, like improved energy efficiency, better home value, enhanced curb appeal, and lower maintenance costs. Plus, the added security they provide to your home is an invaluable asset that you can’t put a price on.
Conclusion
Replacing windows in a brick house is not a task for the inexperienced homeowner. It requires diligence, patience, planning and research to successfully complete the project efficiently and cost-effectively.
Doing it right is worth the effort as windows are an essential component of a home’s heat loss prevention and will enhance the overall look of your home. Before you start to pull out that sledgehammer and chisel, it’s best to consult with an experienced contractor or do your own detailed research online on how to replace windows in a brick house. Remember, knowledge is power!
Elizabeth Davis
Elizabeth is a creative writer and digital editor based in the United States. She has a passion for the arts and crafts, which she developed from a young age. Elizabeth has always loved experimenting with new mediums and sharing her work with others. When she started blogging, she knew that DIYquickly would be the perfect platform to share her tutorials and tips. She's been writing for the blog from the beginning, and her readers love her helpful advice and easy-to-follow instructions. When she's not writing or editing, Elizabeth enjoys spending time with her family and friends.