
How to Run a Pipe Under a Sidewalk
If you’ve ever tried to run a pipe under a sidewalk, you know it’s no easy task. This blog post will show you how to run a pipe under a sidewalk. We’ll also give you some tips on avoiding common problems that can occur when running pipes under sidewalks. So, if you’re ready to get started, keep reading.
Materials Required
- Pipe
- Trenching tool
- Shovel
- Waterproofing material (optional)
Step by Step How to Run a Pipe Under a Sidewalk
1. Permit From Your Local Municipality
The first step is to obtain a permit from your local municipality. This will allow you to dig a trench on the sidewalk legally. If you don’t obtain a permit, you could be fined or even arrested.
2. Disconnect Your Downspouts.
Downspouts are the pipes that carry rainwater from your gutters to a drain or sewer. If you want to run a pipe under your sidewalk, you’ll first need to disconnect your downspouts. This will allow you to access the underground pipe that carries rainwater away from your home. To disconnect your downspouts, start removing the elbow joint that connects the downspout to the gutter.
Once the elbow joint is removed, you should be able to pull the downspout away from the gutter. If your downspouts are attached to a drain pipe, you’ll need to cut the downspouts away from the pipe. Use a hacksaw or a reciprocating saw to make the cuts.
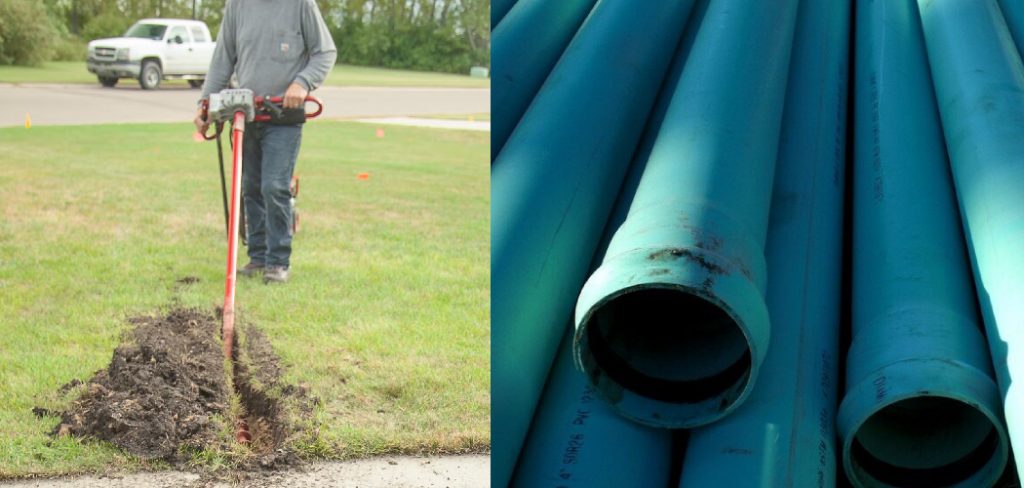
3. Excavate the Trench.
Using a shovel, excavate a trench that is at least 18 inches deep and 18 inches wide from the sidewalk to the desired location of your pipe. The length of the trench will be determined by how far away the desired location is from the sidewalk.

4. Clean the Pipe.
Once the trench is dug, it’s time to clean the pipe. Be sure to remove any dirt, debris, or other obstructions that could block water flow through the pipe. A wire brush can be used to scrub the pipe’s interior clean.
5. Place the Pipe in the Trench.
Once the trench is dug, you’ll need to place the pipe in the trench. If you’re using a flexible pipe, it’s important to ensure that the pipe is properly supported so that it doesn’t sag or collapse.
You can use bricks, blocks, or gravel to support the pipe. If you’re using a rigid pipe, you’ll need to make sure that the pipe is properly aligned before you start to backfill the trench. Once the pipe is in place, you can begin to backfill the trench.
6. Use a Trenching Tool.
If you’re having difficulty digging the trench, you may want to consider using a trenching tool. This will make the job a lot easier and will help to ensure that the trench is dug correctly.
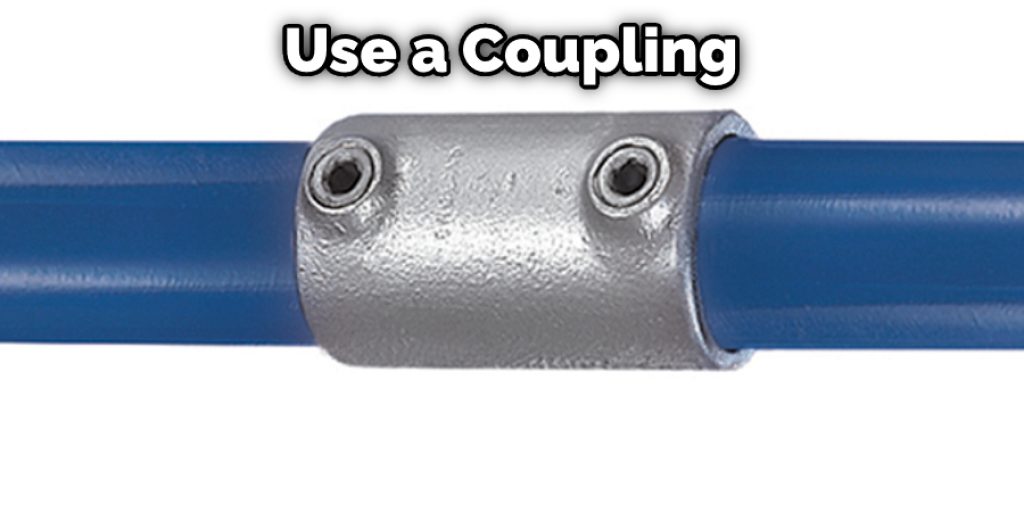
7. Connect the Pipe.
Once you have dug the trench and laid the pipe, it is time to connect the two ends of the pipe. You will need to use a coupling to do this. Attach the coupling to one end of the pipe and then slide the other end of the pipe into the coupling. Once both ends are connected, you can seal the coupling with a pipe sealant.
8. Waterproof the Pipe (Optional).
If you live in an area with a lot of rainfall, you may want to consider waterproofing the pipe. This will help to prevent any water from seeping into the pipe and causing damage. There are a number of different ways that you can waterproof a pipe, so be sure to consult with a professional before you begin.
9. Install a Drainage Pipe.
If you live in an area with a lot of rainfall, you may want to consider installing a drainage pipe along with your water line. This will help to ensure that your sidewalk doesn’t become flooded during a downpour. You can purchase a drainage pipe at most hardware stores.
10. Use a Pipe Sleeve.
If you’re concerned about soil erosion, you may consider using a pipe sleeve. A pipe sleeve is a fabric that goes around the pipe to protect it from the elements. Pipe sleeves are available at most hardware stores.
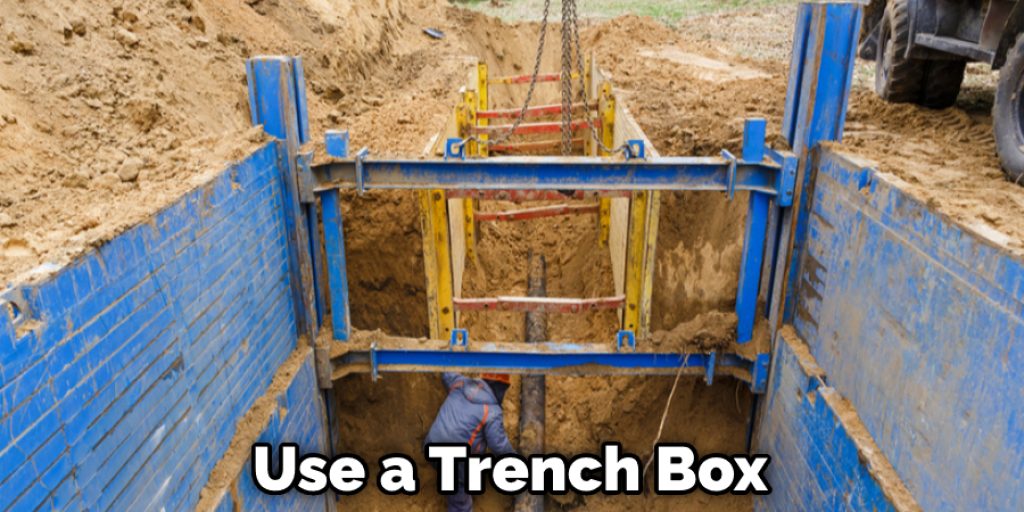
11. Use a Trench Box.
If you’re worried about the pipe collapsing, you may want to use a trench box. A trench box is a metal or plastic box that is placed in the trench to help support the sides of the trench and keep it from caving in. You can usually rent trench boxes from construction equipment rental stores.
12. Backfill the Trench.
Once the pipe is in place, it’s time to backfill the trench. Begin by filling in the bottom of the trench with gravel. This will help with drainage. Then, add soil back into the trench, tamping it down as you go. When the trench is filled, cover it with sod or seed the area to blend it in with the rest of your lawn.
13. Install an Underdriveway Culvert.
If you have a driveway that crosses your water line, you’ll need to install an under driveway culvert. This pipe goes under your driveway and allows water to flow freely. You can purchase an under driveway culvert at most hardware stores.
14. Install a Backwater Valve.
If you live in an area prone to flooding, you may want to consider installing a backwater valve. This is a special valve that prevents sewage from flowing back into your home in the event of a flood. Backwater valves must be installed by a professional, and you will need to obtain a permit from your local municipality before having one installed.
15. Have the Pipe Inspected.
Once the pipe is installed, you’ll need to have it inspected by a professional. This is to ensure that the pipe is properly installed and there are no leaks. After the inspection, the professional will give you a certificate of occupancy, which you’ll need to get your business up and to run.
16. Enjoy Your New Pipe.
Now that you run your pipe under the sidewalk, you have a new sense of satisfaction! Not only did you save money by doing it yourself, but you also accomplished something that many people would find daunting.
Tips and Warnings – How to Run a Pipe Under a Sidewalk
Tips:
- Choose the right size and type of pipe.
- Dig a trench at least 2 feet wide and 18 inches deep.
- Call 811 to have your utilities located before you dig.
- Wrap the pipe in foam insulation to protect it from freezing temperatures.
- Backfill the trench with sand or gravel to support the pipe.

Warnings:
- Don’t use a power drill to dig the trench because it can damage the pipe.
- Don’t try to run the pipe through solid rock because it will break.
- Make sure the soil around the pipe is compacted, so it doesn’t settle and damage the pipe.
- Don’t use a backhoe to dig the trench because it could damage the pipe.
- Don’t put the pipe in an area where there is a lot of traffic because it could get damaged.
Conclusion
This article has provided you with all the information you need to know about how to run a pipe under a sidewalk. If you follow these steps, you’ll be able to do it yourself without hiring a professional. Just remember to call 811 before you dig and to backfill the trench with gravel or sand to support the pipe. When it comes to running a pipe under a sidewalk, there are two main things you need to do: plan and execute.
By planning ahead and taking the necessary steps, you can minimize disruption to your project and the surrounding area. Execution is key – make sure you have the right tools and crew for the job, and stay on schedule so that everyone can get back to their regularly scheduled lives as soon as possible. Have you ever had to run a pipe under a sidewalk? What tips would you add? Write them in the comments below.


