
How to Run Sprinkler Wire From Garage
Sprinkler wiring is a critical component of a massive underground process. Once it fails, else the mechanism does not function, eliminating all of the advantages of doing it initially. And since timer and controls are always divided by a particular gap, the fix may be painful. I questioned several skilled installation services to gather information about how to mount sprinkler wiring without possible harm and repair-proofing quickly.
Introduction
Type-1
Planning the Process
Label the hidden wires on your property with the help of your electric provider. Measure the yard with a tape measure to get an accurate reading. Evaluate the water level and assess the performance of your sprinkler systems. Create a map of your backyard, outlining the sprinkler points, categories and positions. Classify the areas of your backyard where the sprinklers should go, using poles as markers.
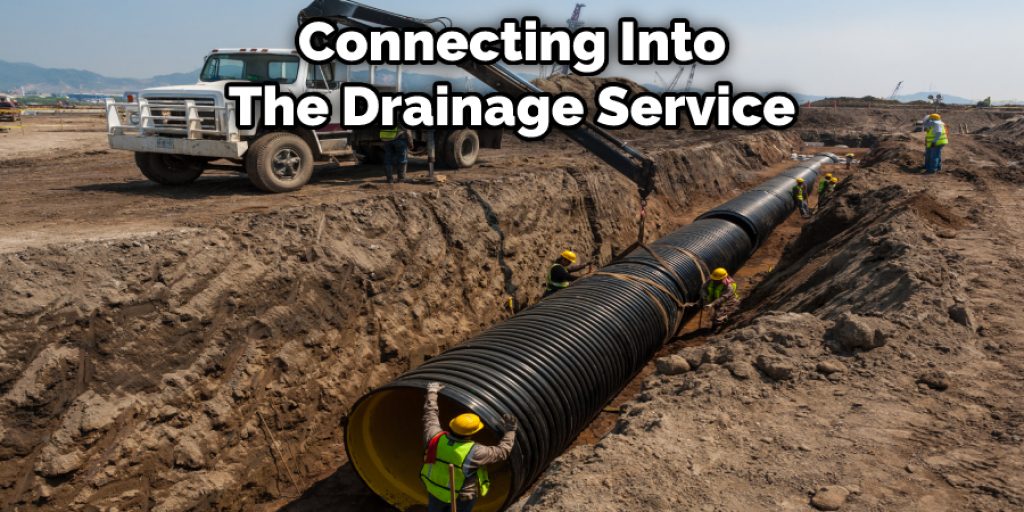
Join the Water Section
For a drainage system, the most straightforward place to provide water is to relate to a current faucet. The most efficient approach is by connecting into the drainage-service existing path. Both directions allow anti-siphon valves to be mounted that inhibits the entry of brackish, grass pollutants, and pesticides into the supply line.
Dig the Trench
Build a 6 “to 8” deep hole with faces curving to an angle of 45 degrees. While digging, put sod with one hand, and sediment, on the other hand, allows the trenches to be simpler to refill and cover. To enable this phase move even quicker, rent a trench-digging tool, often named a vibrating plow.
Mount Manifold Lever
Fill a significantly more significant gap than the package with the valve nozzle. Put the thing down on the surface. Connect one end of a mounting valve funnel to the central water system pipe. Fasteners stiffen to safeguard it.
Power the Plastic pipe
Attach 3/4 “Plastic pipe to the pointy bit of the valve manif. Proceed to position the tube around the existing trench, for pipelines going off the main route, using” tee “connections. Attach risers use 90-degree angle adapters to the position of every flag. Make careful to add the glue gently and easily before affixing parts on.
Inserted in the Sprinkler System
In order to fill a gap, you need a significantly bigger valve nozzle than the package. Place the nozzle on the surface and then connect one end of the mounting valve funnel to the central water system pipe. Fasten it in place to make sure it is secure.
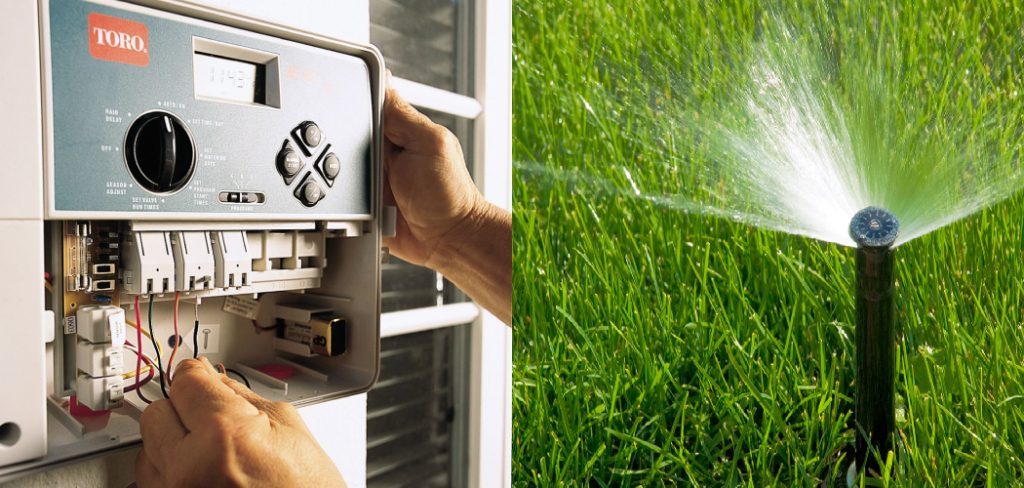
System Install
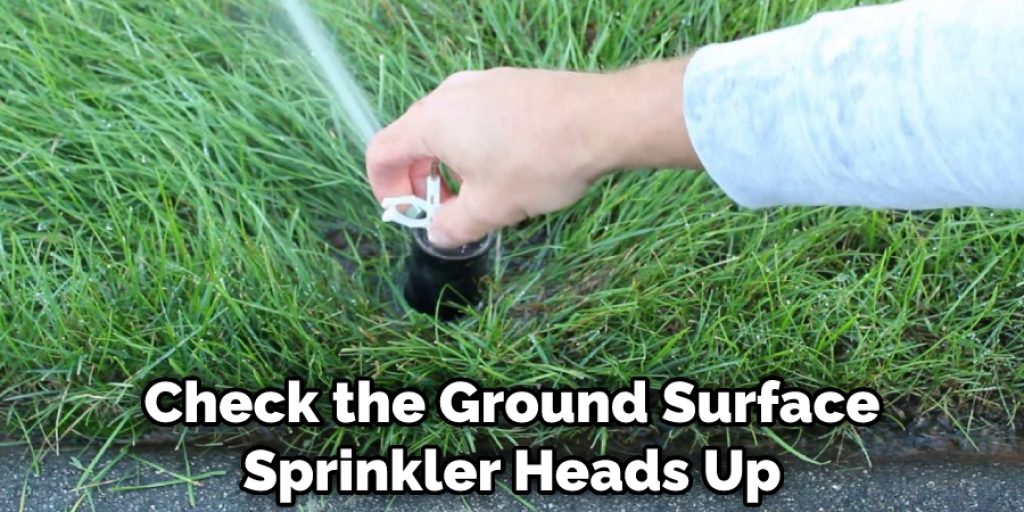
The timer controls the irrigation period and speed. Connect the cable as per the requirements of the toolmaker. Attach finally to the water supply-service line. Verify to see if the system operates. Fine-tune the tops of every sprinkler to make sure even protection.
Type-2
One suggestion that stood out above everything else was to cover the inner connector cable with conduit. The trouble and cost of building conduits are virtually equivalent to doing it without, so if you ever consider making fixes, the advantages always pay off.
Since it doesn’t have to bear the force of the inner water, the sprinkler tube is typically more relaxed. The fixtures are also more full and angled, and you can route the wire through the tube without winding it like a tee connection via a pretty tough-stop.
Once designed properly, the tube is sturdy, UV-resistant, and entirely water-resistant. For sprinkler pipelines, the conduit must be buried at least six inches deep (occasionally more even if urban code is required). It will guard against excavators and farm machinery.
Nevertheless, the conduit is not only for underground usage, but it can also be utilized when you water the cables over land. Mainly because Ultraviolet rays will weaken plastic covering and reduce the lifetime of electrical wires, the conduit does not become fragile and crack. Moreover, it merely looks smoother and fresher.
On the conduit issue, if you are still using sprinkler pits, covering them will save you effort and resources. When you have several wiring strings for separate garden hose sets, feeding them through the same conduit is a good idea since the voltage is not strong enough to damage them.
Pull up an additional couple feet of cable, so you’ll have some backup in case of maintenance. Utilize cord nuts and grease brackets so if cabling the valves. The cord nuts offer a stable link between cables and grease caps to ensure that the seal is water-resistant.
Final Thoughts
Water reaching the wire also destroys the solenoid valves past fix, and this minor intervention avoids further costs and hassles. When appropriate actions are taken in making plans, cabling could be pain-free. Implement such suggestions, and you should have practically no issues.


