
How to Save a Texture in Blender
When creating 3D models, textures are an essential part of the process. They give your model realism and make it look more like the real world. This is an important skill to have if you work with textures in your projects. Saving a texture ensures that it will be saved in the correct format and that it can be reused later on.
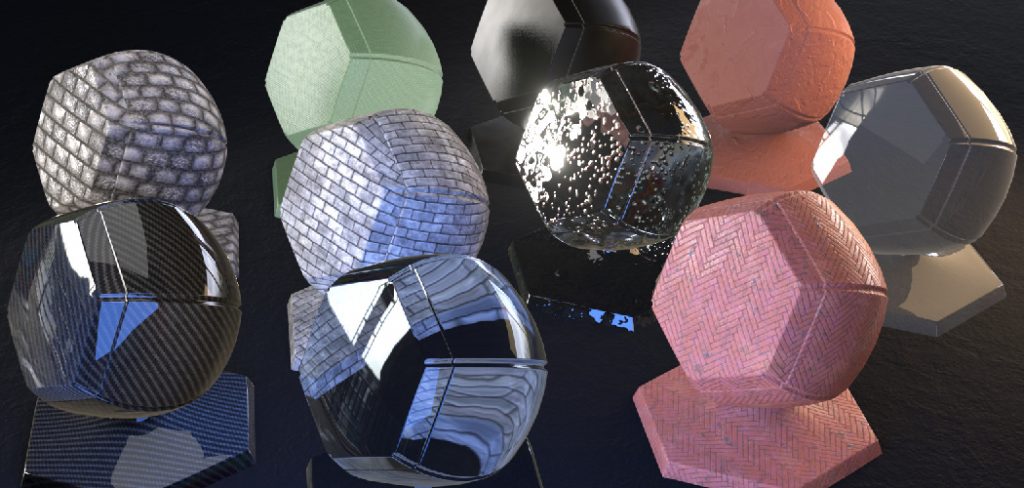
In addition, saving textures properly will help keep your project files organized and easy to manage. This blog post will show you how to save a surface in Blender. We’ll also go over some common problems people encounter when saving textures and how to solve them. So, if you’re interested in learning more about textures and Blender, keep reading!
Five Methods on How to Save a Texture in Blender
Method 1: Save a Texture as an Image
Blender can export images with the correct dimensions to work as a texture. This is done through the UV/Image Editor. First, select all of your faces by selecting» Select All from the menu bar. Then click on the Images icon in the toolbar (the second one from the left).
In the popup window that appears, choose where you want the image to be placed in your file directory and what you want it named, then click ‘Export Image.’
Method 2: Create an Environment Map Texture
An environment map texture is a special kind of image that can be used to give your scene a convincing sense of realism. In Blender, it’s accomplished through the World tab in the Properties panel on the right side of your screen. To create an environment map texture, you’ll have to set up some coordinates and create a new material.
For the coordinates, find a location you want to use as your focal point and type its coordinates into the ‘Coordinates’ input boxes under the World tab. Typically this is at 0,0,0, so it’ll likely be the first set of numbers given. After that, you can type any other number in for the ‘Height’ input box to fine-tune the location of your environment map texture.
For the material, click on the New button under the Material tab and change its name to something like ‘Environment Map.’ Then, under Surface, set Type to Environment Map and check Reflectivity. This will cause your environment map texture to be visible through your geometry.
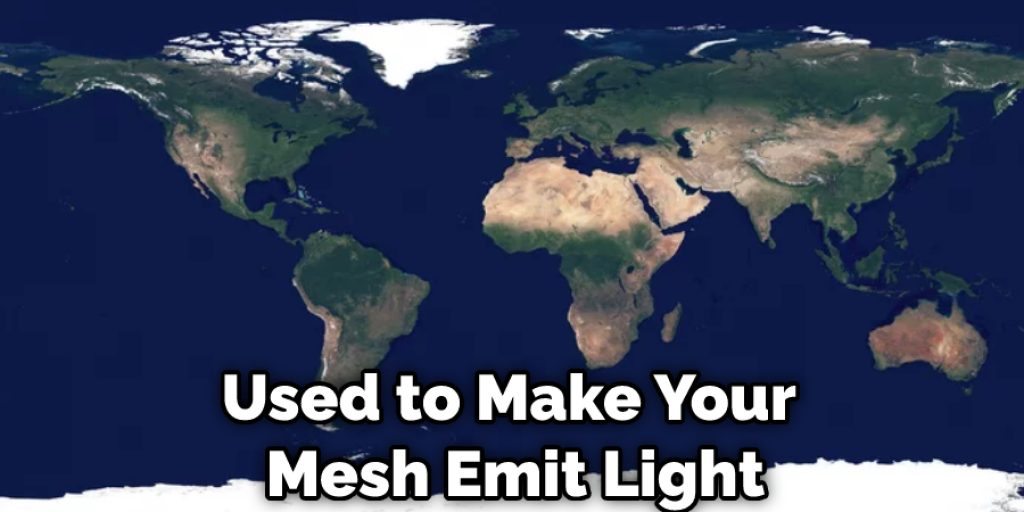
Method 3: Create a Web Map Texture
A web map texture is used to make your mesh emit light. This kind of material can be created through the World tab under the Properties panel, just like an environment map, except you’ll need to change a few options.
First, select ‘Phong’ from the Type drop-down menu under Surface and check Specular Intensity. The intensity of your specularity will be determined by how bright your image is, so it’s recommended that you scale the image down via the Image Data section in the Properties panel to reduce its intensity.
Method 4: Use a Texture as a World Background
The quickest method for using an image as your scene’s background is by using it as a world texture. This is done through the World tab under Properties and can be accessed either while you’re editing your properties, or by clicking on the texture you want to use and choosing ‘Texture Properties’ from the toolbar (the gear icon) in the 3D View.
Enable Environment in World Gather for this method to work; if it isn’t checked, your image won’t be visible in its entirety. Using an environment map, you’ll also have to adjust the coordinates, like with the ‘Environment Map’ material.
Method 5: Create a Texture for Displacement Mapping
Displacement mapping can create details that are otherwise impossible with the normal map. To use it, you’ll first need to assign a texture for your material’s bump or displacement setting.
An easy way to create one is by using an image editor like GIMP (which is free) and drawing in some details that will be applied according to the light direction. First, make sure the image file type is .raw, then enable ‘Load Raw Data’ for the bump/displacement setting in the Properties panel. After setting up your material, your image will be visible when using the Displace modifier.
Some Helpful Tips and Hacks
Here are some tips and suggestions on saving a texture in Blender.
1. Make sure you are using the most recent version of Blender.
2. Make sure your model has an origin; if it doesn’t, you will need to specify where 0,0 is on the texture manually.
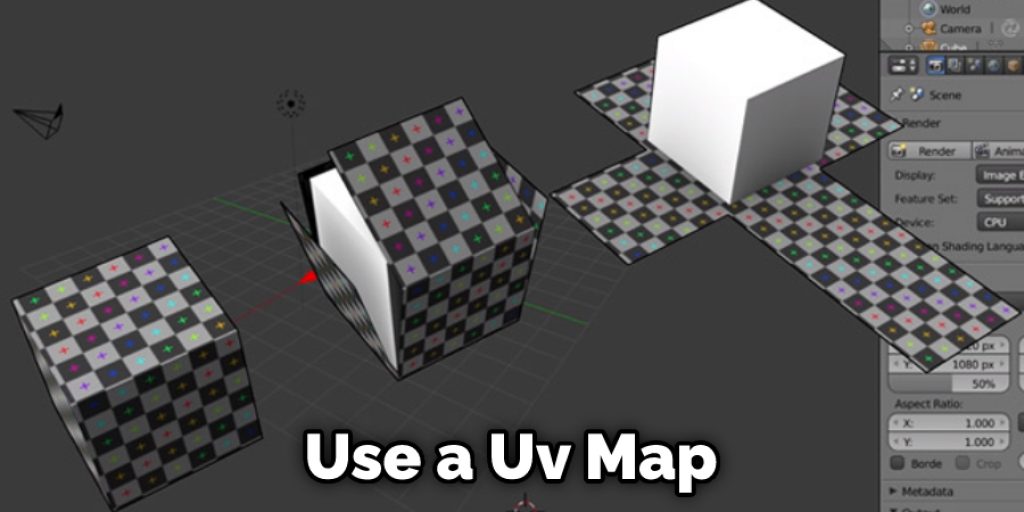
3. You have to use a UV map to save a texture in Blender, so make sure all faces have their correct mapping or are separated.
4. You can use the UV/Image Editor to create a new image, which will initialize it with the proper file type for Blender, but you will have to save it as well to keep its transparency.
5. Save your images using X3D or XCF format; both of these formats save transparency.
6. If your model comprises multiple parts, it is important to weld all parts together before saving.
7. Make sure you save your textures with the same name that you specified in the materials for each face, or else they will not map correctly when imported into another file, game engine, etc.
Saving Texture Painted Material Externally
This is an essential question for digital artists. You can’t paint complicated geometry without having a good plan for getting the material back out of Blender and into another application like Photoshop or GIMP. If you’re not careful, what looks excellent in Blender may look horrible after the texture is applied to the object.
Blender, by default, paints everything with a Lambert shader. The Lambert shader gives Blender it’s nice flat shading without any fancy effects that are harder to control, like a bump, reflection, or transparency. But, unfortunately, it also flattens the colors you painted using the material blender nodes. The result is an excellent matte surface.
Frequently Asked Questions
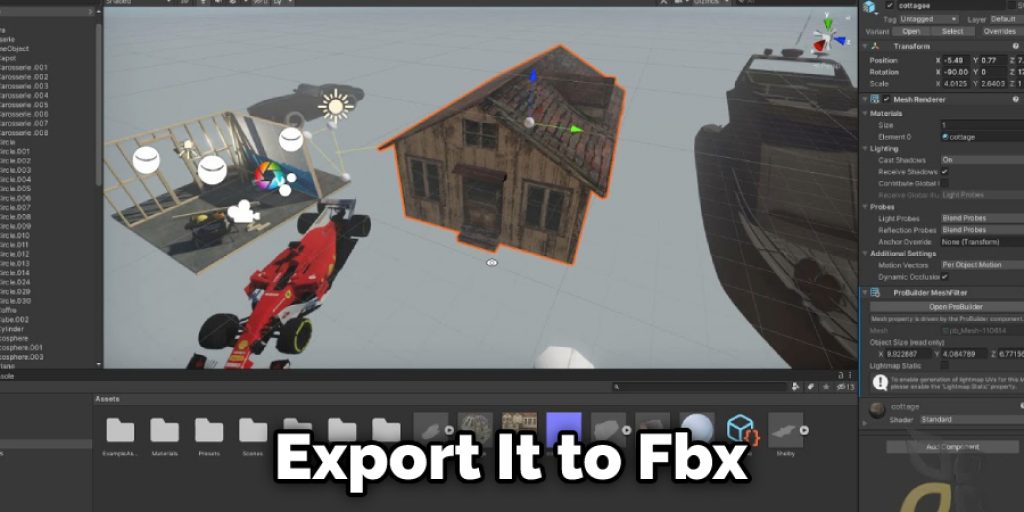
How Do I Export Textures From Blender to Unity?
It’s a good question, and one I get a lot. Since I use Blender to do all my concept art for games, this is something that pops up quite often. The issue with Unity isn’t exporting from Blender to Unity; it’s opening the FBX file in Photoshop because Photoshop can only open .fbx files.
There can be other issues like an older version of Blender not reading the file correctly and crashing, or Photoshop not reading it and giving you a load of weird errors (like we had today).
So we came up with a solution: Make a new scene in Unity and export it to FBX, making sure everything lines up perfectly. Then, open that in Photoshop and save it as a new file. Remember to save the texture you’ve made in Blender as a .png if you want a transparent background later on!
If you don’t, Unity will give your object a white backdrop. This only needs to be done once for every texture if you keep your drawings in the same spot in relation to your 3D model. This is a pretty simple ‘solution,’ but it works well for anyone who wants to make textures in Blender and use them in Unity.
What Does It Mean to Bake a Texture?
When you “bake” a texture, you render the low-resolution details of an object onto its Surface. This is common in video games when people want to increase the quality and fidelity of their textures without increasing the poly count very much.
By rendering a high res version of a texture, the artist can use it for all kinds of things that would be tedious to make in the normal course of texturing, like cracks and dents.
Baking a texture is the same as creating a decal for your 3D model. The difference is that baking gives you more control over where your decals are applied, so you can have some surfaces with high res textures while others have low res textures.
Conclusion
Now that you know how to save a texture in Blender, you can start creating textures for your 3D models or projects. Keep in mind that the process of creating textures is an art form, and it takes time and practice to get better at it. With that said, experiment with different textures and colors to see what looks best on your models.
And don’t be afraid to ask others for feedback; getting constructive feedback from other artists can help you improve your skills. Finally, have fun with it! Texture creation is a great way to express your creativity and add unique flair to your work. Are you ready to try creating some textures of your own? Let us know in the comments below!


