
How to Make Decals for Model Trains
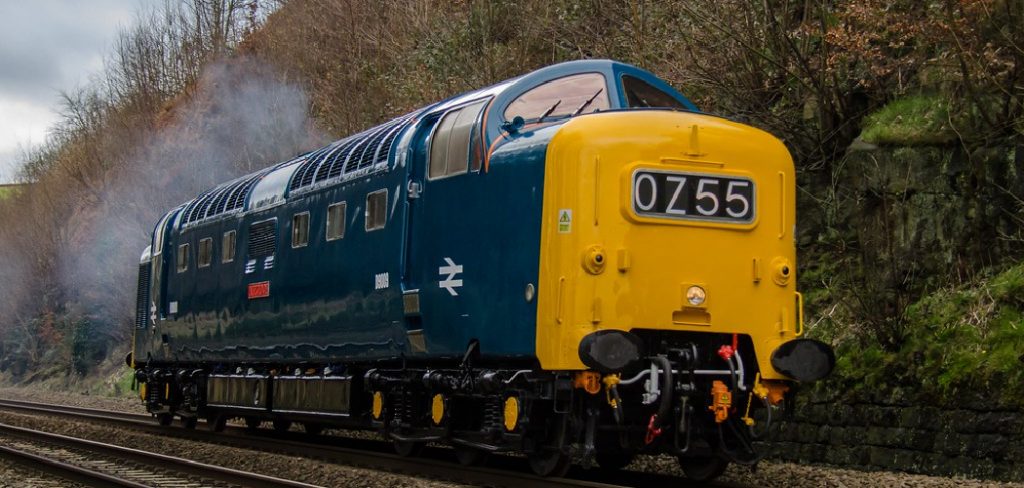
If you are into making model trains or have to make them for your work purpose, you will want to give all the precise details that will make it look like actual trains, instead of models. There are many ways you can provide the details. But one of the most popular and favorite ways of detailing is by using decals. So, if you want to know how to make decals for model trains, keep following us.
What is Decal?
Decals are a type of sticker that can be used as a graphic design on various surfaces. They can be made from decal paper, which allows for any ink to be transferred onto the paper in a transparent way. Decals can be used for any purpose of decoration, and are often seen on toy cars. Those who work with models can often find a use for decals, particularly when it comes to model trains.
DIY: How to Make Decals for Model Trains
Supplies You Need
Before anything else, you will need to know what you are going to use for making the decals. The things you will need are-
- Computer device
- Printer
- Decal paper
- Clear lacquer
- Microset Decal Setting Solution
- Brush/q-tips
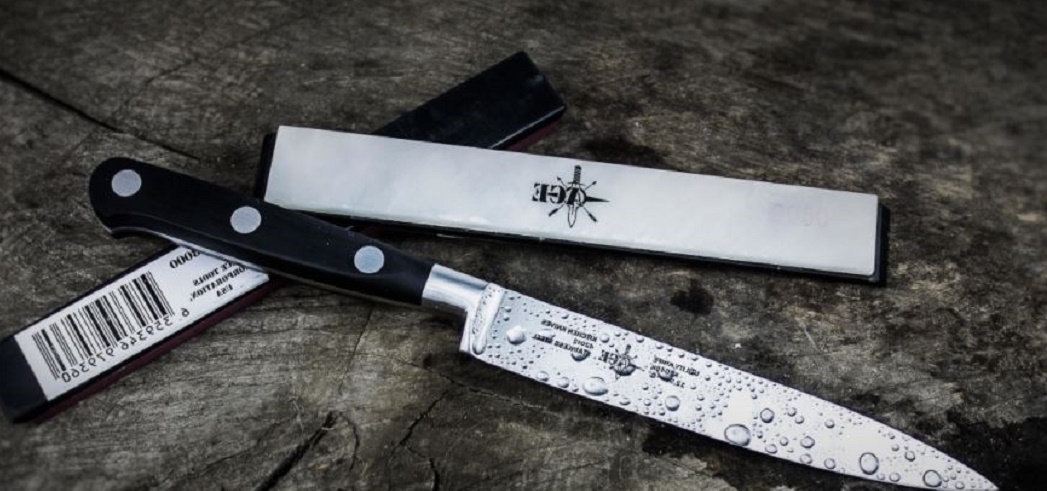
- Precision knife
- Scissors
- Pinching tool
Steps to Follow
Now that you have everything ready, we will start with our lesson on how to make decals for model trains.
Step 1
First, you will create your design using software. This software will help you create your design and make it look professional.
Step 2
Print them out of on the decal paper as many as you need. Remember to use better ink for better results. Let them dry before cutting them out. Use a piece of tape or a paperclip to attach your stencil in place on the glass of your choice.
Step 3
After the decal paper is ready with design, cut the portion that you are going to use and spray it with clear lacquer a few times. Wait for it to dry before respraying it.
Step 4
After everything is dried and you have sprayed it enough, you need to cut the curve of the decal paper’s design using a precision knife. Then you can start applying it to the glass. If you haven’t sprayed enough, the decal paper will not stick to the glass. You can use a small brush to apply pressure if necessary.
Step 5
Put the prepared decal on the water to activate it.
Step 6
Get your model train ready and identify the are you want to put the decal on. Take the sticker out of the water and carefully place it in the right position.
Step 7
To apply a decal, first, use a q-tip or brush to place the decal in the desired location. Next, use a microset solution on top of the decal to help it stay in place.
Step 8
Wait for the decal to dry on your model train patiently. Do not touch or budge it; it will not work.
And, you are done making your decal.
If you are looking for a guideline on Elevate a Model Train Track. This article worth checking for you.
Final Thoughts
There are decals available online that you can purchase easily. But making your version is always fun. Now that you have learned how to make decals for model trains, you will not have any further problems. Even though it may take time and some expensive tools, making your decals are always satisfying to work.
Elizabeth Davis
Elizabeth is a creative writer and digital editor based in the United States. She has a passion for the arts and crafts, which she developed from a young age. Elizabeth has always loved experimenting with new mediums and sharing her work with others. When she started blogging, she knew that DIYquickly would be the perfect platform to share her tutorials and tips. She's been writing for the blog from the beginning, and her readers love her helpful advice and easy-to-follow instructions. When she's not writing or editing, Elizabeth enjoys spending time with her family and friends.


