
How to Seal a Chimney Stack
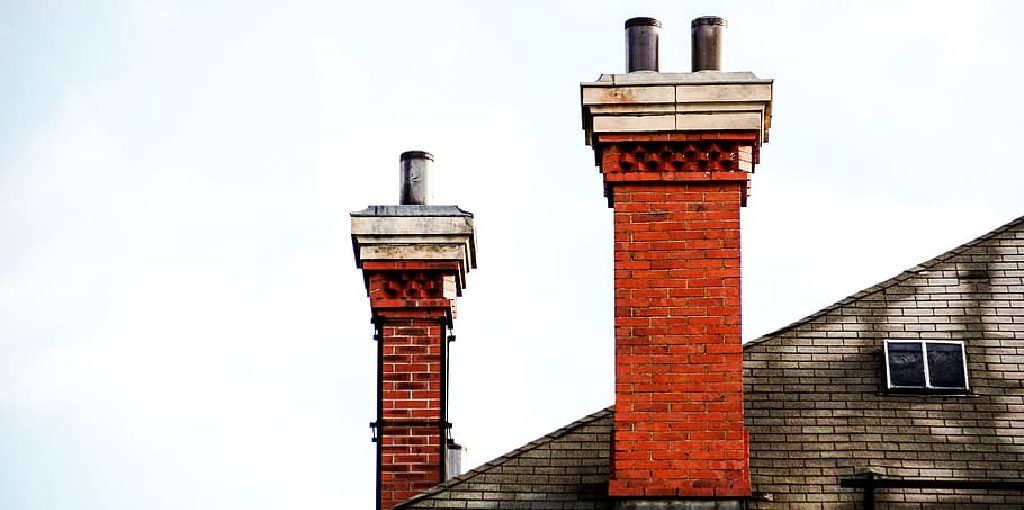
A chimney stack is a long, vertical structure that channels exhaust from a fireplace or furnace to the outdoors. They are typically made of bricks and mortar with metal flashing on the exterior for waterproofing. A chimney needs to be sealed to keep moisture out and prevent mold growth on interior surfaces. A leaky chimney also hurts energy efficiency in your home because it will cause you to use more fuel for heating or cooling. This blog post explains how to seal a chimney stack using different materials available at most hardware stores around town!
5 Reasons Why Seal a Chimney Stack:
1. Protect your chimney from water and weather damage
2. Ensure a safe, efficient fireplace operation
3. Reduce the risk of carbon monoxide entering your home
4. Protect your belongings from dust and soot infiltration
5. Preserve the beauty of the original brickwork, stonework, or other decorative features.
Sealing a chimney is an easy, do-it-yourself project at home that can save you money and elevate the comfort of your fireplace or woodstove. This article will go over the basics of how to sealin a chimney stack.
Five Methods to Seal a Chimney Stack:
1. Aluminum Foil Tape:
Sealing your chimney with aluminum foil tape is a great option if you can’t afford to pay a professional, and if you have a bit of time on your hands. The key to making this method work is to apply it regularly, since rain and wind will wear it down quickly.
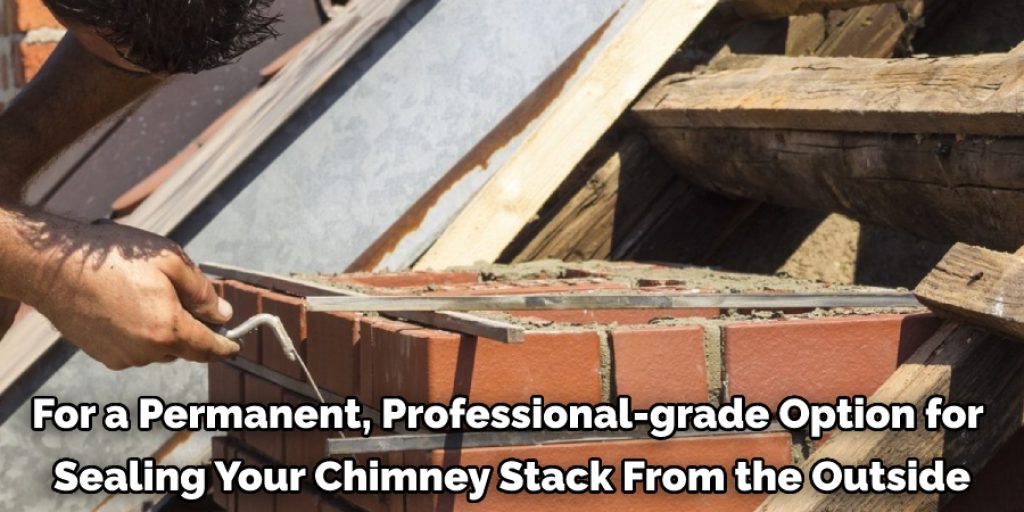
2. Chimney Cement:
For a permanent, professional-grade option for sealing your chimney stack from the outside, use non-hardening masonry/chimney cement. This durable product can be found at any hardware store and has the consistency of dough when it’s ready to be applied.
You can also mix up a small batch if you have the ingredients. It dries fairly quickly and can withstand surprising wind and rain.
3. Silicone Caulk:
This is a good option for small gaps because it fills them well yet can be peeled off when you’re ready to remove it without damaging the surface around the gap. It’s also easy to find, inexpensive, and it’s fairly easy to apply. However, the biggest disadvantage is the lack of durability; it won’t withstand wind or rain well.
4. Metal Screen:
This metal screen is typically used with dryer vents, but it also works for chimneys. First, you cut strips to fit around your chimney and tighten them with galvanized sheet metal screws. Since the strips are made of wire mesh, they let water through while still blocking out critters and other pests that may be drawn to your chimney flue.
5. Expandable Foam:
This option is expensive but effective since it fills gaps quite well when you expand it using a special canister. The foam adheres to any surface and is pretty much permanent, though it can be peeled off if you’re diligent with your efforts.
You’ll need an applicator or caulk gun and protective gloves for this method, as well as a place to store the excess foam since it tends to expand and harden quickly once exposed to air.
What You’ll Need:
- Clear silicone caulk (RTV recommended)
- Putty knife
- Tubing brush or wire brush
- Aluminum foil – strapping tape
- Dust mask
- Safety glasses
- Rubber gloves
Steps on How to Seal a Chimney Stack:

Step 1: Clear the Stack of any Debris
Before you begin, head into your attic or outdoors and make sure that there are no birds, squirrels, rodents, leaves, nests, etc., in the chimney. Chimney sweeping brushes and brooms can be used to clear any debris left behind.
You should notice a significant decrease in the amount of time it takes to sweep after doing this. If there is excessive buildup or debris, make sure to use a chimney brush and clean out your stack before proceeding with sealing.
Step 2: Gutters
The first step to sealing a stack is ensuring that any water or debris that can clog up the chimney is taken care of before you seal it. Remove your gutter downspout extenders (if they are attached) and clean out any leaves, needles, etc.
Look for broken seals on the house’s exterior, allowing water to leach into the mortar joints. Repairs may be necessary before you proceed with sealing your chimney stack.
Step 3: Stack Shielding
Stack shielding is a simple material designed to deflect heat, sparks, and flames up and away from combustible materials in your home. Its installation has multiple benefits: it creates a safer and more efficient fire, reduces exterior heat transfer, and prevents sparks from entering the house.
It also protects your chimney from water infiltration and corrosion damage from rain, snow, or ice buildup on unprotected stacks.
Step 4: Caulking
This can be done using clear silicone caulk or installing a sheet metal shield over the stack. Make sure to check with your local municipality for any building codes that may exist before you begin sealing your chimney. If you are still unsure, consult a professional mason.
Then, continue applying sealant until you have covered all joints to prevent water or other contaminants from entering your chimney.
Step 5: Re-install Downspouts
Once the caulk is dry, please put down your downspouts and make sure they are secure. This will allow for proper drainage of any rainwater away from the foundation of your house. If you have a metal chimney, go ahead and reinstall the stainless steel mesh screen.
That’s all you need to know about sealing a chimney stack. However, if you have any questions about sealing your chimney or want to schedule an inspection for your fireplace, call the professionals today!
Things to Consider When Sealing a Chimney Stack:
1. You will need to seal the chimney stack at the transition between your roof and sidewall. Usually, it is necessary to re-flash this area because most areas are not sealed or caulked correctly.
2. You will need to apply a non-permanent sealant product.
3. If the chimney stack is not straight, you may need a longer patching tube to fit around bends and curves.
4. You will need to do patches from the top down only because water runs down these stacks, so if you seal from the bottom up, water will be trapped inside.
5. Ensuring that your chimney stack has no sharp corners is important to prevent water from getting trapped and create the perfect environment for mold and mildew to form. Although the damage caused by mold and mildew may not be immediately apparent, it can be significant.
6. If there is a lot of debris in your chimney stack, you will need to brush it out and ensure none remains.
7. You may need to apply more than one patch if cracks or crevices remain unsealed; the main idea is to seal as many small voids as possible with individual patches until you can no longer see any light through the smallest cracks.
Conclusion:
Chimney stacks are an important consideration when designing your fireplace. They should be sealed to prevent fumes from leaking into the home and causing health problems for homeowners and preventing smoke damage that would require expensive repairs or replacement of furniture or other items in the home.
Sealing a chimney stack is not complicated, but it takes effort and time commitment on behalf of the homeowner to ensure proper sealant application and curing times before use.
There are several ways you can seal your chimneys; we have outlined them in these blog posts on how to seal a chimney stack so that you get more information on this topic if this interests you!
Angela Ervin
Angela is the executive editor of DIY quickly. She began her career as an interior designer before applying her strategic and creative passion to lifestyle and home. She has close to 15 years of experience in creative writing and online content strategy for housekeeping, home decorations as well as other niche efforts. She loves her job and has the privilege of working with an extraordinary team. She lives with her husband, two sons, and daughter in Petersburg. When she's not busy working she spent time with her family.


