How to Seal Around House Foundation
Have you noticed water seeping in from the foundation of your house? Do you have to battle with drafts and high energy bills due to cracks and gaps around the foundation of your home? Unfortunately, a lot of homeowners must face these issues surrounding their homes’ foundations.
But before you start worrying too much, there’s good news: fixing these problems is possible! In this post, we’ll teach you how to seal around house foundation if it needs repair – so read on to learn more about tackling this tricky task.
Should a House Foundation Be Sealed?
The answer to this question is yes. Sealing around a house foundation can help protect it from water damage, prevent air leakage, and improve energy efficiency.
A good seal will also provide a barrier against insects, spiders, and other pests that may try to enter through gaps or cracks in the foundation walls. Without proper sealing of your home’s foundation, these pests can create expensive problems such as structural damage and health risks due to mold or mildew growth.
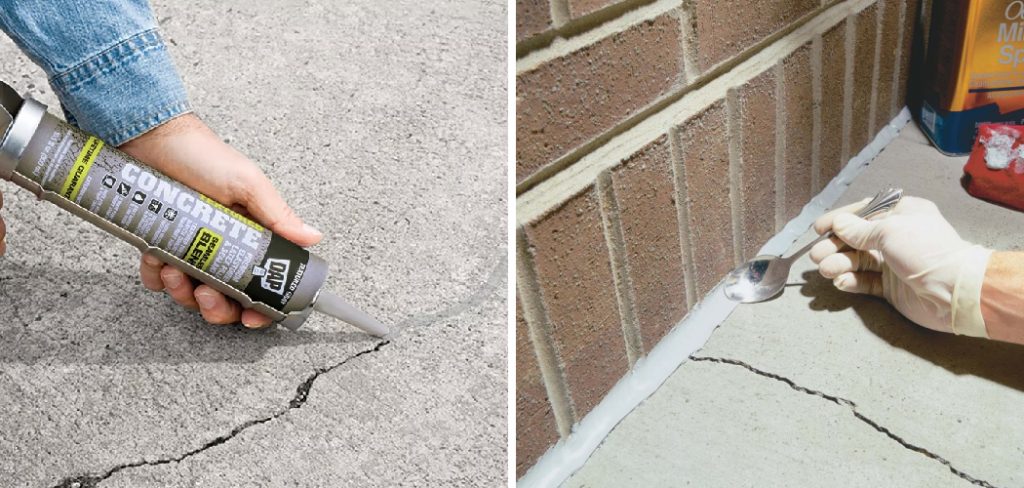
When considering how to seal around your house foundation, there are several methods available. Caulking is one option that can be used to fill in cracks and gaps between surfaces such as the wall and slab joints.
This should be done both inside and outside the house. Another option is to use a membrane sealant, which creates a waterproof barrier between the foundation and the soil. There are also expanding foam products that can be used to fill larger gaps in the foundation walls.
No matter which method you choose for sealing your house foundation, it’s important to regularly check it for any signs of wear or damage. If you notice any cracks, gaps, or other issues with your sealant, make sure to repair them as soon as possible to ensure your home’s structural integrity and energy efficiency.
Additionally, make sure that all areas around windows and doors are properly sealed to keep out pests and moisture. By taking these steps, you can help protect your home from water damage and improve its energy efficiency.
11 Methods How to Seal Around House Foundation
1. Identify the Problem Areas
Start by identifying areas where water is entering your foundation, such as cracks or gaps in the walls or floors. If water is leaking in, it needs to be sealed. Look for areas where mortar has started to crumble or separate from the foundation walls, and check for signs of water damage to windowsills, doorways and other areas near your foundation.
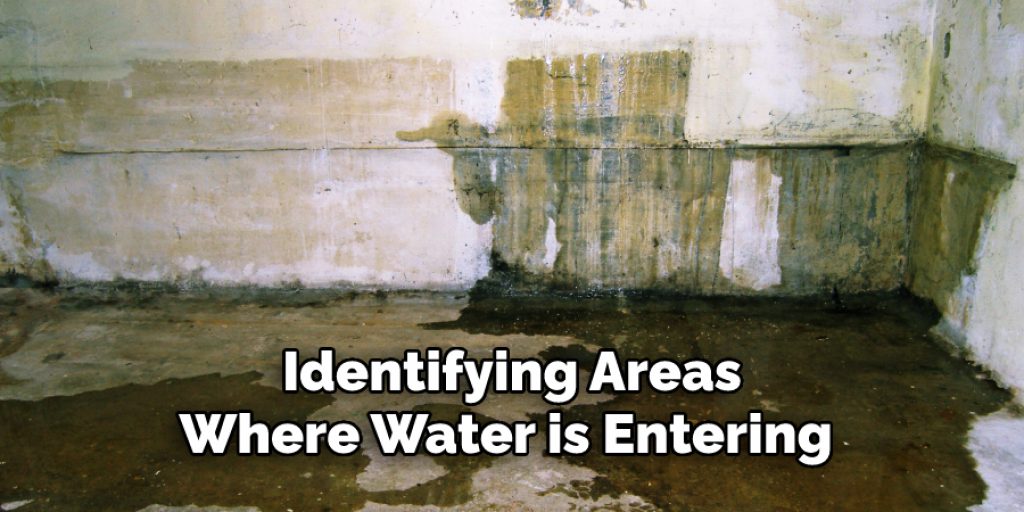
If possible, take a look at the soil around your home to see if it is eroding away or shifting. Though these may be small signs, they can indicate potential issues with water infiltration.
2. Clean the Area
Use a wire brush or other tool to remove any dirt or debris from the area that needs to be sealed. This will ensure that the sealant adheres to the surface properly and seals effectively. If needed, use a wet/dry vacuum to clean the space.
While cleaning, be sure to wear protective clothing and face mask. To prepare the surface for sealing, use a stiff brush and soapy water to clean it. Rinse the area with clear water after cleaning. However, if the surface is a concrete block, use a wire brush to remove any dirt and debris.
3. Fill in Cracks
Use an epoxy or polyurethane-based sealant to fill in any cracks or gaps in the foundation walls or floors. Start from the bottom and work your way up to avoid trapping moisture underneath. If you find any large gaps or cracks, it’s best to contact a professional to fix them first, as they may require more extensive repair.
To apply the sealant, cut off the top of the tube and attach a caulk gun. Apply the sealant to any areas where cracks or gaps exist and smooth it out with a putty knife. Allow the sealant to dry completely before moving on to the next step. Finally, inspect the area and make sure you’ve sealed all of the cracks or gaps in your foundation.

4. Apply a Waterproof Coating
Apply a waterproof coating to the foundation walls and floors to protect them from water damage. Choose a latex elastomeric waterproof coating and make sure it is appropriate for the type of foundation you have.
Follow the manufacturer’s instructions for application. For foundation walls, use a brush or roller to apply the coating in even strokes. Make sure to completely cover any gaps and cracks in the foundation. Once the coating has dried, apply a second coat for added protection. For foundation floors, use a trowel to spread the waterproof coating into the grout lines.
5. Install a Vapor Barrier
Install a vapor barrier on the inside of your foundation walls to prevent moisture from seeping in. A vapor barrier is a sheet of plastic or other material that prevents water and moisture from entering the foundation walls. It should be installed on all exposed concrete surfaces and may need to be replaced every few years.
This will help ensure that your foundation stays dry and safe for many years to come. To install a vapor barrier, attach sheets of plastic or polyethylene to the wall with staples. Make sure there are no gaps or holes in the material that can allow moisture to seep through.
6. Use a Sump Pump
Install a sump pump in your basement to remove any water that does get in. This is usually done during the construction of a home, as it requires digging a trench and connecting to the waterproof membrane.
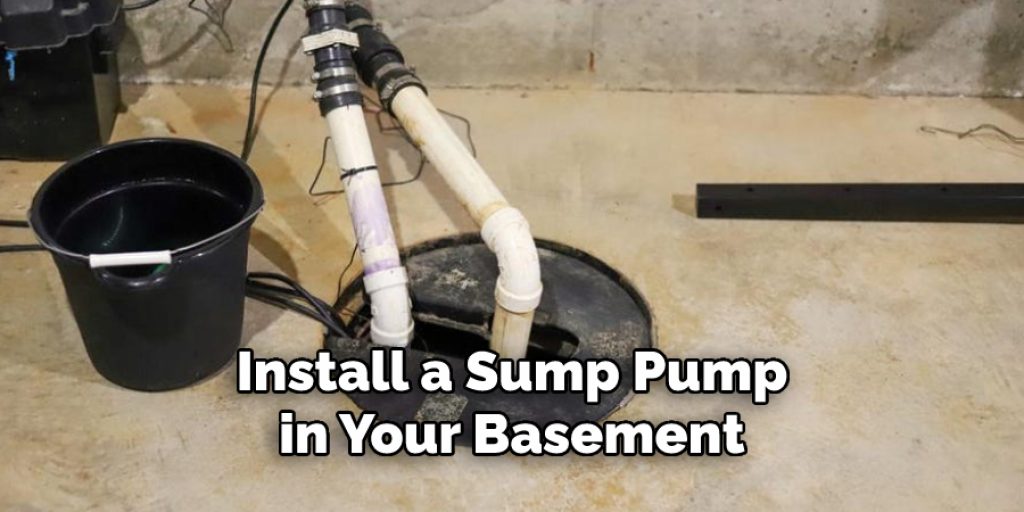
If you don’t have one installed, contact a professional contractor to help. Make sure that once in place, the pump has a proper outlet for the water and that it is properly maintained. This can help keep your basement dry and free of moisture, even if the foundation seal fails.
7. Check for Leaks
Take a walk around your home to look for any signs of water damage or leaks along the foundation walls. Look for wet spots on the exterior walls, as well as peeling paint or plaster and mold/mildew growth.
If you spot any of these signs, it could indicate a foundation leak and suggest that your seal has failed. Repair the issue right away to avoid further damage. While you’re at it, check any window wells around your home and make sure they’re also properly sealed.
8. Check Gutters and Downspouts
Make sure your gutters and downspouts are working properly to direct water away from your foundation. If they are clogged or broken, water can pool up around your foundation and cause a leak. Check the gutters and downspouts regularly, especially after a storm.
If you find any issues, have them fixed as soon as possible to prevent any potential damage from occurring. Though it may seem like an extra expense, it is worth the effort to protect your foundation. Make sure you periodically check the gutters and downspouts to prevent any problems from occurring.
9. Grade the Ground around Your Home
Ensure that the ground around your home is sloped away from the foundation to prevent water from pooling. Keeping the soil graded will also prevent water from seeping into any small cracks in your foundation. If you have already found signs of water damage around your foundation, you may need to remove the soil around the area and replace it with an appropriate grade.
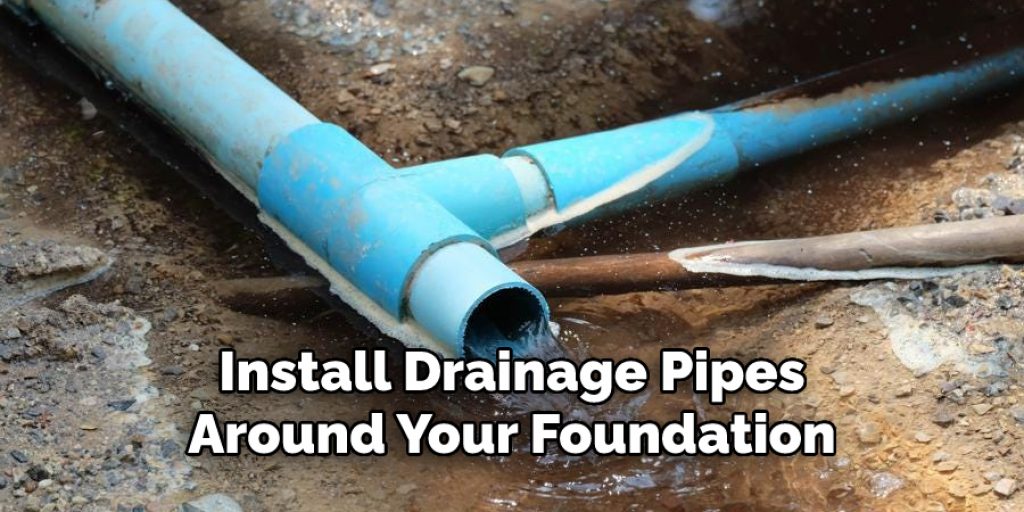
10. Install Drainage Pipes
Install drainage pipes around your foundation to carry water away from your home. These are usually made of plastic or PVC and should be buried 6” to 18” below the ground. Make sure they extend at least 10 feet away from the house and that they empty into a low point, like a natural depression in your yard. Connect them to your gutter downspouts if necessary. To ensure water doesn’t back up into your home, use a gravel fill around the pipes and cover them with landscape fabric.
11. Hire a Professional
If you’re not comfortable doing the work yourself, hire a professional to seal your foundation for you. They can ensure that the job is done properly and that your home is protected from water damage.
A professional will also be able to point out any other potential problems that could cause water damage, such as poor drainage or clogged gutters. So if you’re concerned about your home’s foundation, consider hiring a professional for the job. It may cost more upfront but it will save you money in the long run by preventing costly repairs in the future.
Things to Consider When Sealing Around House Foundation
- Determine the type of foundation you have. There are two main types: poured concrete and block foundations. Knowing the type of foundation you have is important, as the type of sealant used will vary depending on the foundation material.
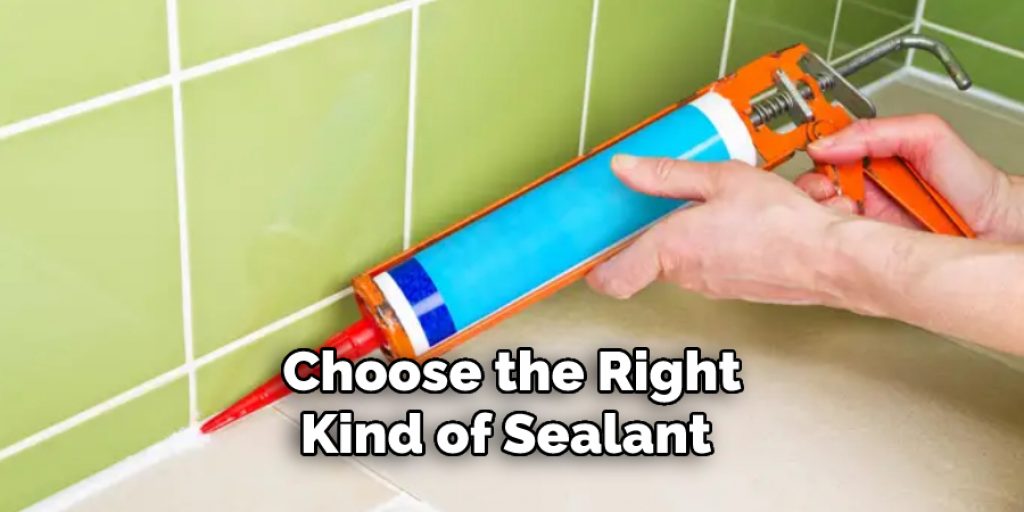
- Choose the right kind of sealant for your foundation. The most common types of sealants used for a poured concrete foundation are hydraulic cement, caulk and polyurethane. For block foundations, it is usually best to use mortar or silicone.
- Prepare the area around the foundation to be sealed. Start by removing any dirt, weeds, leaves or debris from around the foundation using a shovel and blower or vacuum cleaner. Afterwards, scrape away any old sealant that may have been applied previously and clean the surface with warm soapy water before you apply fresh sealant.
- Make sure to follow all directions on the packaging when applying sealant around your house’s foundation. Pay attention to drying times and whether you need multiple coats in order to get the best results.
Conclusion
With all that said, tackling your own house foundation maintenance with confidence can help you increase your home’s value and preserve its durability for years to come. Understanding how to seal around house foundation will help give you the peace of mind that you need when taking on home renovation projects or even selling your property.
Visit MaestroRoofing.com today for additional information, and our team of experts can help guide you on your next building improvements project!
Elizabeth Davis
Elizabeth is a creative writer and digital editor based in the United States. She has a passion for the arts and crafts, which she developed from a young age. Elizabeth has always loved experimenting with new mediums and sharing her work with others. When she started blogging, she knew that DIYquickly would be the perfect platform to share her tutorials and tips. She's been writing for the blog from the beginning, and her readers love her helpful advice and easy-to-follow instructions. When she's not writing or editing, Elizabeth enjoys spending time with her family and friends.