
How to Seal Paper for Resin
Paper crafts are a popular hobby, but many people struggle with how to seal paper for resin. Paper is porous, so it will soak up any liquid you use to glue or attach it. This leads to the paper being water-logged and heavy, which makes using it for projects difficult. Luckily there are several ways to seal your paper before gluing or attaching!
This blog post will show you some of the best ways to seal paper to be ready for resin. We’ll go over different types of paper, how to choose the right type of glue, and tips on sealing with heat. In the end, we’ll give you an overview of which methods work best depending on your needs. So get out your favorite craft knife, and let’s get started!
6 Methods to Seal Paper for Resin:
1) Acrylic Paint:
The first prime is a paper with a thin coat of acrylic paint designed for paper. This will be your undercoat and allow the resin to adhere well to the paper’s surface without being absorbed into it.
I recommend using Golden’s Acrylic Flow Release as a base coat or GAC 100 from Golden Acrylics. Apply 2-3 thin coats to the paper. Let dry thoroughly between each coat. Allow at least 24 hours to dry before proceeding with resin application
2) Mod Podge:
Mod Podge is a decoupage medium made by Plaid Enterprises. It can be used on paper, pictures, or other flat surfaces to seal them for resining without adding a lot of weight. It is riskier than acrylic paint and may cause damage to your paper if it seeps into the fibers, but it’s worth a try if nothing else seems to work.
3) Spray Lacquer:
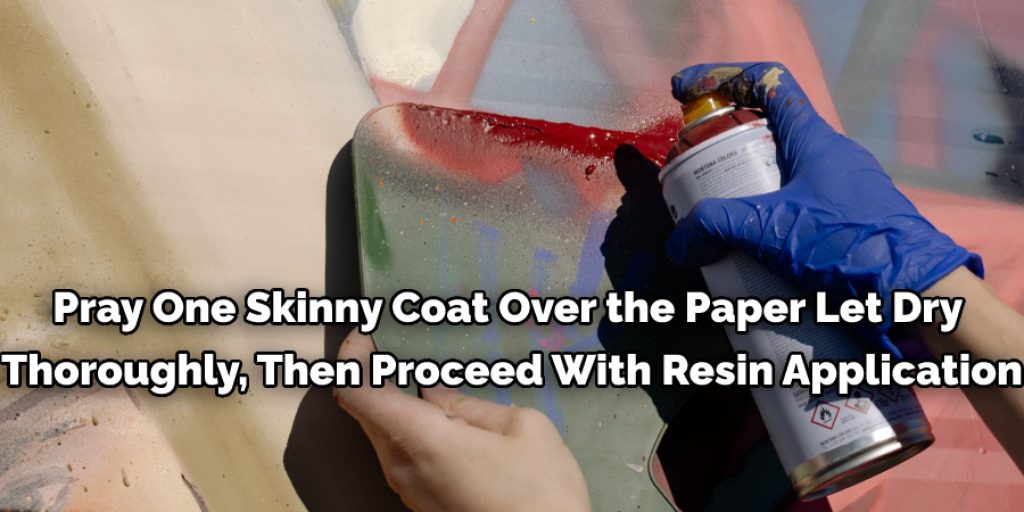
Spray lacquer is available at most craft stores. It will add some weight to the paper, but it’s easy to find and pretty effective in sealing the paper’s surface if you get a matte or gloss finish. Spray one skinny coat over the paper, let dry thoroughly, then proceed with resin application.
4) Polyurethane Finish:
Apply two coats of polyurethane finish to the surface of your paper. This will seal it without adding too much weight, but you’ll need to let it dry at least 24 hours before applying resin (48 hours is better). Also, this method will give you better results if you use a matte or satin finish rather than a gloss finish.
5) Gloss Varnish:
Using gloss varnish is a good method for sealing paper, but it will add weight to your finished piece. Depending on the size of your project, it may be preferable to use acrylic paint or spray lacquer instead because they are much lighter.
6) Dull Coat:
The dulling finish is available in matte and satin finishes and is a good choice for sealing paper. It will add weight to the finished piece, but it’s one of the least risky ways to seal your paper because you can always sand it down if the paper starts to show through.
Required Tools:
1) Sanding block
2) 220 grit sandpaper
3) Rubbing alcohol
4) Paper towels
5) Time and patience
6) Resin
Instructions: How to Seal Paper for Resin
Step 1:
Make sure that your paper is sized with a thin coat of acrylic paint designed for paper; let dry thoroughly between coats, and allow to dry 24 hours before proceeding.
Step 2:
If Mod Podge is used, make sure that the paper is sized with a thin coat of Mod Podge and dry thoroughly before proceeding.
Step 3:
Before beginning, ensure you’ve brushed on a light coat of litharge onto your project; this will prepare the surface for resin. Then brush on a coat of epoxy resin, let dry for 30-60 minutes, and apply another layer. Repeat until your piece is covered. You can also use a clear coat sealer to prevent yellowing.
Step 4:
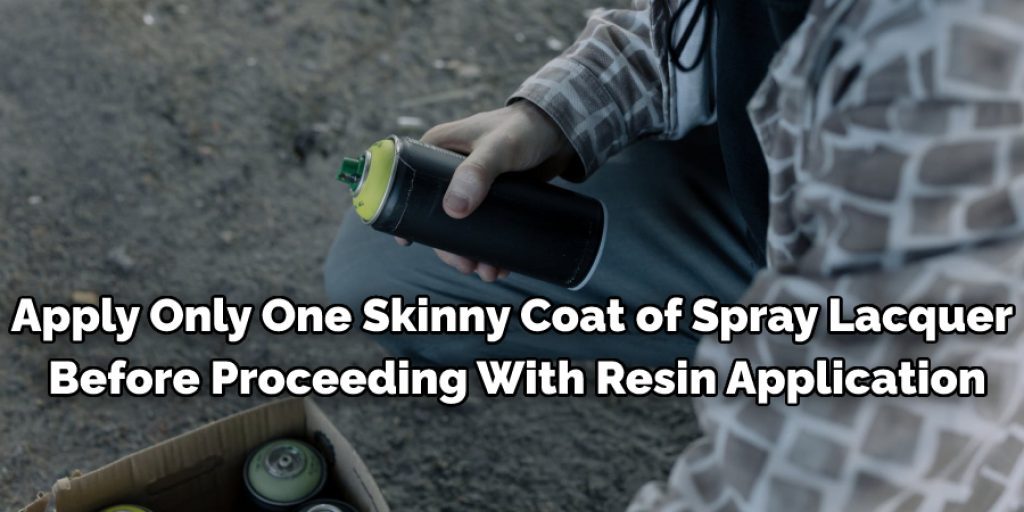
To avoid adding too much weight, apply only one skinny coat of spray lacquer before proceeding with resin application. Remove excess lacquer immediately after spraying by wiping down the surface with a paper towel or rag dampened with rubbing alcohol.
Step 5:
Apply at least two coats of polyurethane finish to the surface of your paper. Allow it to dry at least 24 hours before applying resin (48 hours is preferable). Let dry thoroughly between each coat.
Step 6:
Dull coats are available in matte and satin finishes, both of which will add some weight to your piece. Apply two coats, allowing at least 24 hours between each coat.
Step 7:
You should sand your project lightly with 220 grit sandpaper to remove the gloss from the varnish before adding additional coats. Apply at least two coats of polyurethane finish to the surface of your paper, with each coat allowed to dry thoroughly between applications.
Conclusion:
Following these simple steps will ensure that your resin and paper adhere to one another. Make sure you follow all of the instructions before moving on to the next step, as this process can take a few hours from start to finish!
The finished product is worth it when you see how much more vibrant your piece becomes with just a bit of effort. For more information on how to seal paper for resin, feel free to contact us.
You May Also Read – How to Make Resin Art Panels
Elizabeth Davis
Elizabeth is a creative writer and digital editor based in the United States. She has a passion for the arts and crafts, which she developed from a young age. Elizabeth has always loved experimenting with new mediums and sharing her work with others. When she started blogging, she knew that DIYquickly would be the perfect platform to share her tutorials and tips. She's been writing for the blog from the beginning, and her readers love her helpful advice and easy-to-follow instructions. When she's not writing or editing, Elizabeth enjoys spending time with her family and friends.


