How to Make Resin Art Panels
With this guide, I would like to bring you to the Art of Resin Epoxy. You will understand which resin is and what you’ll be paying close attention to when dealing with epoxy coating until you could begin. I will demonstrate to you where even the supplies you have can be purchased and offer you guidance on making your initial resin.
The accompanying article provides all the fundamentals for an excellent beginning in the casting resin process. Resins are a 2-component resin- and hardener method. A chemical reaction happens by combining the two ingredients, so the liquid resin becomes hardened to a solid material.

The outcome is a smooth, higher-gloss finish—job ground of epoxy resin.I generally use the word “resin” rather than “epoxy resin” just for the sake of clarity Resin has been used not only in the design of manufacturing and ships but also in painting. But it could also be used in addition to kitchen cabinets, doors, chairs, images, jewelry, or statues.
Applying Resin in Art
The movement of resin being used in painting arises from the United States and Australia. The innovation is only rarely established in Europe. You could build art pieces with resin which charm with their simplicity, luminosity, beauty, and scope. The resin is then applied to dye solvents or even other substances. Selecting the painting’s field, the casting method, the paints, and the additives will produce different results. Even professional resin experts have never completed the learning process.
If you enjoy playing with silicone, you’ll learn to deal with it. The resin could also be used to complete paintings, images, and photos (produced from resin, acrylic, paint, watercolor, paint, canvases, etc.) with a glow that could be generated and secure from Ultraviolet and technical effects. You may also use wooden epoxy, make your entire epoxy water bar, and then use it to create your other geode painting.
Instructions:
I’m receiving several issues regarding my worktop with epoxy resin. So I’m going to take a brief moment to describe. To minimize the epoxy resin chaos (take-off), a couple of months back, I added four two dimensions to the underneath of my outfeed surface. I have used two premises across the table underneath the surface of the hardboard to build a tub. To avoid leaks, I coated the table’s surface with silicone sealant.
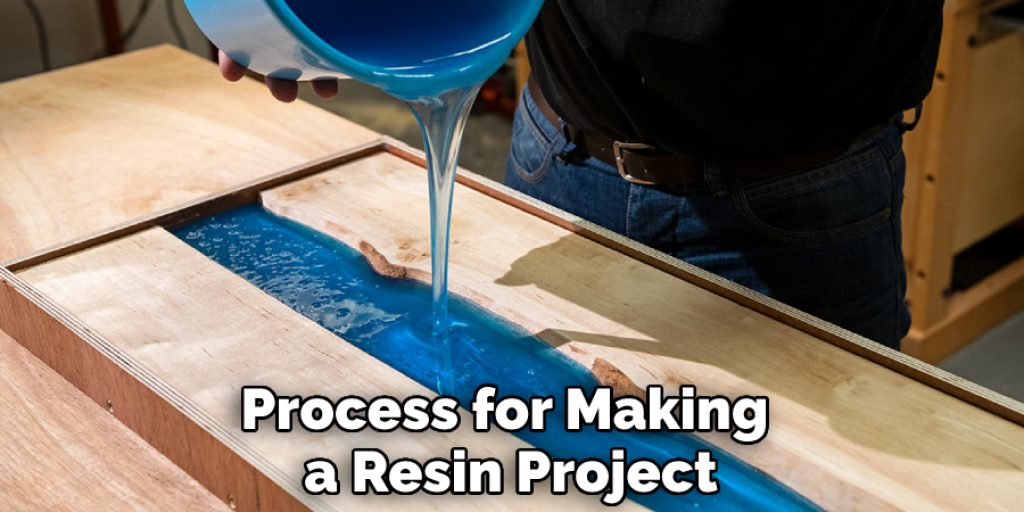
Overall, the outfeed board’s bottom is a tub that absorbs the resin when it flows off the artwork’s body. The outfeed board is fixed with hooks on my panel saw. I take it out from the plate saw to be using the board and turn. Then, I included a plastic container with pure white color. In the epoxy paste, the acrylic color provides pigment.
The writer is describing their process for making a resin project. They started with a white base, then added a glass jar with colors. They combined the colors with a little bit of epoxy resin, and stirred. They used around one spoonful of epoxy resin for every four ounces of paint.
One tbsp. Every 4 oz. brought me a good light. Then I combined 24 oz. of epoxy coating (12 oz. epoxy, 12 oz. hardener). I mixed epoxy paste 24 oz., shaking softly with a stirring tool. The epoxy resin can get dense and blurry while mixing. After several mints of combining, this will begin to get simpler to blend and, once again, are becoming noticeable.
Then, I placed about 4 oz. of acrylic in a tiny glass. I put 8 oz. of my color scheme into a big blending bowl, white. Thus, I combined epoxy with the color. Making sure the paint is thoroughly mixed with the resin is essential. I sprayed the epoxy paste white over the cardboard. Then I applied the white paste to assure it coated the canvas fully. Next, I set the canvas in the big bowl of colored epoxy. The next step is where I kept messing up… TILT THE BOWL! It looks easy, but tilting the bowl is essential to getting color on the sides of the canvas. Don’t forget to tilt the bowl, people! Finally, I let it sit overnight to dry. The following day, I flipped the canvas over and repeated the process with the other side.
For the ‘lacing effect,’ the foundation colored is required. If a particular paint is placed over the white, the ‘lacing effect’ is created, and heat is added using a hot gun in more of a late-stage on that. There is no method to spill the shades onto the paper, bad or good. I didn’t have a scheme which I just started through. Then, I spilled paint on the sand. Then, I sprayed the shades gray and aqua.
I was painting with resin and spilled some blue paint on the edge of the canvas. I used a heat gun to shift the resin and combine the various colors. This produces remarkable results in resin painting since the shades match. In particular, the color white (foundation) is becoming more noticeable.
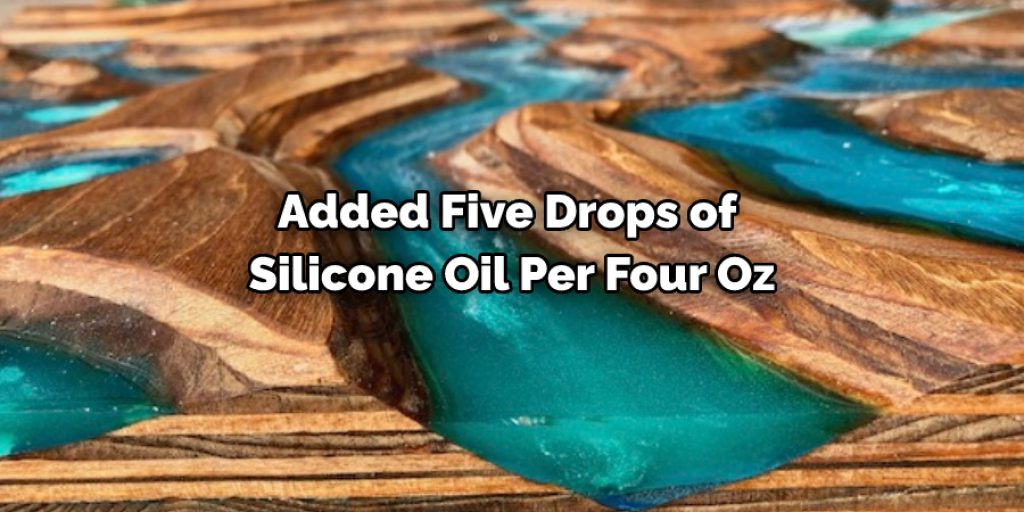
I added five drops of silicone oil per four oz. of resin. It is not an acceptable calculation-it just looked correct to me. In the measuring container, I combined the oil with the acrylic. I’ve noticed people release the scattering agents directly on the concrete, but I didn’t think it was appropriate. The silicone oil is a dispersing factor, contributing several consequences like lacing and cells to artwork.
I required base layers to settle for ten min until the silicone oil resin was added. Initially, I added the aqua blue just beyond the blue surface to the edge of the board. Then I utilize my heating gun to make the resin function in other shades. I was supposed to have known that the resin will gather to the center of the canvas for its mass, but I did not do so until it occurred.
This is a good sign because it means you can make different designs. You can raise the panel and rotate the canvas to shift the resin around. Then you can use a heat gun to transfer the resin until the design looks good. Keep doing this until you have a design you like.
As you’ll see in such images, the silicone oil has managed to produce unique effects. I have heard of people who use denatured alcohol as well as other substances for dispersion. I wanted to use silicone oil since I figured some fascinating shapes would show up.
Which Painting Grounds Are Suitable for Resin Epoxy Art?
Regarding resin epoxy art, a few painting grounds are particularly suitable. Wood, canvas, glass, and metal are all acceptable materials to work on with resin epoxy. Priming the chosen surface with an acrylic primer is usually recommended before starting your art project.
Also, ensure the surface is free of dust and dirt, as these can affect how the resin epoxy bonds to it. To ensure that your artwork lasts many years, use a clear sealant over the finished product for added protection.
you may also read now
1.How to Hang Acoustic Panels on the Ceiling
2.How to Router Letters Freehand
Jane Hubbard
Jane has always been passionate about hair and beauty. After many years of working as a hairdresser specialist, she decided to start her own consultancy business. She is an experienced haircare and beauty consultant, and she loves helping others find the perfect look for them. She has been writing articles for DIY quickly for over 3 years. In her free time she enjoys keeping up with the latest news in the industry, practicing yoga, and spending time with her friends and family.