
How to Seal Plaster Sculpture
If you’re a sculptor, you’re probably familiar with the process of casting plaster sculptures. It is important to properly seal plaster sculpture so that the surface does not deteriorate. There are several methods for sealing plaster, and it is essential to choose the right one for your project.
In this blog post, we will explore the various methods of how to seal plaster sculpture and discuss the benefits and drawbacks of each. We will also provide tips for choosing the right sealant for your project. So, whether you’re a beginner or an experienced artist, read on for helpful tips on sealing plaster sculpture! Why Seal Plaster Sculpture? Plaster is a porous material that can absorb moisture and dirt from the air. Over time, this can cause the plaster to discolor, crack, or even crumble.
Why is Sealing Plaster of Paris Important?
Sealing your plaster sculpture is vital to prevent future water damage. The waterproofing will protect your piece for years to come against corrosion and mold. There are several ways to seal, but this article outlines the most important step you can take in protecting your work of art. Plaster that has not been sealed is much more likely to deteriorate from exposure to water or humidity. This is why various sculptors choose to seal their work before it leaves the studio.
Step by Step Guide: How to Seal Plaster Sculpture
Step 1: Sanding Sealer
If you want to protect your plaster sculpture, the first step is to sand it. This will make the surface of the sculpture smoother and more even, so that the paint will stick to it better. Use sandpaper that is 400 grade or higher. If the sandpaper is too fine, it might scratch the sculpture.
Step 2: Plaster Sealer
Once you have sanded down your piece, wipe off any residue with a dry rag or paper towel. Then, apply a thin coat of Plaster Sealer onto the piece. A good rule of thumb for this is to dip your brush into the sealer then wipe off any excess with a paper towel before applying it to your piece. A thick layer can cause problems when painting on top of it, so be sparing in how much you put on! Let the sealer dry for a few hours, or until it is no longer tacky to the touch. I would recommend giving it at least 24 hours before moving on to the next step.
Step 3: Clean and Prepare to Paint
After the Plaster Sealer has dried, clean your piece with a damp cloth and paper towel. From here, you should prep your piece for painting by lightly sanding it again to ensure that the paint will adhere well. You can also add another coat of Plaster Sealer if needed; this is especially helpful in small areas where the paint you’re using might want to chip or flake away. Once your piece is sanded, it’s time to paint! The best way to work with Chalk Paint is to first use a thicker brush for the initial coats. Apply one coat of paint and allow it to dry for about an hour before applying another coat.
Step 4: Apply Acrylic Painting
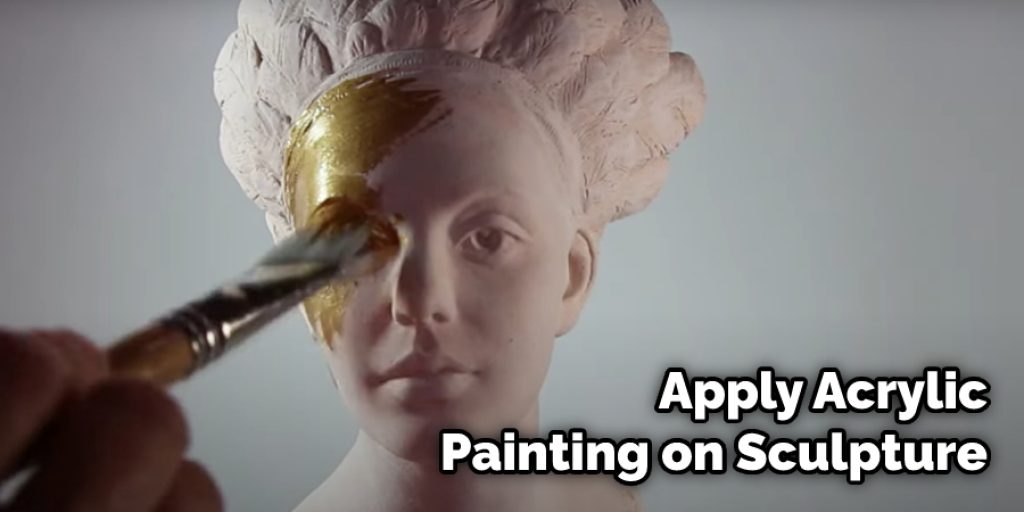
Now that your sculpture is prepped and ready for painting, it’s time to choose the colors! You can paint directly onto the piece using acrylic paint (we recommend oil-based paints as a base coat if sculpting with oil-based clay) or use a paint marker to draw your design.
Step 5: Apply Waterproofing Agent
Once you have finished a design or layer of paint, be sure to seal your piece with a protective coating. This will keep the paint from fading and make cleaning up any messes easier if they happen to occur. Before applying anything, test out what you plan on using as a sealer by putting a small amount onto an out-of-the-way part of your piece. This will help you determine if your paint is compatible with the sealer you plan on using before putting it everywhere!
Step 6: Apply Oil-based Enamel Paint
If you are sculpting with oil-based clay, be sure to use oil-based paint as a sealer before applying another layer of clay. This will help prevent your paint from being affected by the clay again after drying completely. If you are sculpting with water-based clay, be sure to use water-based paint as a sealer before applying another layer of clay. This will help prevent your paint from being affected by the clay again after drying completely.
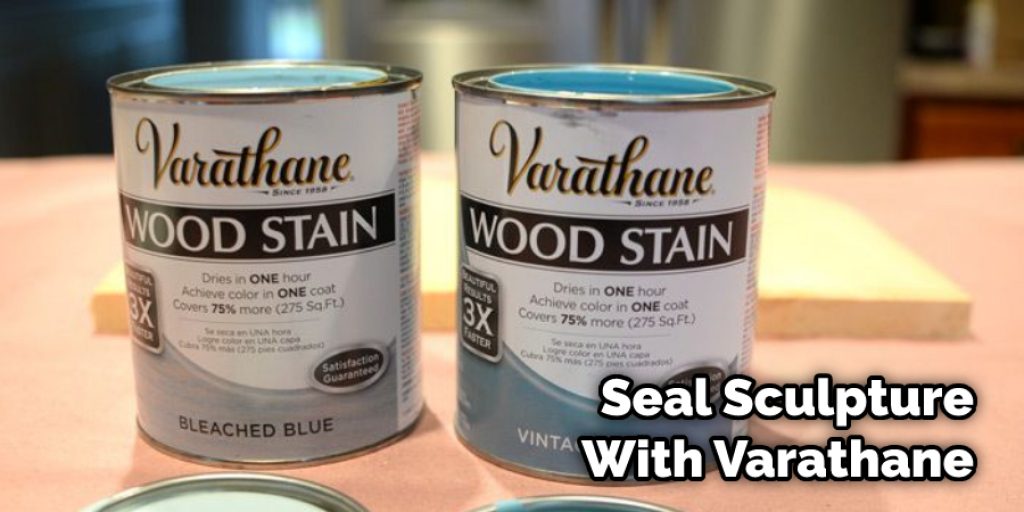
Step 7: Seal with Varathane
Brush on Varathane as the final sealer for your acrylic-painted plaster sculpture. It’s recommended that you do several thin coats instead of one thick coat; this will allow the paint and Plaster Sealer underneath not to become too shiny and give your piece more depth. Once the Varathane dries, you’re finished! Now you’ll have a polished, beautifully-painted plaster sculpture to display in your home or take with you to sell at an art fair.
And that’s it! It’s not so difficult, honest. Just be sure to take your time and let each coat of spray dry completely before putting on the next one.
Some Additional Tips and Suggestions
Here are some tips and suggestions on how to seal plaster sculpture.
1. As you mix the plaster, add the powder to the water slowly and stop adding when it’s still a bit lumpy. This will produce smaller lumps in your final mix, which is easier to smooth out.
2. If using Plaster of Paris, make sure you stir regularly while it starts to thicken – if it thickens too quickly, it can form lumps. If this happens, the lumpy mix through a strainer to remove any lumps.
3. Do not use too much water! The plaster will need something to grab onto so it won’t hold its shape or self-support well if it’s too runny. You may look at what you’ve made after it’s dry and thinks it looks weak, but once you take a hammer to the plaster to break it out of the mold, you’ll see how strong it is.
4. You can find finer sand at hardware stores or home improvement centers. These sands are often not washed as thoroughly as other sands. Wash them first in a strainer.
5. To add colors, you can add dry tempera paint or acrylic paint that has been mixed with a bit of water. Be sure to do this while the plaster is still “green” and relatively easy to mix before it sets up completely!
6. You may want to try adding other ingredients such as chopped straw, cotton, or even small rocks. We would not use dried beans or rice because they can rot and cause your plaster to collapse after a few months.
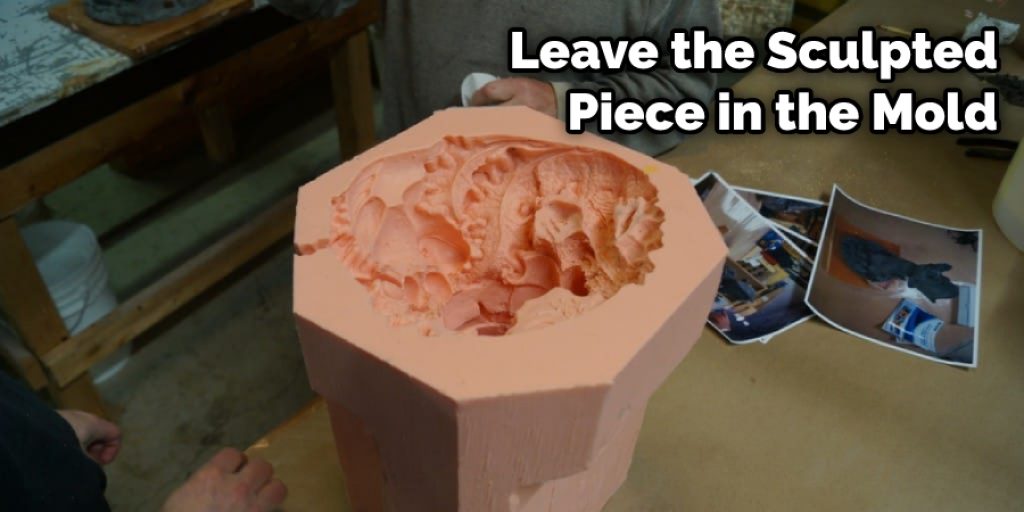
7. Leave the sculpted piece in the mold to dry for several days if possible before removing it. If you try to take too much time and wait a week or more, it can be difficult to remove the piece from the mold.
How to Seal and Paint Plaster Of Paris Statue?
Knowing how to seal and paint plaster is an important skill if you’re looking for the nice bright white of your plaster statue. Plaster is very porous, so it will always soak up some of whatever you put on top of it. Therefore, it’s best to use a color coat first, even if you plan to paint over it with transparent or matte paints later. This seals the plaster, makes it easier to paint on, and gives you a brighter finish.
There are two main types of paint you can use. Either acrylic or alkyd resin, both available at any good art store. Acrylic is cheaper but not as durable. Alkyd resin will last longer and be more flexible, giving it better resistance to chipping and damage over time, but it’s harder to apply evenly. It’s up to you which one you prefer.
How Do You Make a Plaster Cast Dry Faster?
Plaster is a complex material with many variables that affect its cure. The ingredients used in the plaster, their ratios to one another, and the temperature all contribute to how fast plaster cures; however, because of the variety in plaster, there is no one way to make plaster dry faster.
The two direct methods used to increase the rate at which a plaster cast dries are heat and ventilation, but these have their drawbacks. Heating a plaster cast can speed up production time, but it can also cause unwanted cracking and warping in the plaster. Ventilation can also help dry a plaster cast faster, but this requires additional time for the process to be done correctly.
What Happens if You Don’t Water Down Paint on New Plaster?
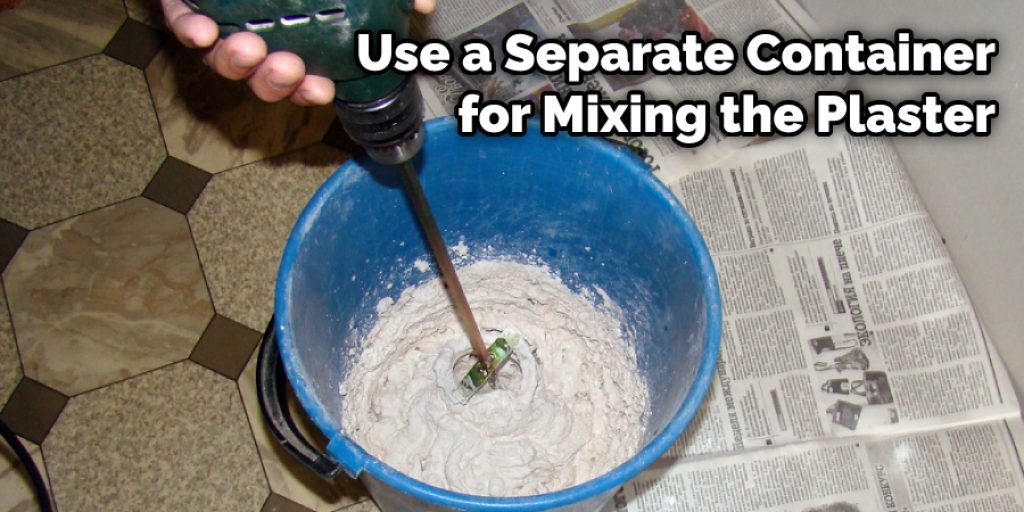
If you are working with plaster, you need to make sure that it is completely mixed before adding paint. If too much oil is present in the wet plaster, it will not dry properly, and cracks can appear in your sculpture. To avoid this, use a separate container for mixing the plaster. Add the water first and then add the powder, stirring constantly. If you add the powder to a dry mixture, your plaster will become rock-hard and crack.
Conclusion
It is important to seal plaster sculptures for a few reasons. The most obvious reason is that it will protect your artwork from damage and deterioration due to the elements. If you live in an area with high humidity or extreme temperatures, this can be especially helpful.
You may also want to seal your work of art if you plan to sell it soon after finishing, so potential buyers have peace of mind knowing their investment won’t deteriorate over time when displayed at home!
Finally, sealing gives off a more professional feel which could help sell your piece faster than without a sealant. We hope this blog post on how to seal plaster sculpture has been helpful. If you have any questions or want to know more then feel free to comment below!


