
How to Secure Glass in a Picture Frame
Many people enjoy displaying their favorite art pieces or photographs in picture frames but are often unaware that glass can be a safety hazard. Protecting your glass in a picture frame is essential because it can be damaged by moisture, sunlight, and dust. In the blog post, we will discuss how to secure glass in a picture frame so that If you’ve ever got knocked over your frame you don’t break the glass.
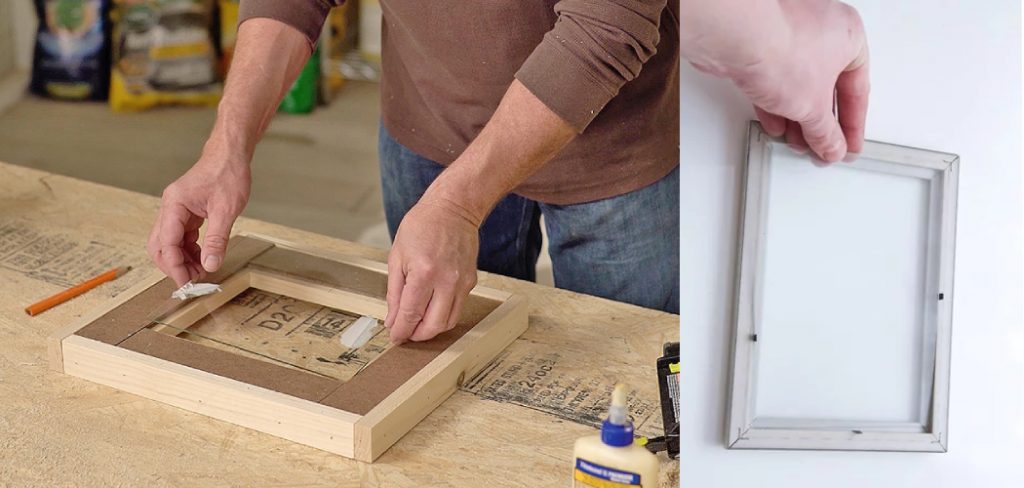
Before you secure the glass in the frame, make sure that you are ready to hang or stand it up on display. You should also make sure that the backing of the picture frame has been removed. If it hasn’t been removed yet, take care of this before continuing with your project! Also, make sure that the glass itself is clean and free from any fingerprints or smudges. Now that everything is prepped and ready to go, let’s get started securing our piece of glass in place!
Five Things to Do Before Securing Glass in a Picture Frame:
- Find a picture frame you wish to secure the glass in.
- Check for any cracks, chips, or imperfections in the glass by running your fingers over it and around its edges. If there are any visible problems with the integrity of the glass, take note, as these issues will need to be addressed during assembly.
- Look at the picture frame’s back (the side without glass, if it has one) to see what assembly method is used. If the frame uses any adhesive or sticky tape, remove those now.
- Look at the gap surrounding the glass and determine whether you will be using a special transparent acrylic adhesive to secure the glass in place.
- A bolt cutter is a handy tool to have around the house for those times when you need to cut through something. It has two handles and blades on one end, and the edges can be long or short depending on what you need to cut and how big the object needs cutting. However, using this tool can be dangerous, as it could slip off the rug pad while you are cutting and cause you to get cut.
10 Methods on How to Secure glass in a Picture Frame:
Method 1: Rubber Bands or Rubber Tubing
Frame your artwork with colorful rubber bands for a fun and unique look! This method is especially beneficial for large picture frames with loose glass. It’s also a great temporary solution until you can get around to other securing methods.
Rubber bands are usually preferred because of their versatility, and they’re cheap, accessible, and can be wrapped around the glass to lock it into place. However, if you must use rubber tubing, the cut ends may be melted with a flame to prevent fraying. You then force the tubes over the edges of the frame where they will stick or harden.
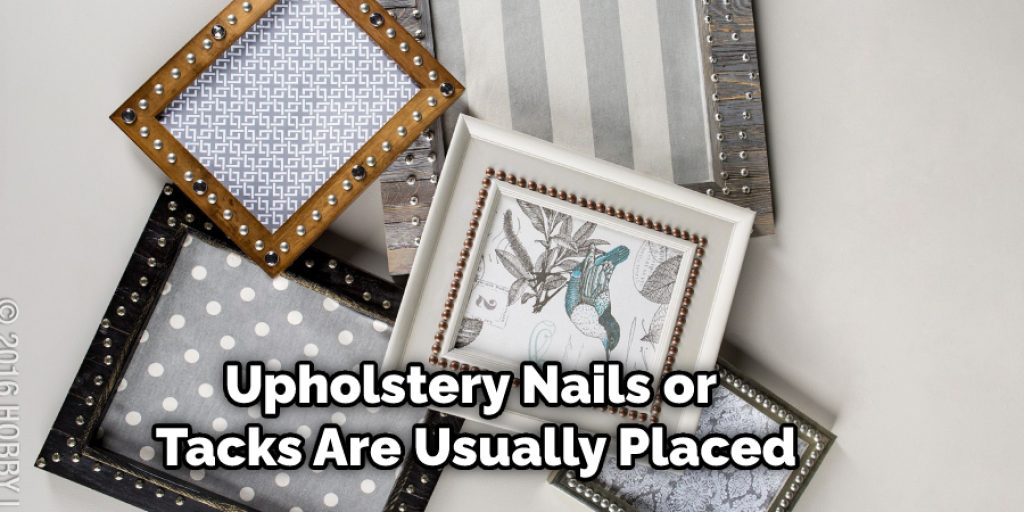
Method 2: Upholstery Tacks or Nails
Upholstery nails or tacks are usually placed on the top and bottom of the frame, with one nail on each side. The glass is then lowered into place over the nails. Like rubber bands, upholstery nails or tacks can be cut to size. They can also be used to secure the glass with wooden or plastic frames.
Method 3: Paper
Newspaper, scrap paper, or any thin type of paper may be folded in half and placed along the frame’s edge. This method is ideal for leaving the structure unsecured for long periods while not completely falling apart.
Method 4: Paper Clips
Paper clips are a cheap way to secure glass in a picture frame. You just need to open the paper clip’s small metal ridges enough for them to fit over the top of the edge on your glass picture frame.
They are classic, jumbos, and extra-large paper clips. The classic size will fit over the edges of your frame, while the others may be used to secure larger pieces of glass or other types of objects. Paper clips are best suited for thin glass frames, but they can also work with thicker items if you use enough of them.
Method 5: Rubber Stoppers
These are usually placed on the edge of the frame, similar to upholstery nails or tacks. They can be cut to size and may come in different shapes for easier placement around the edges. The rubber stoppers won’t damage anything, but it’s not advisable to use them on antique picture frames.
Method 6: Using Putty
You can use putty to secure the glass in a picture frame in a similar way to using paper clips. To do this, you’ll need to open the metal ridges of the putty before pressing it into place on the top and bottom of your frame. Once you let go, it will harden or stick, depending on the type of putty you are using. If you need to replace the glass in your frame at any point, the putty can be easily removed.
Method 7: Sealant
Any waterproof sealant may be used. Epoxy, caulk, or even hot glue can be used to secure the glass in a picture frame without causing damage. This is useful if you’re using your frame outside because it won’t deteriorate from the weather. For indoor frames, acrylic paint may also be used instead of a sealant.
Method 8: Double-Sided Tape
There are many types of double-sided tape available, so you can choose the one that best suits your needs. This is a temporary solution if you need to replace your glass, but it can also be useful for small pieces that don’t require a lot of force to come off.
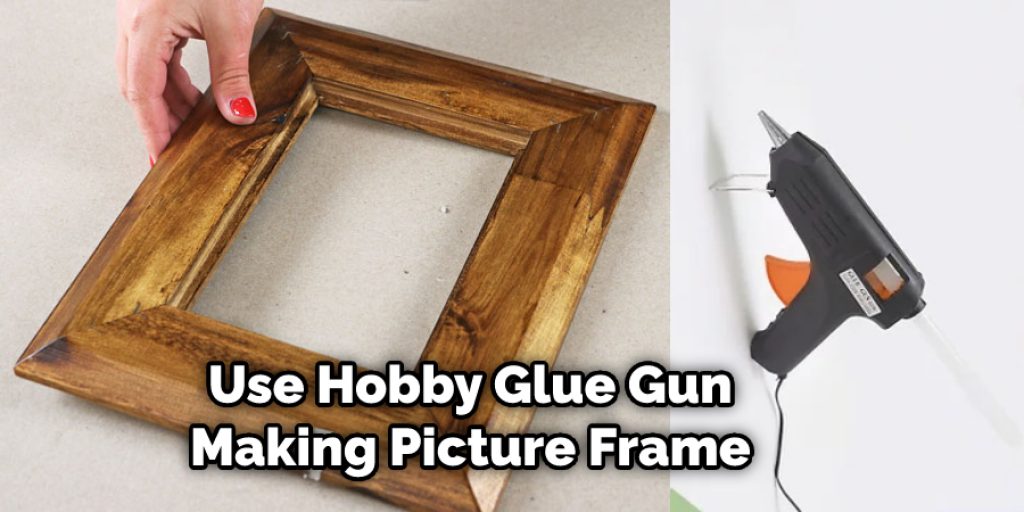
Method 9: Using a Hobby Glue Gun
A glue gun is ideal for small or thin objects where it can be used in conjunction with paper clips. The heat from the tip of the gun will melt the plastic enough to hold whatever is being secured without it falling apart.
Method 10: Using a Ribbon
You can use double-sided tape to attach the glass to the frame. This is a temporary solution if you need to replace your glass, but it can also be useful for small pieces that don’t require a lot of force to come off. There are many types of double-sided tape available, so you can choose the one that best suits your needs.
You Can Check It Out To Identify Slag Glass
Conclusion:
To keep your glass picture frame protected, avoid contact with the frame’s edges. If you’re not careful, they can scratch or break the glass and ruin it for good! Also, it’s best to remove any extra frames touching the edge of your picture frame, so there is no risk of them falling on top.
Now that you know how to secure glass in a picture frame, we hope this blog post has been helpful. If you want to reach out with any questions or help secure glass in a picture frame for yourself or a client, don’t hesitate to contact our team. We’ll be happy to answer all of your questions!
You Can Check It Out To Clean Blue Light Glasses


