
How to Make Easel Backs for Picture Frames
This Woodworking image frame easel is an easy challenge everywhere in the home. It could be designed that something more than a regular display case; that’s a fascinating way to view photography or family images. I was willing to use wooden pallets and the resources I now have, so with less than 10 dollars; everything could best be accessed.
Instructions:
• 1 to 1 split through (2) 10-inch parts (2) 8-inch bits with this at the side of 15 ° and 2.5-inch complete parts (2)
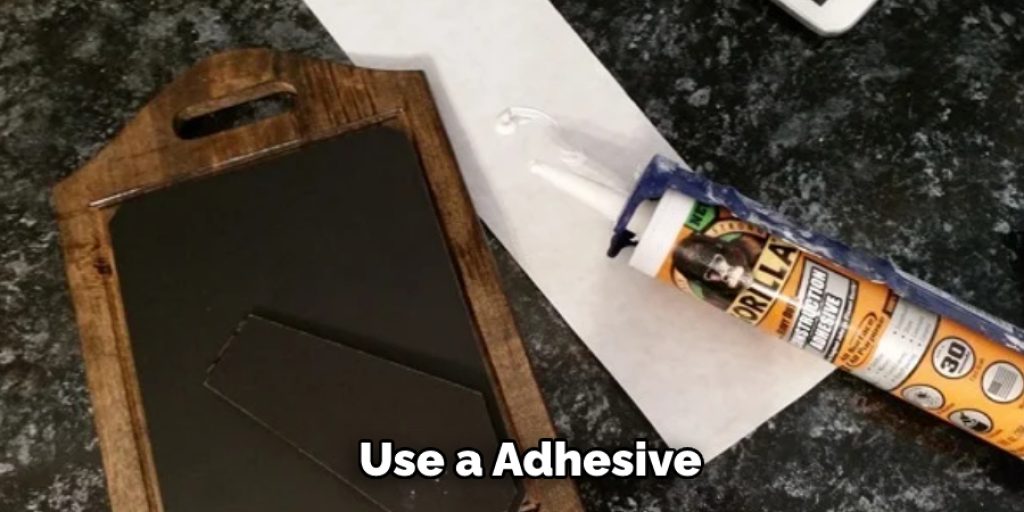
• To connect broad front legs to tiny 2.5 bits, use adhesive to
• Connect the 8-inch twisted portion to the narrow 2.5-piece beneath.
• Connect the existing 8-inch section to the front and ensure it is straight.
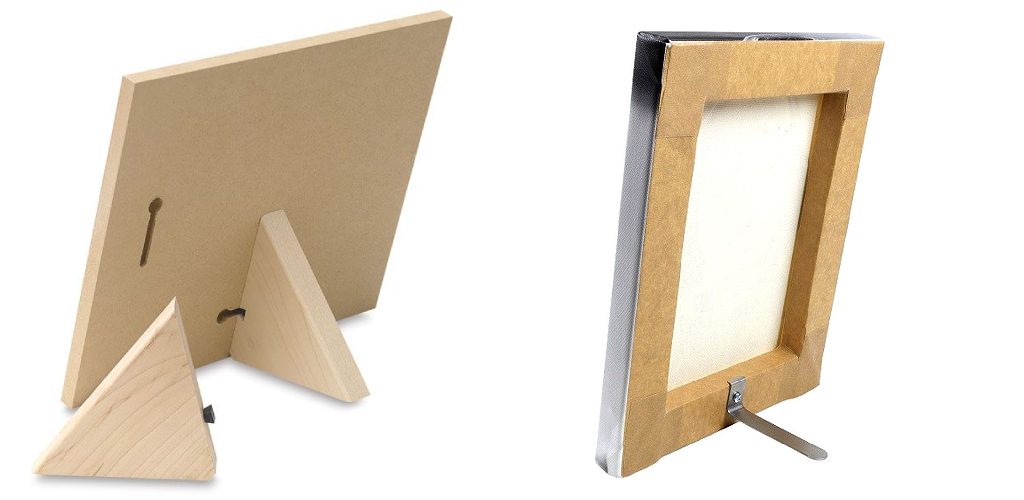
• It takes a bit for me to work out the easel directions. I stuck the two front parts onto a small bit of timber to make it simpler. The rear part is then split to a 15-degree inclination and attached to the tiny object’s bottom.
• For the rear, this produces the stand. I eyeballed the front positioning and ensured it was correct. I’m not too fond of it when my main photo frame matches wooden colors. Fortunately, I’ve got two frames, so I used one of those and tucked my artwork between both.
• This artwork is the best free one! I’m glad this didn’t turn out as expected since, with only the easy glass, it’s much easier then. To make it appear like a canvas, ensure sufficient paper across the image to cover it around the foam board.
• Slice the image with a different rim that is, at minimum, the width of the foam and just a little higher, ideally. Then you can cut it so you can flip it quickly and add it to the foam.
You can check it out to Make Glass Album Cover
You may read also –


