
How to Set an Old Fashioned Alarm Clock
I’ll never forget the first time I set an alarm clock as a teenager. I was so excited to finally be able to wake up on my own and not have to rely on my parents for help, but after only a few weeks of setting the alarm, it became clear that this method wasn’t going to work.
My sleep cycle had changed drastically since childhood and now required me to get 8 hours of sleep each night for my body to function correctly. So instead of getting up with the sun, I would end up sleeping through most mornings until noon or later due to oversleeping from being tired all day.

Your sleep cycle is different than mine, which is why you must find out what works best for your needs before relying solely on an alarm clock for your morning routine. This post is about how to set an old-fashioned alarm clock.
Step to Follow on How to Set an Old Fashioned Alarm Clock
Step One: Determine
First, you have to determine what kind of alarm clock you are using. If it is an old-fashioned type with a bell inside, you will not be able to set the time without opening the box where the clock resides. You may have to remove everything from around or on top of your alarm clock so that you can see the numbers.
Then, you will have to check your alarm clock’s manual to see how the numbers should be set for it to work properly. However, if it is an old-fashioned alarm clock and you don’t have a manual, some tips listed below may help you determine how this type of clockworks.
Step Two: Proceed
If you find that your alarm clock is working and can be set with a dial, you will have to adjust the current time. Turn the dial left or right depending on whether you want to go back in time or move forward into the future. If you are looking for more precise accuracy, adjust it by increments of five minutes at a time.
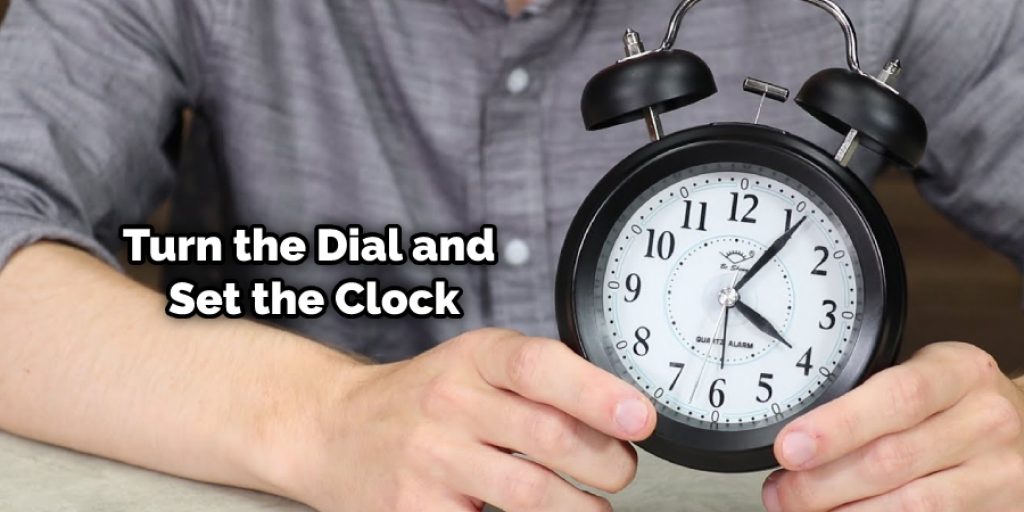
Once you turn the dial and set the clock, make sure to press down on it once it is at your preferred time and remove your hand from the clock quickly so that it can work properly. If you want an extra precaution, cover up the numbers with your other palm while taking your hand away.
Step Three: Test
Go ahead and press the button that sets off the alarm. For example, if it is set at six in the morning, make sure to get up before then, or else your notice will not go off. Use this setting for a few days until you are positive that you are getting up at 6 AM when your alarm goes off.
During this testing period, you can adjust the dial to a different time if you think it is too early. After testing, go back to when you are getting up and keep that setting on your alarm clock from then on out. If you use the steps outlined above for how to set an old-fashioned alarm clock, you can do it yourself.
Step Four: Adjust
If the alarm clock you have has a digital display, there will be a button that says time or something similar. Press this button and then use the set button to adjust the time of your alarm clock. If it is an old-fashioned type with a dial, turn the dial until you see the current time displayed on the new screen you’re using.

Then, you will have to press the set button again to put that time into your alarm clock’s settings. Finally, you will be able to see it on the digital display on top of your alarm clock. There is a chance that this type of alarm clock may not chime when you enter the new time, but this does not mean that it doesn’t work.
Step Five: Place
The next step is to put the alarm clock back into its original spot. If it was covered up by other boxes or furniture, you could move them onto another surface so that your alarm clock can be accessible. Finally, make sure it is properly plugged in and test out the alarm clock again to ensure it is working correctly.
After you know it is working, you can go to sleep. It may be difficult for most people to adjust to an earlier time when they are used to getting up at noon or one in the afternoon. You will either have to get up early enough before 8 AM, move the alarm clock closer to your bedside, or continue with your life and delay waking up until you have to for work or school.
Step Six: Maintain
After you have the alarm clock set, it is recommended that you check on it at least once a month to make sure everything is working properly. Even if the alarm goes off every day of the week for an entire year, things might go haywire on March 22 of next year and cause problems for you.
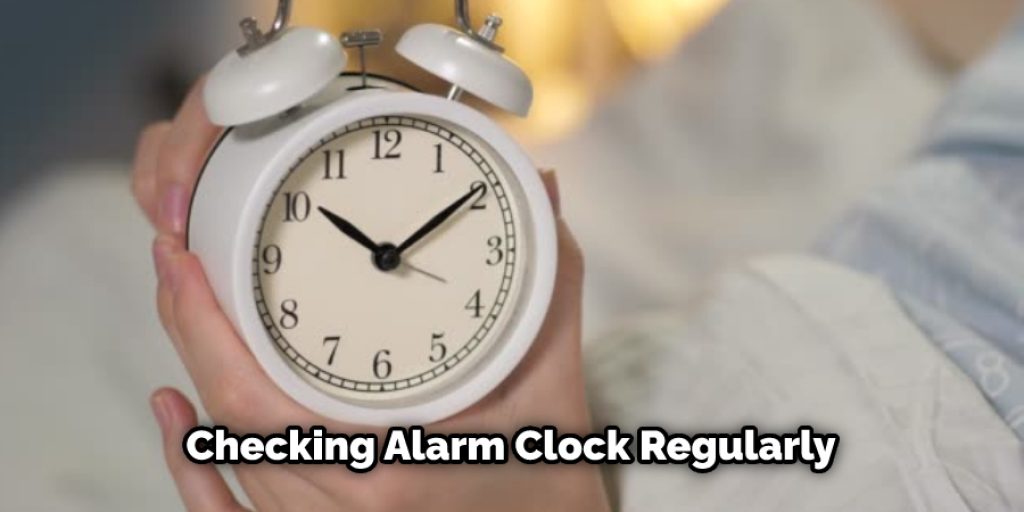
Checking your alarm clock regularly is an easy step to maintain your life. You may even want to replace the batteries after a while if they are draining quickly or need them replaced often. Do not be afraid to get up early if you know how to work it properly, because waking up at six in the morning is better than getting up at noon or one in the afternoon.
Conclusion Paragraph
Setting an alarm clock is one of the first things people do when they wake up. Of course, the best way to set your alarm clock depends on what kind you have, but there are a few general rules that can help ensure it’s functioning correctly and waking you up at the right time.
First, make sure your batteries aren’t dead or dying; if you use rechargeable batteries, check them every month to ensure they still hold their charge. Finally, the conclusion paragraph is informative and provides information on how to set an old-fashioned alarm clock.
You may read also – How Do I Get My Clock to Chime Correctly


