How to Set Up an Air Stone
An air stone is a great way to increase the oxygen levels in your tanks and can be used with or without an air pump. If you want to create an attractive and stimulating environment for your fish, it’s essential to set up an air stone. Air stones create tiny bubbles that not only look pretty but also help to oxygenate the water.
This article will show you how to set up an air stone in your tank. First, fill a container with water and place the air stone. Next, connect the airline to the air stone and insert it into the tank. Finally, turn on the air pump and enjoy watching your aquarium come to life! Keep reading for more information.
10 Ways on How to Set Up an Air Stone
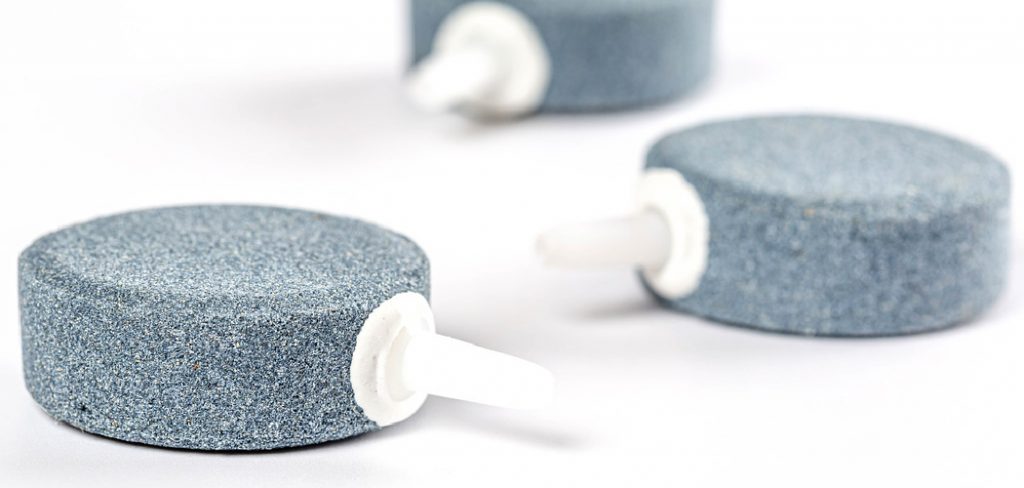
1. Bubble Stones
Retrieve a bucket and place your stone inside of it. We prefer the white stones because they look aesthetically pleasing and are inexpensive. Fill the bucket with water until it covers the stone, but be careful not to overfill it and cause the water to spill over. Turn on a powerhead to create a water flow through the stone and cause bubbles.
2. PVC Pipe
Get a couple of sections of PVC piping that are at least an inch in diameter. Drill holes all over the pipe so water can escape out. Then, place the stone inside and plug up any unused openings with some clay or other material to keep it from falling inside the pipe.
3. Rubber Hose / Tubing
Get a section of hose that’s at least an inch in diameter. Connect the hose to your powerhead, so it is inside the hose, and place the stone inside. The water should be flowing through the hose and out of the stone.
4. Inline Air Diffuser
Inline air diffusers can be purchased from most pet stores or online retailers. They are those grey plastic cone-shaped things that usually go in a canister filter, but they’re also for aquarium use! Attach to a powerhead and place the stone inside.
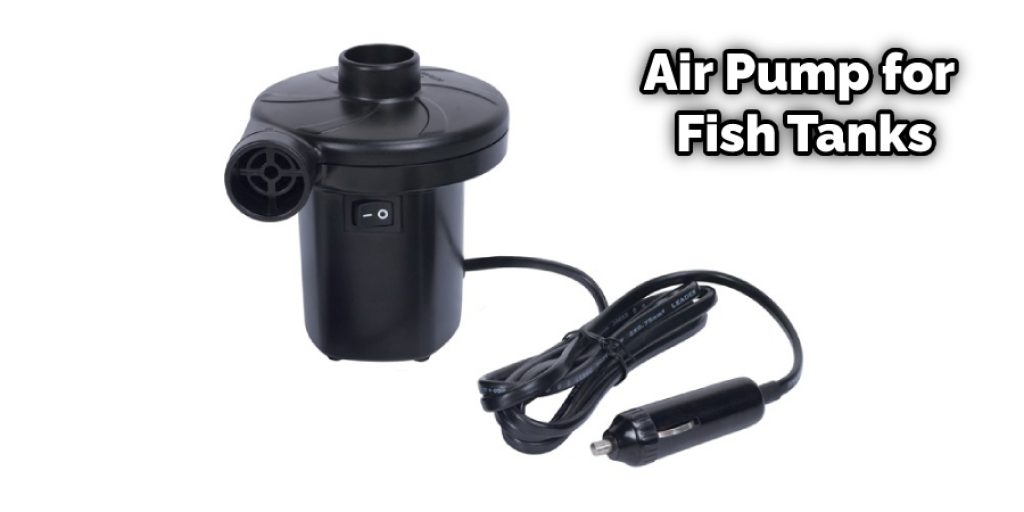
5. Air Pump with Hose
You need to buy an air pump for fish tanks. First, put the stone inside some hose and plug any unused openings with clay or other material to keep it from falling inside. Next, put the stone in an empty bucket and connect the hose to your powerhead to pull through the stone.
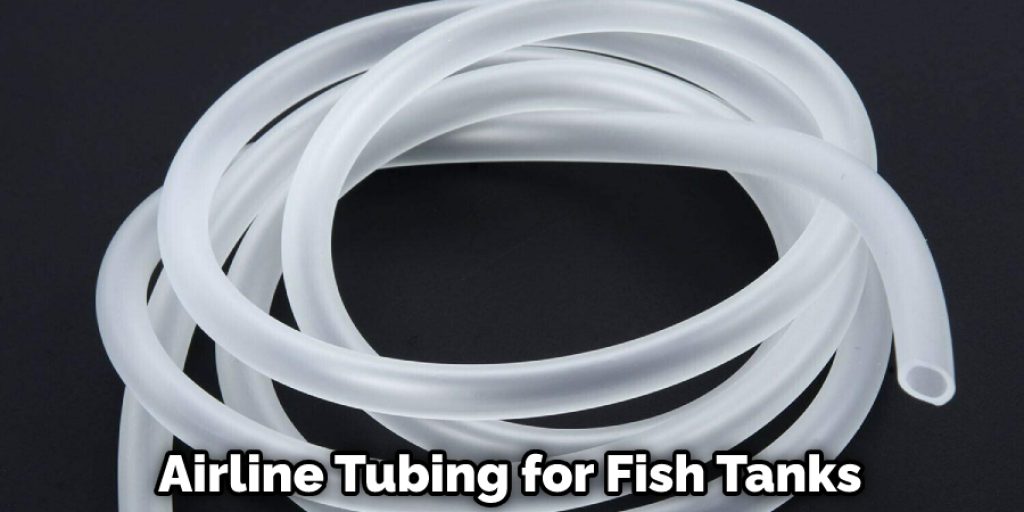
6. Down the Filter
You’ll need an air pump and some airline tubing to get started. Plug one end of the tubing and place it in your filter, with the stone next to the intake. It can be tricky to get the angle right, but you want the water to flow through the filter and then change direction and go through the air stone.
7. Underwater Stone Holder
To get started, purchase an air-stone holder from most pet stores or online retailers. Then, attach it to your tank and place the stone inside. To keep the stone from falling inside the tube, plug up any unused openings with clay or other material.
8. In a Bottle
Use a bottle with a cap and drill a small hole in the side for the tubing. Plug up any unused openings with clay or other material to keep them from falling inside the tube. Next, attach your air pump to the tubing to pull through the stone.
9. In a Canister Filter
Attach an air diffuser to your canister filter. Attach the tubing from your air pump to the diffuser and place the stone inside it. Plug up any unused openings with clay or other material to keep them from falling inside the tube.
10. Use a Fish Tank
Get an air pump for fish tanks or a powerhead and plug up the end of the hose with some clay. Place the hose in your tank, and put the stone in. The water should be flowing through the hose and out of the stone.
You Can Check It Out to Sharpen a Carving Knife With a Stone
Instructions: How to Set Up an Air Stone
Step 1

Determine what kind of air stone you need to use. There are two types: an aquarium stone and a pond stone. The easiest way to tell which one is by looking at the size; if it says “3/8” on the side, it’s for an aquarium. If not, look at how big it is in diameter. If it’s smaller than 1 inch, it’s for an aquarium. Anything more significant is a pond stone.
Step 2
With the air pump plugged in and turned on, you need to determine where you want your airstone to be. Usually, they’re placed at the very bottom of the tank so that water and bubbles can get to the top of the tank. You can get creative with how it’s placed if you want, but try to get it out of the way so that you do not block any equipment.
Step 3
Place the airstone in the water with suction cups facing up. If they face down or sideways, they will not work correctly. If the airstone doesn’t have suction cups, use a cable tie to secure it.
Step 4
Attach airline tubing to the air stone and run it into your tank or pond. You can cut off excess if you think there’s not enough tubing, but make sure you leave a big enough opening for air to come out. You can tape it to the side of your tank, but if you want it to be hidden, then drill a hole in your wall and attach both ends of the tube to it. This way, as bubbles come out of the stone, they’ll go through the tubing and into your tank.
Step 5
Make sure the air pump is on. If it has markings indicating how much air it needs to stay running, then make sure you keep that level (usually right below the max). If there are no markings, make sure it’s not too high. Also, if your tubing is long enough so that water can get up to the pump, then make sure that it is turned off.
Step 6
Turn on your air pump! After a few minutes, bubbles should come out of the airstone and go into your tank or pond. If they’re not, there’s something wrong with your tubing or the airstone. First, ensure your tubing is in good shape and check the airstone to ensure a tight seal with no leaks. If neither works, you may have a faulty pump or power cord.
Step 7
Wait for bubbles! Now that everything’s set up, it’s just a matter of waiting for the water to be aerated. It can take anywhere from 30 minutes to 8 hours for the water in your tank or pond to be aerated. If you want, you can top off your aquarium every hour or so with more water; this will be beneficial once you add fish because they’ll gradually get used to the new temperature.

Some Tips and Suggestions
1. Before putting the air stone into your tank, use a bucket or tub of water to test it out. This will tell you how many bubbles it produces and if the flow is too strong for your liking.
2. When making an airstone setup, ensure no sharp objects are in the area where you’ll be putting it down. If you hit a sharp object (e.g., rock, decoration), you can puncture the airstone and lose your desired water flow.
3. When putting an airstone below gravel or sand, make sure there is enough airline to reach the surface of the substrate, where it will be broken up by wave action into smaller bubbles that will travel through the substrate and into your pump.
4. Remember that most airstones require an air pump sized appropriately for the size of the tube you will be using to submerge them in your tank. If they are not submerged, it will affect the flow, and no bubbles will appear.
5. In a planted tank with CO2 injection, you essentially want to keep the same flow type as with no CO2 injection, but you will need to increase the flow rate slightly. If you have no CO2 injection, you want more bubbles to prevent the plants from getting enough carbon dioxide for photosynthesis.
6. If you decide to use a bubble counter (attached to the airline tubing), you must ensure that your airstone is still producing the desired amount of bubbles per minute. If it produces less than the desired amount, you will need to replace the airstone with one that makes more bubbles.
You Can Check It Out to Attach Stone to Metal
Conclusion
Now that you know how to set up an air stone, it won’t be long until your tanks are bubbling away with the fish and corals of your dreams. Remember to use proper care when setting up your aquarium system for maximum enjoyment!
Setting up an air stone is a relatively straightforward process, and we hope this article has given you the information needed to do so. If you have any questions, please contact us; we will be happy to help!