
How to Set up Inflatable Decorations
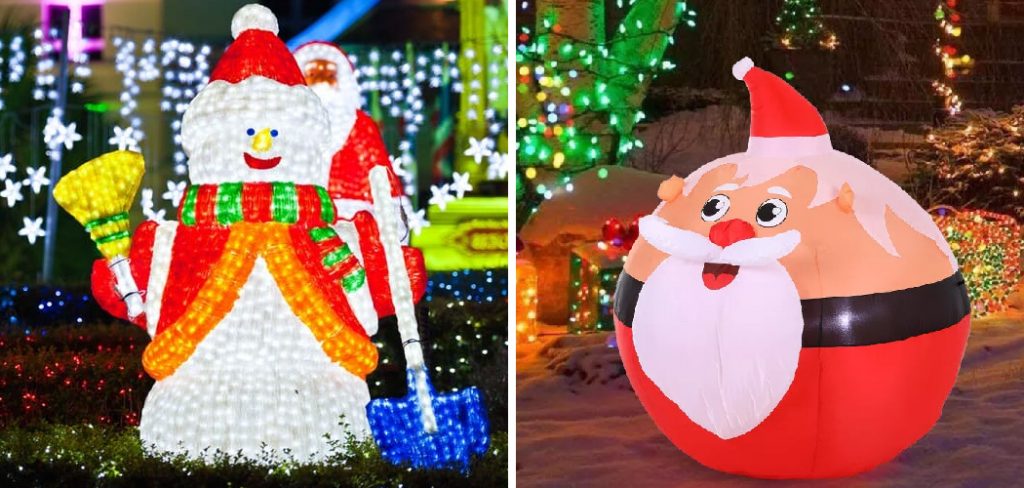
Inflatable decorations have revolutionized the way we celebrate and decorate for various events, from holiday festivities to birthday parties. These eye-catching, air-filled structures range from grand holiday figures to elaborate themed sets, offering an immediate visual appeal that can transform any setting into a celebratory atmosphere.
The appeal of inflatable decorations lies not only in their vibrant designs and the instant atmosphere they create but also in their versatility and ease of setup. However, the key to maximizing their visual impact and ensuring their longevity lies in understanding how to set up inflatable decorations properly.
Proper setup is paramount for optimal display and safety. Ensuring that inflatable decorations are correctly anchored and positioned can distinguish between a stunning addition to your celebration and a potential mishap. Given their exposure to elements like wind, securing them properly is crucial to prevent damage to the decoration or surrounding area.
This guide aims to equip you with the knowledge and tips for setting up your inflatable decorations, ensuring they captivate and marvel guests while standing the test of time throughout your event.
Understanding Inflatable Decoration Components
A. Overview of Inflatable Structures and Materials
Inflatable decorations are typically crafted from lightweight yet durable materials such as nylon, polyester, or PVC, which are chosen for their resilience and ability to withstand various weather conditions.
Their structures can range from simple, single-compartment designs to complex, multi-sectioned pieces with intricate details. These materials contribute to the inflatable’s visual appeal and ensure that they can be easily inflated, deflated, and stored without taking up excessive space.
B. Identification of Key Components Like Blowers and Tethers
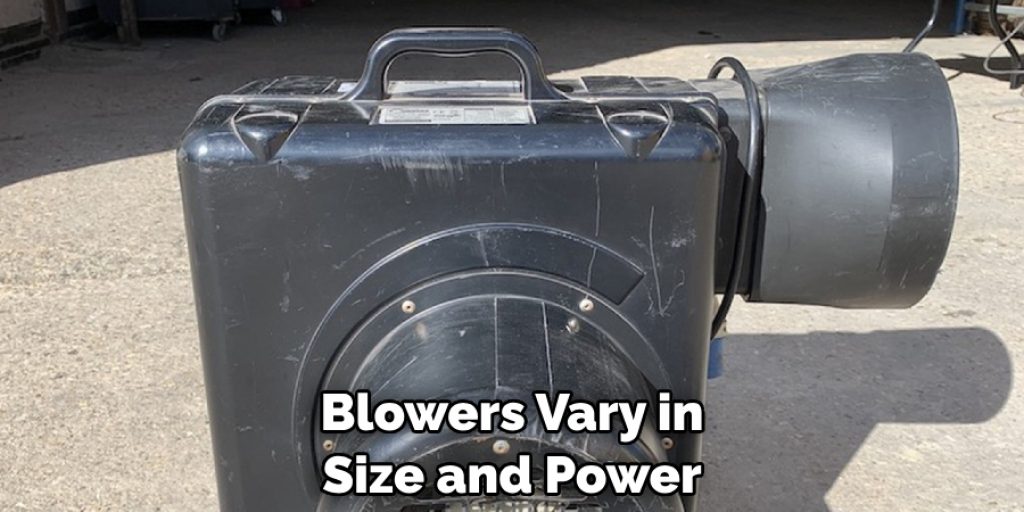
The heart of any inflatable decoration is its blower, which continuously feeds air into the structure, keeping it inflated throughout its use.
Blowers vary in size and power depending on the size of the inflatable and are essential for maintaining the decoration’s shape and stability. Tethers and stakes are equally important components used to secure the inflatable to the ground or other sturdy fixtures, preventing it from moving or flying away in windy conditions.
C. Explanation of Inflation and Deflation Processes
The process of inflating an inflatable decoration begins with connecting the blower to a power source and attaching it to the inflatable’s air intake valve. Once the blower is turned on, it pumps air into the structure, causing it to expand and take shape.
For deflation, the blower is disconnected, and the air is slowly released from the structure, often with the aid of additional vents to speed up the process. Proper inflation and deflation techniques are crucial for ensuring the longevity of the inflatable decoration, as improper handling can lead to tears or damage to the material.
Preparing for Setup
Before you begin the process of setting up your inflatable decorations, a comprehensive preparation phase is essential. This preparation ensures that the setup process runs smoothly, preventing potential issues arising from overlooked details. The following steps outline how to effectively prepare for setting up your inflatable decorations, focusing on equipment checks, site inspection, and power setup.
A. Checking Equipment and Accessories for Completeness
The first step in preparing for your inflatable decoration setup is to check all equipment and accessories for completeness. This includes verifying that the blower, tethers, stakes, and any additional parts specified in the manufacturer’s instructions are present.
It’s important to also inspect these components for any signs of wear or damage that could affect their functionality. Ensuring you have all the necessary equipment before starting the setup process will save you time and prevent disruptions.
B. Inspecting the Setup Area for Obstacles and Hazards
Next, carefully inspect the area where you plan to install the inflatable decoration. Look for obstacles such as trees, buildings, or power lines that could interfere with the inflatable once it’s up. It’s also crucial to identify potential hazards on the ground, including uneven terrain, sharp objects, or debris that could puncture or tear the inflatable.
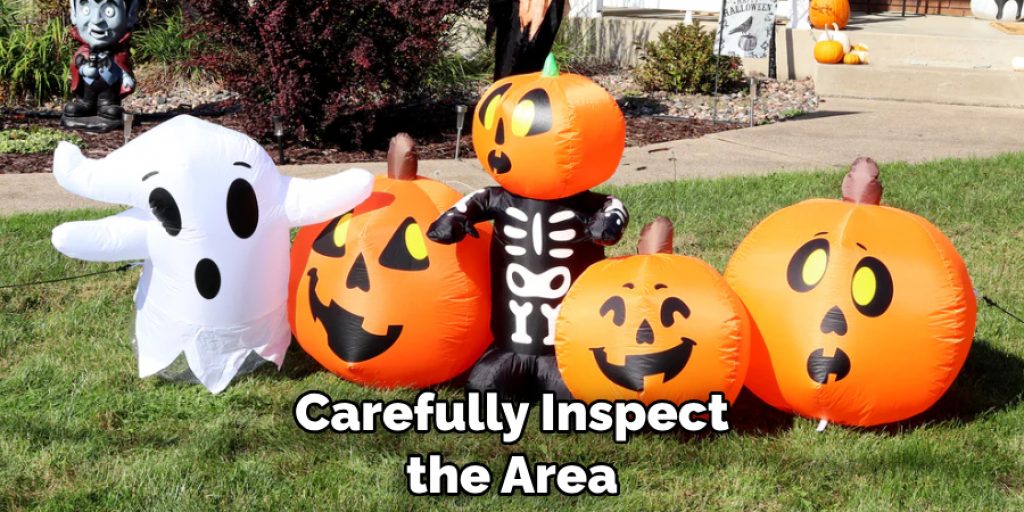
Choosing a clean, flat, and spacious area for your decoration will minimize risks and allow it to be displayed to its full potential.
C. Ensuring Access to Power Sources and Extension Cords
Finally, ensure access to an adequate power source to support the blower for your inflatable decoration. If the nearest outlet is not within reach, you’ll need a suitable extension cord to bridge the gap. Be sure the extension cord is rated for outdoor use and can handle the blower’s power requirements.
Additionally, consider the placement of the cord to avoid creating trip hazards or interfering with the decoration’s visibility. Proper power setup is crucial for keeping your inflatable decoration running smoothly throughout your event.
How to Set up Inflatable Decorations: Basic Setup Steps
After ensuring all your preparations are in place, it’s time to set up your inflatable decoration. This phase is critical in transforming your space into the vibrant, inviting atmosphere you envision. Here’s how to proceed with the basic setup steps:
A. Unpacking and Laying Out the Inflatable Decoration
Begin by carefully unpacking the inflatable decoration from its storage bag or box. Handling the material gently is essential to avoid any punctures or tears. Spread the decoration on a clean, flat surface, ensuring it’s fully extended but not stretched taut. This step helps identify the correct side of the inflatable that needs to be attached to the blower. Also, it’s a good time to untangle any attached tethers or cords that may have been packed with the inflatable.
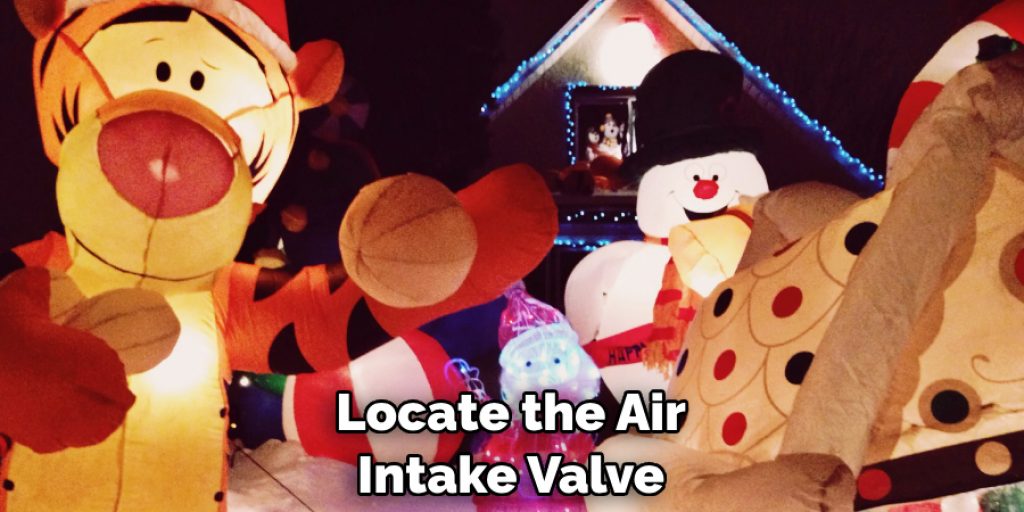
B. Attaching the Blower and Securing it in Place
Locate the air intake valve on the inflatable decoration, usually at its base. Attach the blower to this valve, ensuring a tight fit to prevent air from escaping. Some inflatables come with a locking mechanism or a tie system to secure the blower to the valve; use these as directed. Once the blower is attached, anchor it to the ground using stakes if it’s designed for outdoor use. This step is vital to prevent the blower from shifting or getting dislodged during operation.
C. Inflating the Decoration and Adjusting for Proper Positioning
With the blower securely in place, plug it into your power source and switch it on. The inflatable will start to take shape as it fills with air. Keep an eye on the inflation process to ensure the decoration expands correctly without any sections folding onto themselves.
Once fully inflated, adjust the position of the decoration as needed. Ensure it’s standing as intended and make slight adjustments if necessary for it to face the desired direction. You can also reposition the tethers and stakes at this stage to ensure the inflatable is well-balanced and secure.
Remember, the setup process does not end with inflation. Careful attention to the positioning, securing of tethers, and ensuring the blower functions properly throughout the event are critical steps in showcasing your inflatable decoration and ensuring it adds that magical touch to your gathering or celebration.
How to Set up Inflatable Decorations: Securing Inflatable Decorations
It is pivotal to ensure that your inflatable decorations remain secure and stable throughout their display time. Weather conditions, particularly wind, can affect the stability and safety of these festive displays. This section covers essential techniques for properly anchoring inflatables, using tethers effectively, and implementing additional stability measures for windy conditions.
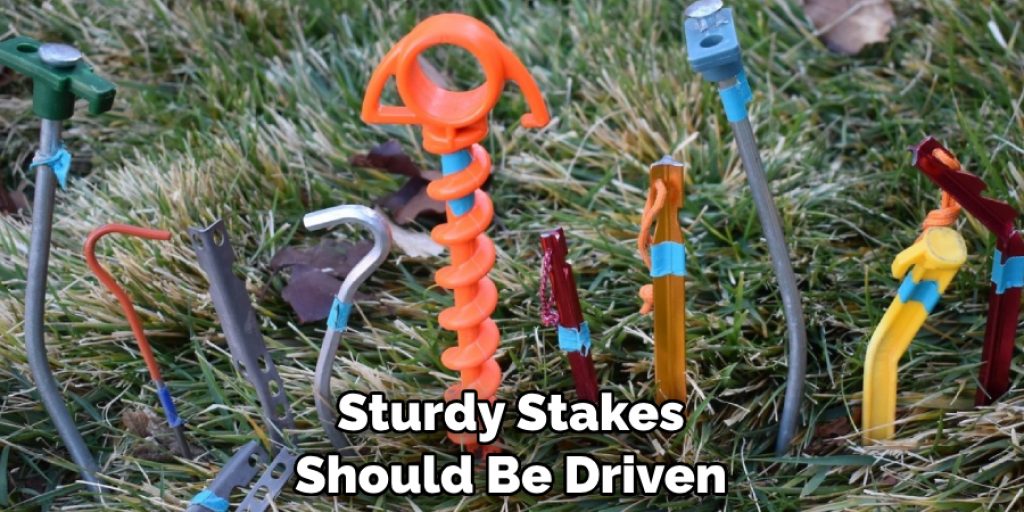
A. Anchoring Inflatables with Stakes or Weights
Using stakes or weights is one of the most reliable methods for securing inflatable decorations. For outdoor setups, sturdy stakes should be driven into the ground at a slight angle away from the inflatable to maximize tension and stability. The stakes must be long enough to reach a depth that provides a secure hold. For indoor or hard-surface applications, weights can serve as effective anchors.
Sandbags or specially designed weights for inflatables are ideal, as they can be positioned on the decoration’s base to prevent it from tipping or moving. Both methods ensure the decoration remains in its designated spot, contributing to a safely arranged event area.
B. Using Tethers and Ropes to Prevent Movement
In addition to ground anchors, using tethers and ropes is critical in stabilizing inflatable decorations. Tethers, made from durable materials, should be attached to reinforced points on the inflatable. They are then stretched and secured to stakes or weights placed far from the decoration.
This setup creates a triangulated stance, distributing the force exerted by the wind and reducing the chances of the inflatable tipping over or shifting. It’s important to adjust the tension in the ropes to keep the inflatable upright and stable without overstretching or creating undue stress on the fabric.
C. Implementing Additional Stability Measures for Windy Conditions
Incorporating additional stability measures can safeguard your decorative inflatables when expecting strong winds or if your event location is known for unpredictable weather.
Mesh banners and cut-outs within the inflatable design allow wind to pass through, reducing resistance. In high wind advisories, consider temporarily deflating the decoration to prevent damage. It’s also advisable to closely monitor weather conditions and have a contingency plan in place for securing or removing inflatables if necessary.
Combining these techniques will contribute to the enduring presence and impact of your inflatable decorations, ensuring they remain a delightful part of your event regardless of the weather conditions.
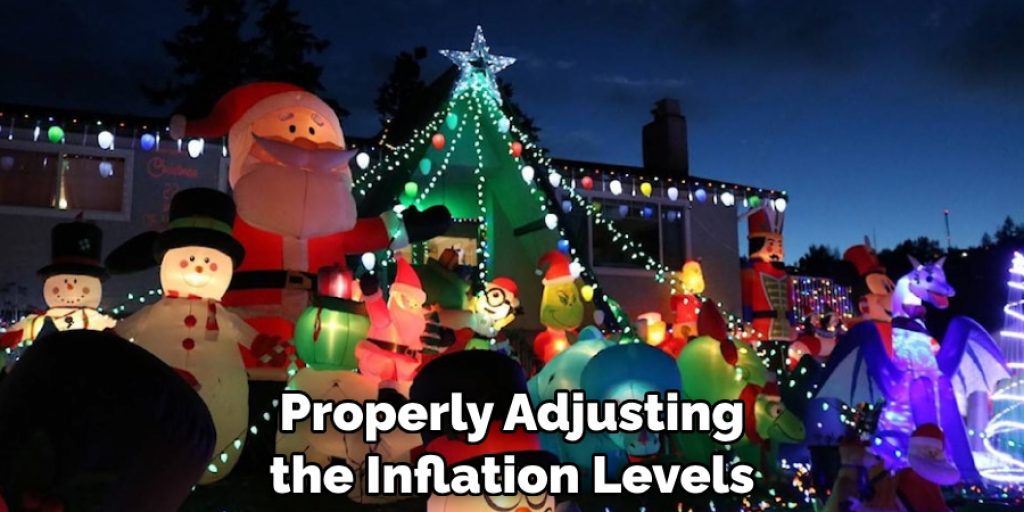
How to Set up Inflatable Decorations: Adjusting Inflation Levels
Properly adjusting the inflation levels of your decoration is a nuanced yet critical part of achieving an optimal display that catches the eye and captivates the imagination of onlookers. This section guides you through monitoring inflation pressure, making necessary adjustments for size and shape, and ensuring consistent airflow for an unwavering presence throughout your event.
A. Monitoring Inflation Pressure for Optimal Display
To ensure that your inflatable decoration presents itself in the best possible light, it’s essential to maintain the right inflation pressure. Too little air and the decoration appears limp and unappealing; too much, and you risk straining the seams or even bursting the material.
The key is to find a balance. Regular checks are advisable, particularly after the initial setup and a few hours into the event. Feel the surface of the inflatable; it should be firm but not overly tight, with a bit of give that indicates air is evenly distributed throughout the structure.
B. Making Adjustments to Achieve Desired Size and Shape
Achieving the perfect size and shape for your inflatable decoration might require a few adjustments after inflation. If the decoration isn’t reaching its full potential size-wise, ensure the blower is delivering air at a sufficient rate. Sometimes, clearing any obstructions around the air intake valve or checking for leaks can improve airflow.
Conversely, if the decoration is too inflated, partially opening the valve to release some air can help attain the right shape and size. Always adjust gradually and monitor their effect on the decoration’s appearance and stability.
C. Ensuring Proper Airflow for Consistent Inflation
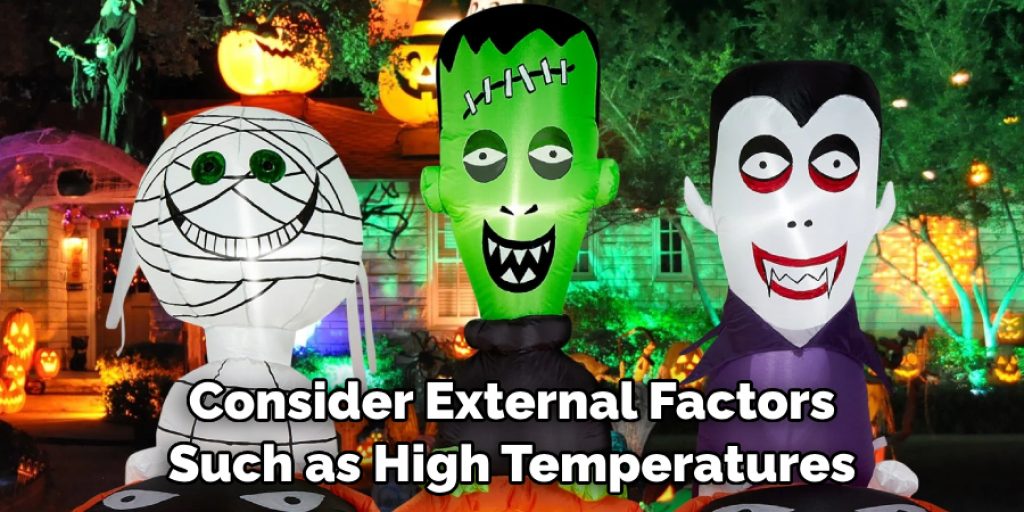
Consistent inflation is the hallmark of a well-maintained inflatable decoration. It involves the right amount of air entering the inflatable and ensuring it is retained effectively. Ensuring proper airflow begins with a functional, appropriately sized blower that matches the inflatable’s requirements. Secure connections at the air intake valve prevent leakage; periodic checks can catch any issues early on.
Additionally, consider external factors such as high temperatures which can expand the air inside, or cold weather that can cause contraction. Adjust the inflation accordingly to maintain a steady, appealing display.
In summary, keeping your inflatable decoration looking its best throughout your event is an active process that involves careful monitoring and timely adjustments to inflation levels. By staying vigilant regarding the pressure, size, shape, and airflow, you can ensure that your decoration remains a central, eye-catching feature that adds vibrancy and excitement to your gathering.
Troubleshooting Common Setup Issues
Even with meticulous planning and execution, encountering setup issues with your inflatable decorations is possible. Understanding how to promptly and effectively troubleshoot can keep minor inconveniences from escalating into major disruptions for your event.
A. Addressing Power Supply Problems or Blower Malfunctions
Power supply issues or blower malfunctions can cause your inflatable decorations to deflate unexpectedly, diminishing their visual appeal and potential safety hazards. Firstly, check the power source for any tripped breakers or disconnected cords.
If the power source is operational but the blower fails to work, inspect it for blockages or damage. Sometimes, debris or small objects can obstruct the blower’s air intake or exhaust ports. If the blower is damaged, replacing it promptly is crucial. Keeping a spare blower on hand for large events is a wise precaution.
B. Dealing with Uneven Inflation or Sagging Areas
Uneven inflation often results from obstructed airflow or leaks. To address this, ensure that the air intake valve is clear of obstructions and that the blower functions correctly. Sagging areas can also indicate a leak within the inflatable.
Conduct a thorough examination of the inflatable’s surface to identify any punctures or seam separations. Small tears can be temporarily fixed with repair tape, while larger issues may require a patch kit or professional repairs. After addressing the root cause, reinflate the decoration to assess if the issue has been resolved.

C. Handling Unexpected Challenges Like Tears or Leaks
Tears or leaks affect the aesthetic appeal of your inflatable decoration and can pose safety risks if not addressed swiftly. For immediate temporary repairs, use heavy-duty tape designed for inflatable repairs.
For more significant damages, a patch applied with an appropriate adhesive can secure the decoration for the duration of your event. It’s imperative to deflate the decoration before attempting any repairs to prevent further damage. After applying a patch or tape, allow ample time for any adhesive used to dry completely before reinflating the decoration to test the repair’s integrity.
In navigating these common setup challenges, having a well-prepared troubleshooting toolkit on hand, including a spare blower, repair kits (tape and patches), and basic tools, can be invaluable. By effectively addressing power supply problems, ensuring even inflation, and managing unexpected tears or leaks, you can maintain the spectacle and safety of your inflatable decorations, ensuring they remain a highlight of your event.
Safety Precautions and Guidelines
Ensuring the safety of guests, especially when inflatable decorations are a part of your event, is paramount. Adhering to specific safety precautions and guidelines can prevent accidents and ensure everyone enjoys the festivities without any hitches.
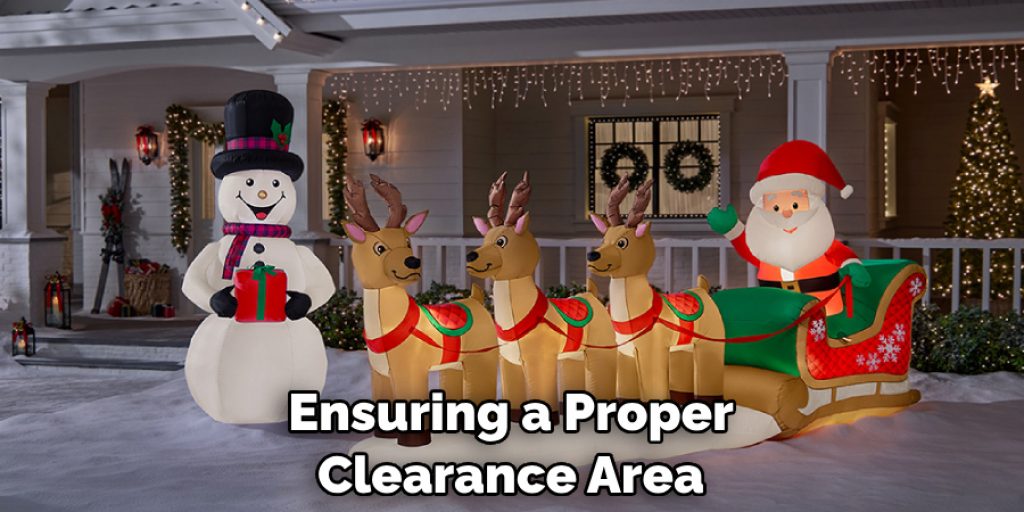
A. Ensuring Proper Clearance Around Inflatable Decorations
To minimize risks, ensuring a proper clearance area around inflatable decorations is crucial. This space allows for the natural movement of the inflatables, caused by air circulation and slight shifts in weight distribution, without impacting nearby structures or attendees. A general rule is to maintain at least a 2-foot clearance on all sides of the inflatable.
This buffer zone prevents damage to the decoration from external forces and reduces the risk of injury to guests who might come into close contact with the structure. When planning your event layout, consider the size of the fully inflated inflatable and allocate space accordingly, considering entry and exit points for guests.
B. Monitoring Weather Conditions and Taking Precautions in Adverse Conditions
Weather plays a significant role in the safe operation of inflatable decorations. High winds, for example, can destabilize or even uplift an inflatable, posing serious risks. It’s advisable to anchor your inflatable securely and to monitor weather forecasts leading up to and during your event. In the case of predicted high winds, heavy rain, or lightning, it may be necessary to deflate the decoration temporarily or adjust its placement to ensure safety.
Always have a contingency plan for adverse weather conditions to avoid last-minute disruptions.
C. Supervising Children and Pets Around Inflatable Setups
Inflatable decorations attract the curiosity and excitement of children and pets, making supervision crucial. To prevent accidents or damage to the decoration, establish a clear boundary or guideline for how close children and pets can get to the inflatable.
It’s helpful to designate a responsible adult to monitor the area if the event will include active children or pets. Additionally, explain the importance of not pulling or hanging on the decoration, as this can lead to tears or even cause the decoration to topple, ensuring a fun and safe experience for all attendees.

Adhering to these safety precautions ensures the well-being of all attendees and prolongs the life of your inflatable decorations, helping them remain a staple of your festive gatherings for years to come.
Conclusion: Enjoying Your Inflatable Decorations
In this guide, we’ve navigated through the essential steps and techniques on how to set up inflatable decorations, ensuring they illuminate and animate your events with minimal hassle. From addressing power supply issues and dealing with uneven inflation to managing unexpected tears or leaks, we’ve covered how to tackle common setup challenges effectively.
Furthermore, the emphasis on safety and proper installation practices cannot be overstated. Ensuring adequate clearance, monitoring weather conditions, and supervising children and pets are paramount steps to avoid accidents and ensure the longevity of your decorations.
However, the essence of incorporating inflatable decorations into your gatherings is not just about managing logistical and safety aspects; it’s also about adding a touch of magic and festivity. These vibrant and dynamic decorations have the power to transform spaces, bringing joy and wonder to people of all ages.
Hence, while it’s crucial to adhere to the technicalities and safety guidelines, it’s equally important to remember the joy these decorations are meant to evoke.
We encourage you to confidently approach your next event, armed with the knowledge and tips shared in this guide. Enjoy creating mesmerizing and safe displays that captivate your guests and contribute positively to the celebration’s atmosphere. Here’s to many successful events adorned with your splendid inflatable decorations, enjoyed responsibly and joyfully.
Angela Ervin
Angela is the executive editor of DIY quickly. She began her career as an interior designer before applying her strategic and creative passion to lifestyle and home. She has close to 15 years of experience in creative writing and online content strategy for housekeeping, home decorations as well as other niche efforts. She loves her job and has the privilege of working with an extraordinary team. She lives with her husband, two sons, and daughter in Petersburg. When she's not busy working she spent time with her family.


