How to Sew a Patch on a Hat With a Sewing Machine
If you’re looking for a way to add some personality to your favorite hat, sewing on a patch is the way to go. Patches can be found in various designs and colors, so finding one that suits your style is easy. In addition, adding a patch is a simple way to fix up an old hat or cover any holes.
This blog post will show you how to sew a patch on a hat with a sewing machine. You need basic sewing skills and a few supplies from your local fabric store. This is a relatively easy process, but it is important to follow the steps carefully. We’ll also provide some tips on making sure the patch stays in place. Let’s get started!
6 Benefits of Sewing a Patch on a Hat
1. Add Personality to Your Hat:
A patch is a great way to show your personality and style. You can find patches in various designs, so it’s easy to find one that suits you.
2. Cover-Up Holes:
If your favorite hat has a hole in it, sewing on a patch is a great way to cover it up. This will help extend the life of your hat and keep it looking its best.
3. Fix Up an Old Hat:
Sewing a patch onto an old hat is a great way to give it new life. This is a simple and easy way to breathe new life into an old favorite.
4. Protect Your Hat:
If you have a hole in your hat, sewing on a patch is a great way to protect it from further damage. The patch will act as a barrier, preventing the hole from getting any bigger.
5. Save Money:
Sewing a patch onto your hat is a great way to save money. If you have a hole in your hat, you can avoid buying a new one by simply sewing on a patch.
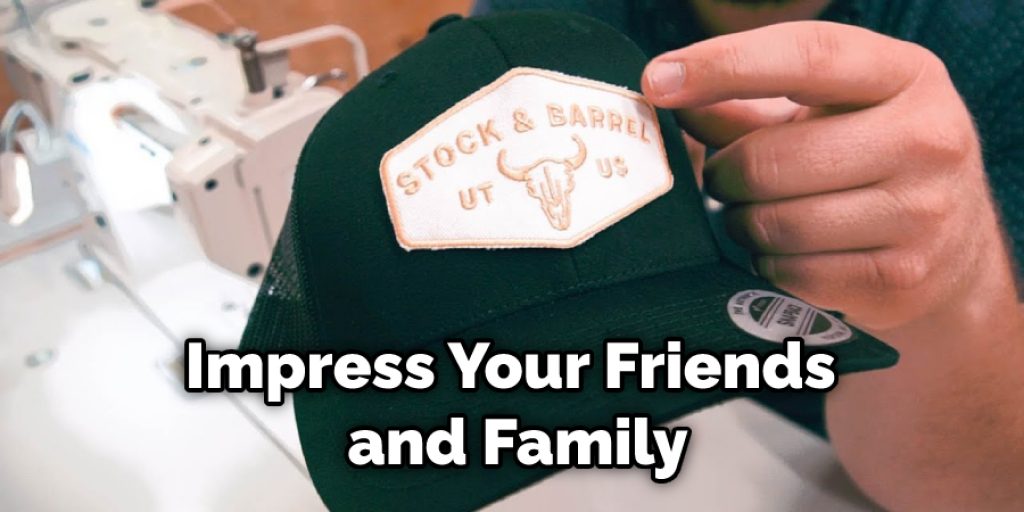
6. Show Off Your Skills:
Sewing a patch onto a hat is a great way to show off your sewing skills. You’ll impress your friends and family if you can successfully sew a patch onto a hat.
Now that we’ve gone over some of the benefits of sewing a patch on a hat, let’s look at how to do it.
What Tools and Supplies You’ll Need
- A sewing machine with a zigzag stitch
- A piece of fabric for the patch
- Thread to match the fabric
- A needle and thread for hand-sewing (optional)
- Scissors
- A pencil
Step by Step Guide: How to Sew a Patch on a Hat With a Sewing Machine
Step 1: Determine the Placement of the Patch.
Before you begin sewing, it’s important to determine the placement of the patch. First, try the hat on and mark where you want the patch to go with a pencil. It’s often best to place the patch near the front of the hat, but you can put it anywhere you like. Once you’ve decided on the placement, take the hat off and set it aside.
Step 2: Cut Out the Patch.
Next, use a pair of scissors to cut out the patch from your piece of fabric. The patch should be slightly larger than the area you marked out on the hat. This will give you some room to sew around the patch’s edges.
Step 3: Sew the Patch Onto the Hat.
Now it’s time to start sewing! Begin by attaching the fabric patch to the hat with a few hand-sewing stitches. This will hold the patch in place while you sew it on with the machine. Once the patch is secure, switch to your sewing machine and stitch around the edge of the patch using a zigzag stitch. Be sure to backstitch at the beginning and end of your stitches.
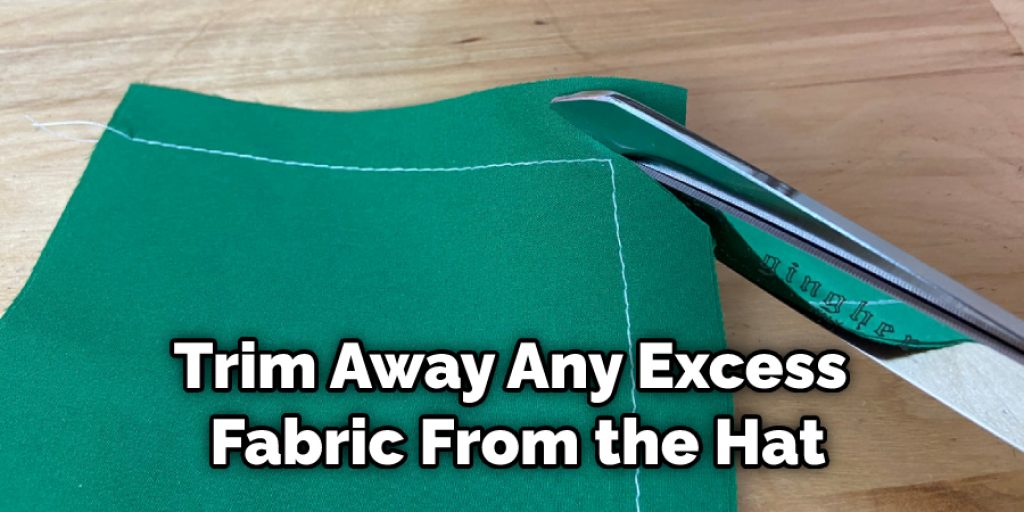
Step 4: Trim the Excess Fabric.
Once you’ve sewn around the patch, trim away any excess fabric from the hat. You can also trim the edges of the patch itself if you like.
Step 5: Wear Your Hat With Pride!
You’re now ready to show off your new patched hat! The patch should be securely attached to the hat if you follow these steps carefully. With a little bit of care, it will stay in place for years.
You Can Check It Out To Put Shuttle Back in Sewing Machine
Tips for Sewing a Patch on a Hat
1. Use a piece of scrap fabric to test your sewing machine’s settings before you start working on the actual hat. This will help you avoid any mistakes.
2. If you’re concerned about the patch falling off, you can sew a piece of clear tape over it before you begin.
3. Position the patch in the spot where you want it to be on the hat. Once you’re happy with its placement, use a pencil or chalk to mark the outline of the patch onto the hat.
4. Remove the patch and set it aside. Use a seam ripper to create a small opening in the hat where you want the patch to go. The opening should be just big enough for the patch to fit through.
5. Feed the patch through the opening and position it to cover the hole.
6. Sew around the patch’s perimeter, making sure to backstitch at the beginning and end.
7. Trim away any excess fabric from the hat.
Can You Sew Patches on With a Sewing Machine
Yes, you can sew patches on with a sewing machine. It’s often the best way to do it. Sewing a patch onto a hat with a sewing machine is quick and easy, and it will give you a nice, clean finish.
If you’re going to sew a patch onto a hat with a sewing machine, there are a few things you’ll need to do first. First, you’ll need to determine the placement of the patch. Next, you’ll need to cut out the patch from your piece of fabric.
Once you have the patch cut out, you can begin sewing it onto the hat. Start by attaching the patch with a few hand-sewing stitches. This will hold it in place while you sew it on with the machine. Once the patch is secure, switch to your sewing machine and stitch around the edge of the patch using a zigzag stitch. Be sure to backstitch at the beginning and end of your stitches.
How Long Does It Take to Sew a Patch on a Hat With a Sewing Machine
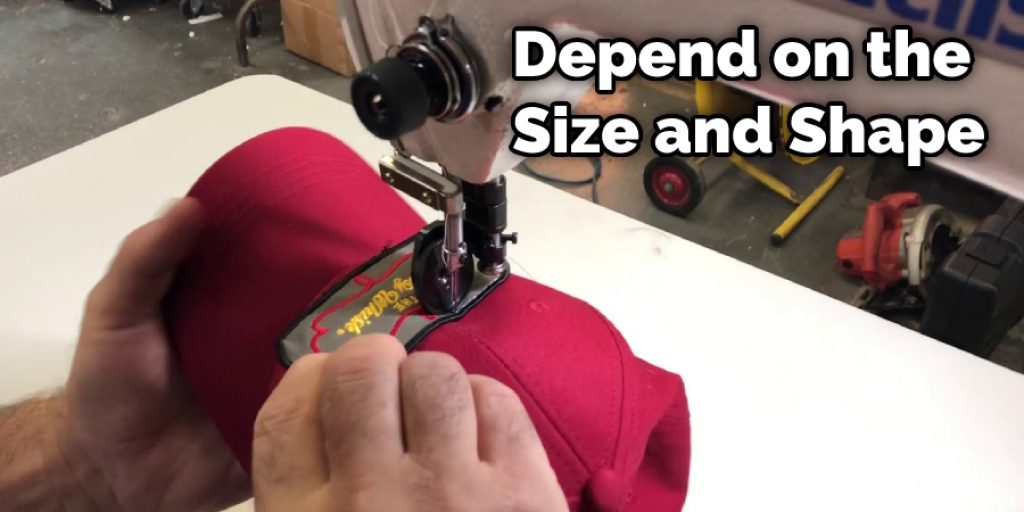
It usually takes less than 30 minutes to sew a patch on a hat with a sewing machine. The time it takes will depend on the size and shape of the patch and the thickness of the fabric. If you’re sewing a patch onto a hat for the first time, it’s always a good idea to allow yourself some extra time if you run into any problems.
What Is the Best Way to Sew a Patch on a Hat
There are several different ways to sew a patch onto a hat. The best way to do it will depend on the type of fabric the hat is made from and the patch you’re using. If you’re sewing a patch onto a hat made from a delicate fabric, you may want to hand-sew the patch in place. If you’re using a heavy-duty patch, sewing it on with a sewing machine will give you the strongest hold.
Conclusion
Sewing a patch onto a hat is easy and can be done with a sewing machine. There are three basic steps to follow to sew on a patch: prepare the patch, prepare the hat, and sew the patch on. First, remove any old adhesive from the back of the patch using an adhesive remover or Goo Gone.
Next, cut out a piece of fabric from the underside of the hat’s brim that is slightly larger than the patch itself. This new piece of fabric will become the reinforcement for your seam.
Now that you’ve learned how to sew a patch on a hat with a sewing machine, it’s time to put your new skills into practice! Be sure to experiment with different fabrics and stitches until you find the best combination. And most importantly, have fun with it! After all, what could be more satisfying than making something yourself?