
How to Sharpen a Pencil Without Breaking the Lead
Introduction:
Pencil lead is a substance that is used to make wooden pencils. It comes in various forms of hardness, and it allows us to write or draw on paper. Pencil leads come in two types: one-piece lead and second-piece lead. The first type (one piece) holds the graphite together, while the second type does not (graphite attached with clay). In this article, I will discuss how to sharpen a pencil without breaking the lead. So let us get started.
Step-wise Guide on How to Sharpen a Pencil Without Breaking the Lead:
Step-1
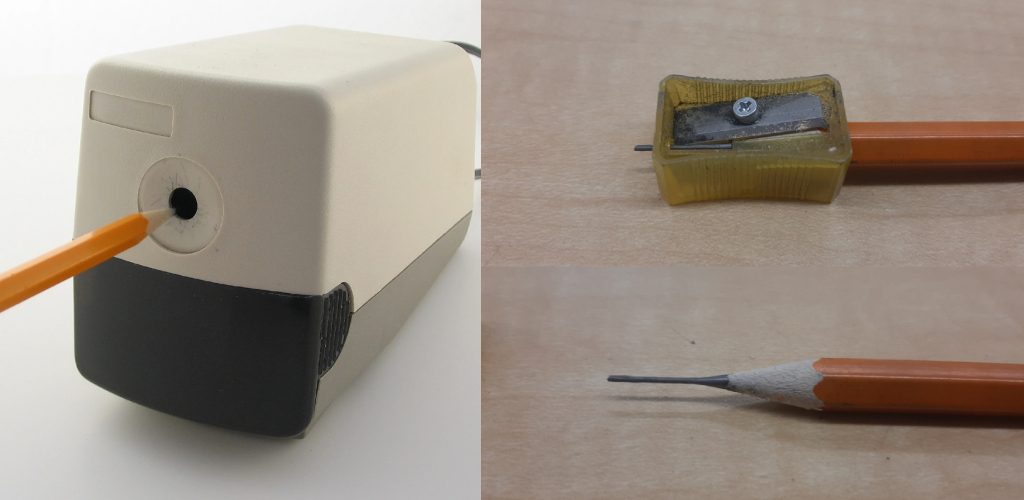
Place the pencil on a flat surface and align it with the sharpener to ensure that it will be sharpened straight.
Step-2.
Grip the pencil firmly in your hand so that when you sharpen, you do not wobble or press hard on the lead, which may cause it to break.
Step-3
Align the sharpener’s blade with where the lead meets at a right angle of 90 degrees so you won’t have to exert too much pressure while turning it to begin shaving off bits of its wood casing.
Step-4
Keep slowly turning until you see tiny curls of lead being shaved off, and make sure not to turn more than needed as this might cause some of them to break away from their casing and fall into your work area.
Step-5
Once you’ve gotten rid of all the curls and have smoothened out the lead’s end, stop turning and check if it is sharp but if not, repeat steps 3 to 5 until satisfied with its length.
Step-6
The same theory applies when sharpening colored pencils. Be more careful since it can get messy due to the paint that comes off from each surface which may cause stains on your table or clothes, so have a rag ready in case of an accident and wash your hands afterward for cleanliness’ sake.
Advantages of Sharpening Pencils Without Breaking their Leads:
Advantages:
1. It saves time because one doesn’t need many tools to achieve this feat and will only take a couple of minutes to sharpen the pencil.
2. It is easier than sharpening pencils using traditional tools because it does not require holding the pencil in different positions and allows one to use both hands, making it much simpler and faster.
3. It requires no special skills, and once you learn how to do it, you can sharpen your own pencils or someone else’s pencil if they ask for help.
4. It saves money since all that is required are few household items like tissue paper, a magnifying glass, a rubber band, etc.; unless one wants to buy some accessories which usually cost very little money (Cheaper than a regular sharpener)
5. You can use any graphite lead pencil since it does not require a sharpener.

Disadvantages:
1. The lead of the pencil is cut into smaller parts, making one use more lead than usual and, therefore, increases the economic costs of the graphite pencil.
2. There are very few disadvantages to this method since it actually has no disadvantages other than those already stated above, which are more advantages than disadvantages for some people who love their pencils as much as we do.
Precautions While Performing How to Sharpen a Pencil Without Breaking the Lead:
1. While sharpening a pencil without breaking the lead, one should sit down on a firm table and not on the bed or in an unstable place like the floor.
2. Make sure to sharpen a pencil with care while sitting down because if one is standing up, there are higher chances of dropping it, which may result in some cut injury.
3. While sharpening a pencil without breaking the lead, it’s better to use both hands so that you can hold your hand steady and prevent any slip or fall from occurring due to holding it with just one hand & dropping it while sharpening it inside the sharpener. It might damage your fingers and cause injury to any other person nearby who might have got hit by the pencil.
4. While sharpening a pencil without breaking the lead, it’s better to keep your fingers separated so that they don’t get too close and short of each other, which may cause injury to them.
5. While sharpening a pencil without breaking the lead, though it is not an essential precaution, it is recommended since every precaution counts & helps you out in avoiding any mishap like holding the pencil with one hand & giving it some extra push while placing it inside the sharpener which might cause damage to either finger or even hit somebody nearby resulting in injuring them badly.
Frequently Asked Questions:
How do We Sharpen a Mechanical Pencil?
A mechanical pencil uses replaceable leads instead of an eraser to correct mistakes made during writing or drawing. A typical mechanical pencil has three components: a retractable metal tip for sharpening the end of the lead, an internal mechanism that extends and retracts the metal tip, and a holder that contains the replaceable portion of the lead.
The lead is generally 0.5 – 1 mm in diameter and retracts into a metal tube (the barrel) about 3 cm long when not in use. When the lead is retracted, often by pressing a button at one end of the pencil, it sits inside an internal mechanism with a spring-loaded top and bottom plate. There are as many as four plates in some mechanical pencils between the tip and the reservoir of leads that supply fresh leads to be used.
When you press the button on one end of the pencil, this causes all these plates to retract simultaneously along with the tip into its housing neatly packaged inside its casing so that you can put it back in your pocket for safekeeping. This process is called “retraction.” You’ll notice that most mechanical pencils have a small hole on the side of the outer casing, which allows you to see how much lead is left inside your pencil.
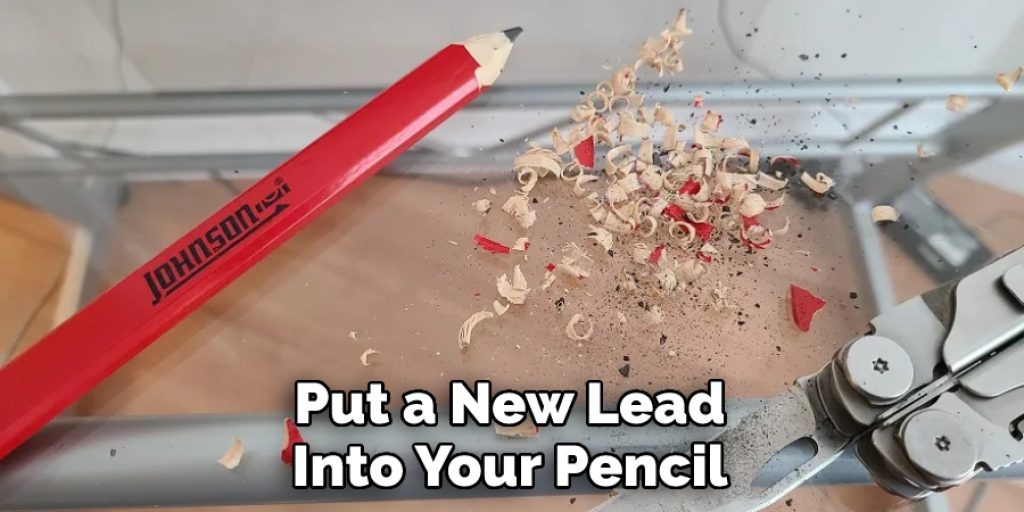
When it is time to put a new lead into your pencil, you twist off the barrel and dispose of its former contents. The metal tube will expand outward about 3 mm so that there is now ample room for you to insert another lead. Some mechanical pencils include an automatic mechanism by which they can be recharged with new leads without removing them manually by twisting off their barrel.
This type of pencil takes advantage of gravitational force, and as soon as you lift it vertically from its resting position, the tip automatically extends itself wards. You insert the new leads by pushing on them until they click into place.
Mechanical pencils are often preferred over regular ones because they do not require extra mechanisms to work and are built inside the pencil itself, specifically designed for that purpose. In addition, they usually have a fixed sharpening tip which is pulled out by twisting the top part of the mechanical pencil to reveal its metal tip (the tip itself sits snugly inside this top section).
This exposed metal tip is then used to break off pieces of graphite lead, effectively putting a fresh piece onto your pencil when it’s run out.
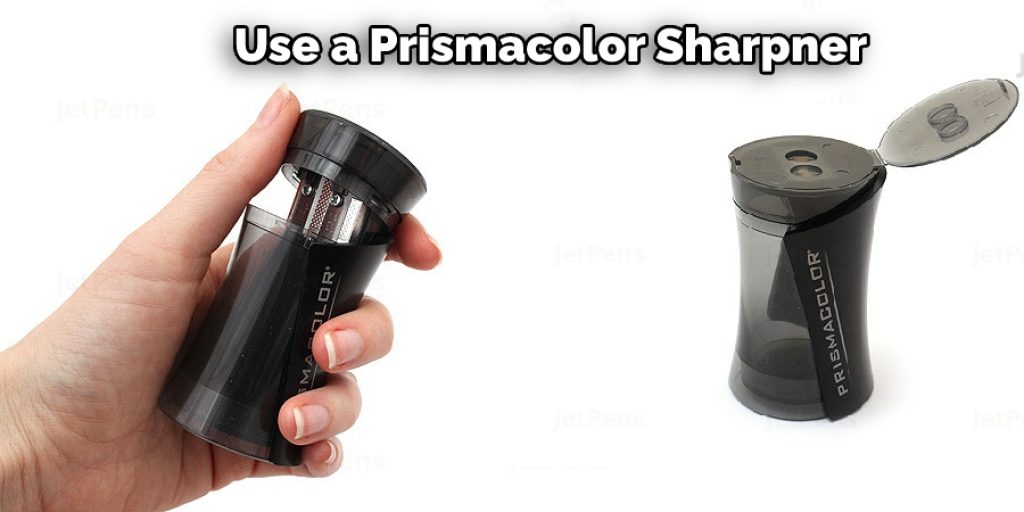
What is a Prismacolor Sharpner?
A Prismacolor sharpener is a device that allows a user to keep their colored pencils at a perfect point for drawing, coloring, or writing. These sharpeners are available in both manual and electric designs, which allow the artist to control how much of the pencil they want to be exposed using an added abrasively like sandpaper on one surface.
Are There Different Kinds of Prismacolor Sharpeners?
Yes, the most common is a pencil sharpener and a knife. While these tools do exactly what was expected, they offer no added features or special benefits. To make this product truly appealing to artists, Wistiki created a manual Prismacolor sharpener with unique features like a self-sharpening blade made for life! This will allow maximum control while remaining consistent with your drawing lines by only revealing as much lead as needed.
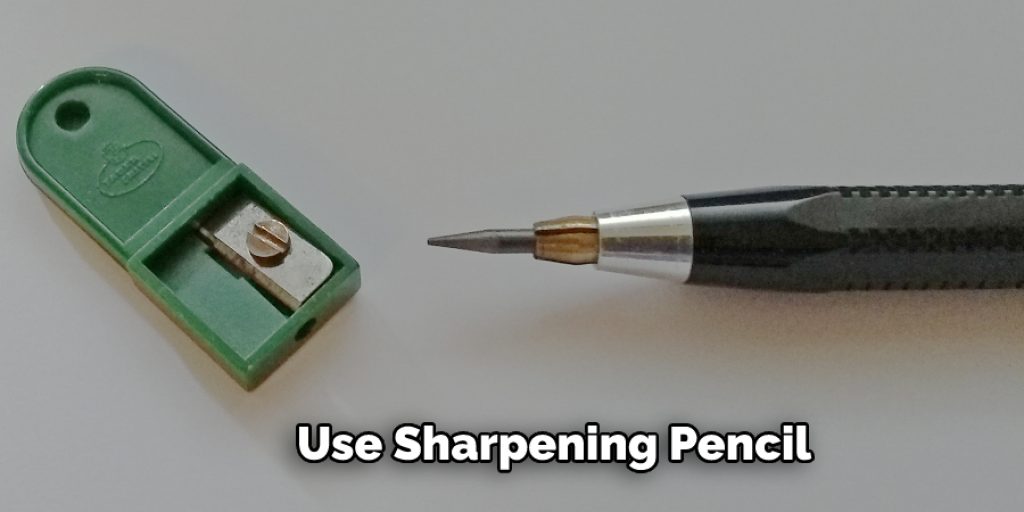
How Do I Use A Prismacolor Sharpner?
To use this Prismacolor sharpener, place a pencil in the opening of the sharpener and turn the top to expose more or less of your lead, creating an even point. While most sharpeners will come with instructions for use, some customers who had never used one before may be unsure how best to proceed. For this reason, we have created easy-to-follow steps to ensure that you are using them correctly:
1. Roughly snap off any surface material on your colored pencil by holding it up against something hard like concrete and lightly hitting it down to cut off any excess.
2. Slide your colored pencil into the slot and push until only about 1/8 inch is sticking out.
3. Grasping the sharpener firmly, begin turning your pencil in a circular motion to reveal more of your lead. Be sure that you do not turn too quickly or tightly as this can cause the tip of your pencil to become even and therefore unusable.
4. Continue turning until you have reached the desired amount on your colored pencil’s tip. To check if yours is ready, color a small dot onto paper and let dry for 30-60 minutes or so, depending on the thickness of the lead used in creating it.
5. If there are imperfections within your drawing lines, use sandpaper included in most sharpeners or a fine-grit nail file to lightly smooth them out gently while leaving any other areas untouched.
Conclusion:
I hope this article has been beneficial for learning how to sharpen a pencil without breaking the lead. Ensure the precautions while performing the process. Thank you ad have a nice day!


