
How to Slice Letters on Cricut
Designing using Cricut is affordable because it takes much less time, and the outcome is quite praiseworthy. You can easily use the Cricut device and the software related to the machine to design your t-shirts or dress and create monograms for your company. This will greatly enhance your creativity and turn creativity into reality. But there are stipulated steps that must be followed to make the task happen.
When you are planning to make a design or logo for your work or project purposes, and it needs the letter in the design to be sliced, the best manner to do it is to perform a short task in the Design Space platform and then take the design printed via Cricut. Today, we will discuss how to slice the letters on Cricut, which will help DIY beginners make a good impression through their work.
Required Apparatus
For this task, you only need two apparatus first is the installation of the Design Space platform in your computer, and next is the connection of the Cricut machine to your software. This is much needed because the whole process will be performed on the computer, and then it will be transferred to the regular printer of printing purposes. Then, the material will be sent to the Cricut machine for cutting purposes.
Procedure
The necessary steps that should be followed for slicing a letter in Cricut are represented in this section. There are many ways to perform the task, but our team made their best effort to concise the procedure and make it easily understandable for beginners through a step-by-step leering process. The process is discussed below with a proper explanation.
Step 1 Creating the Letter Template
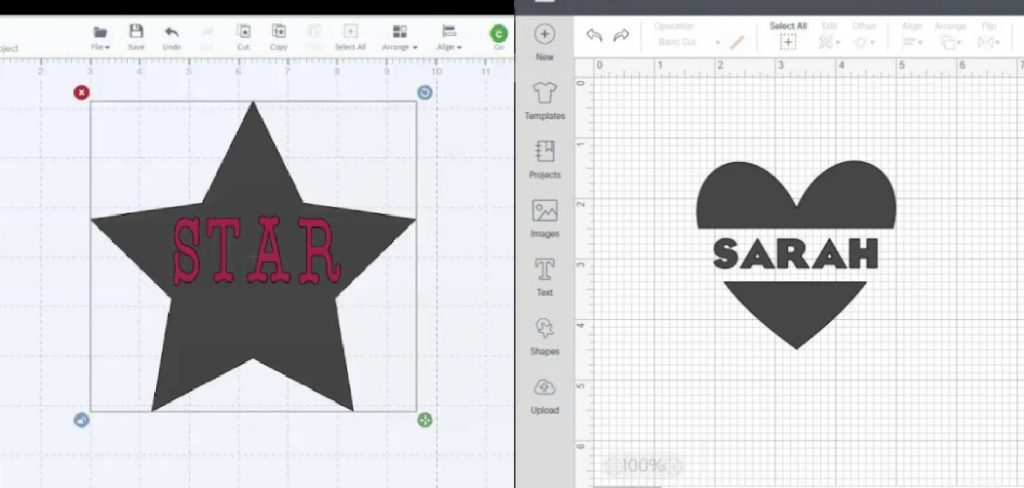
For this step, you first have to open the Cricut Design Space software on your device, and then there is a text option in the left panel. Selecting the text option will allow you to write the desired word or sentence that you want for your project. There will be an opening of a small box that will act like a text box writing. You can also change the font of the text from the font option available on the window’s upper deck.
Step 2 Shape Selection for Slicing
Next, you will need the shape that will slice the letter. Because it is not possible to slice the letter without placing any other object within it, for this reason, we have to choose a shape from the shapes option, which will be found below the text option in the left corner of the window. Then we can select the square shape which will appear on the project.
Afterward, we have to unlock the shape so that it can be resized easily, and once the unlock option is enabled, the square will start to work as a rectangle. This will be helpful for you, and then you can also resize the rectangle keeping a proportion to the original letter that you want to split and slice. This will be much helpful for the beginner to perform.
Step 3 Welding Both the Objects
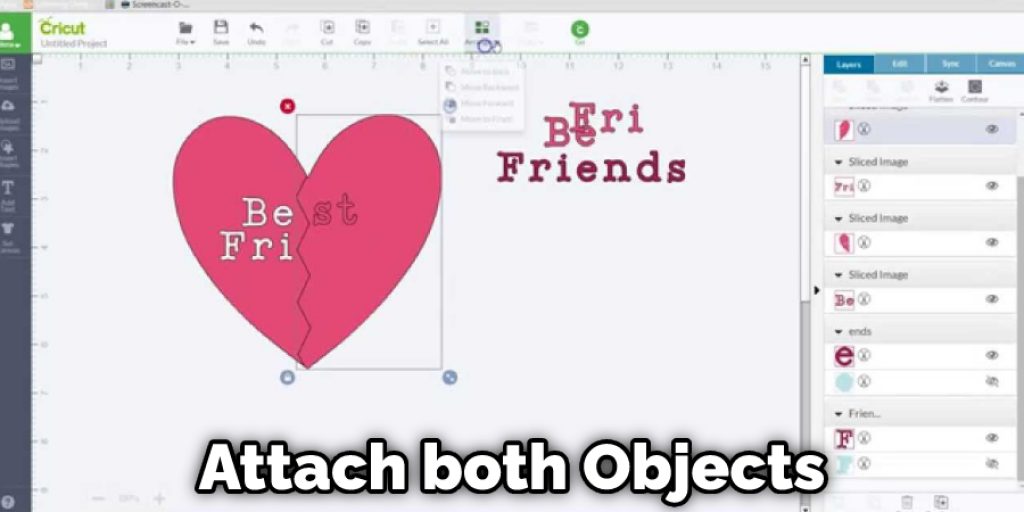
In this step, we have two objects: the letter that we want to split and the other is the rectangle that we have created. Now we have to take the rectangle and place it above the letter. We must ensure that the rectangle’s dimension is at least two more blows on either side of the letter. This will make the slicing much easy. Then we shall select both objects and press the weld button at the layer option, which will attach both the objects and act as a single one.
Step 4 Slicing the Letter
Before welding the object, we can perform a small task that duplicates the rectangle. For this purpose, we shall select the rectangle and apply the duplicate option from the layer, and then we will get the same rectangle. We shall then weld the previous two objects and place the second rectangle above them.
Next, we have to perform another simple step, and in this case, we have to select the second rectangle and then right-click on the mouse and select the sent to background option. This will allow you to place the second rectangle at the back of the letter, and then you can easily select a whole portion of the letter that you want to slice using the second rectangle.
Then you select all options from the top bar, allowing you to get a hold over all the objects in the project. Then you have to move the cursor and come to the bottom right corner of the layer panel and select the slice option. This will split the word into two frames that you want. After that, you can delete the second rectangle from the layer panel, and you will get two different objects in the project, which will be your desired letter sliced.
Things to Keep in Mind While Performing the Task
Font Selection
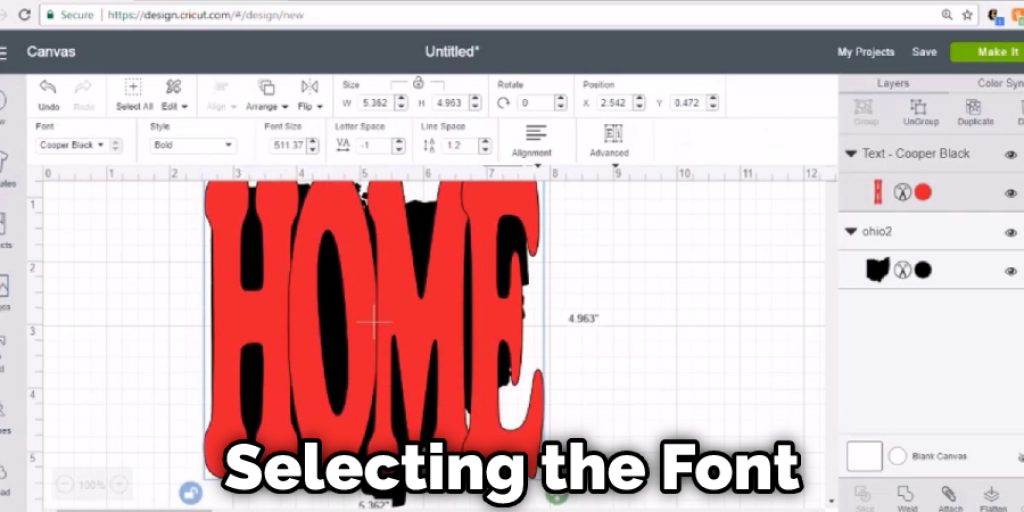
The first thing that should be remembered before performing this process is selecting the font for the letter. The essential thing to be maintained is the size and the font because these two features will be highly appropriate for the cutting and printing. The font size should be well adjusted to the user’s visual clarity, and the color contrast should also be appropriately maintained.
Frequently Ask Questions of How to Slice Letters on Cricut
Is There Any Firmware Upgrade Related to Design Space?
The Design Space platform is a certified first-party platform which is officially used for the Cricut device. There might be various versions and upgrades available for this product but for the slicing of the letters. We only need the necessary tools of the platform which are not related to any firmware upgrade. So you do not have to worry about the versions to make the desired output in this platform.
Conclusion
Lastly, we would like to conclude that our discussion on how to slice letters on Cricut has helped beginners into the DIY techniques. This will be much more effective to design your official monogram and easily print them out using the Cricut. And the steps that we have stated will easily lead the path for beginners specifically. Happy Designing! Have a beautiful day!!
You May Read Also


