
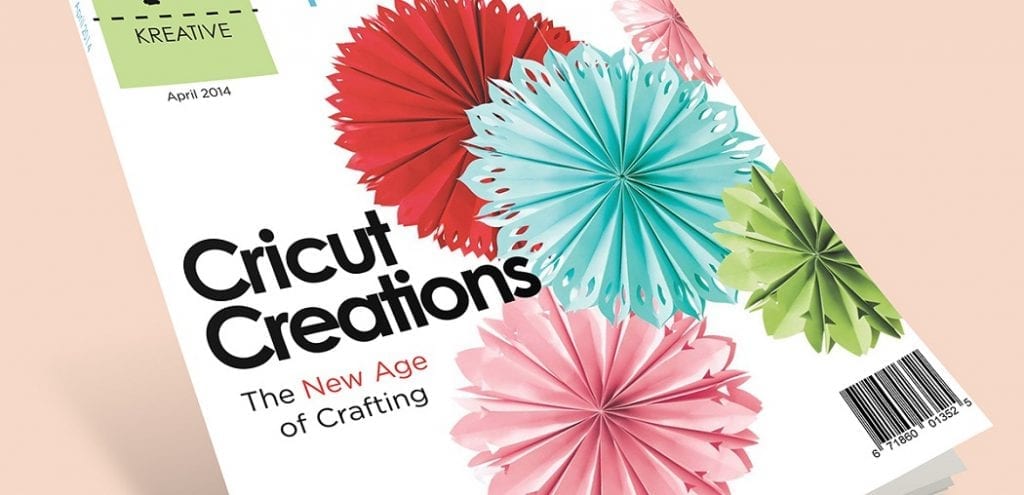
How to Edit a Project in Cricut
Are you excited to learn about the actual process of how to edit a project in Cricut? If the reply is yes, we must say this entire is going to be a useful resource for you because, in this context, we will provide you a step-by-step discussion on editing a project in Cricut. This is an essential part to know if you are working with Cricut Design Space and have a plan to edit a project in Cricut. Therefore, it will be helpful to learn from the below-mentioned steps and implement them accordingly.
We know you are willing to learn in further detail about this topic. That is why we are suggesting you read the rest of the sections of this content and learn all the required information before you get started! Portable versus desktop vaporizers As previously mentioned, the portable vaporizer is much smaller and can be used on the go. This type of vaporizer is ideal for people who are constantly moving around and do not want to worry about carrying a lot of items.
The Process
- For one thing, you may need Cricut to get entry to adjust this undertaking, so ensure you have got participation. It is so justified, notwithstanding all the trouble with all the pleasant activities in there!
- Second, adhere to the video guidelines above to alter the task.
- Region the Glitter Card inventory on the slicing mat. At that factor, press cross.
- While that is removed, you can cut the primary shade of plumes; at that factor, rehash for the color’s final arrangement.
- On the point, while you click on redo for any assignment, you will have the choice to regulate and trade matters around.
- Include a hover within the canvas and trade shading.
- Please select the first picture and snap on the welding instrument to have our structure’s entirety in a solitary layer.
- Measure the welded image area within the circle, the circle, and listen and click at the Slice tool.
- At the point, while you faucet on tweak for any task, you may have the option to alter and trade matters round.
Frequently Asked Questions
What Is the Difference Between a Silhouette and a Cricut?
A silhouette is a basic shape, while a Cricut can be used to cut out more detailed designs.
There are different types of cutting mats that you can buy depending on what kind of material you want to cut. You can cut paper, fabric, and vinyl (and other materials) on different types of mats.
For example, if you wanted to cut something like an iron-on transfer for t-shirts, it would need to go on top of a heat press, so the image transfers onto the shirt rather than getting heated up by pressing them together with just your hands.

The best mat for this purpose would have a silicone covering. This will protect against burning from too much pressure while also transferring heat better than standard nonstick mats.
The mat is also reusable, meaning that you can cut out your design and then use the backside to continue cutting more designs in different materials.
One of the best features about using a Cricut or other type of mat cutter is how customizable it is for someone who wants to create their own unique design as well as makes cuts with precision on intricate shapes without having to deal with creating them by hand like many crafters do when they work with papercrafts such as card making, scrapbooking and so forth.
It allows you to be able to focus on creative elements rather than simply being constrained by what’s available in craft stores where there are often limited supplies for various projects, including the availability of certain o shapes, sizes, and colors.
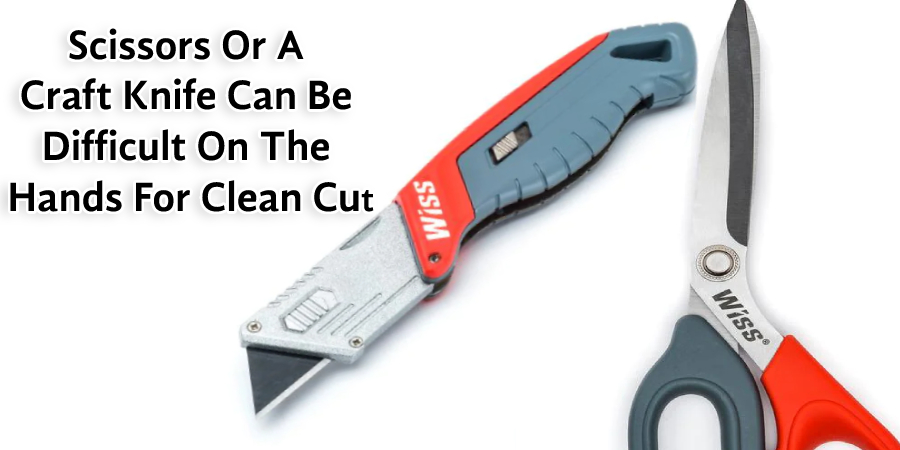
It also eliminates any need to use scissors or a craft knife that can be difficult on the hands when cutting out intricate designs and shapes when precision is required for clean cuts.
Is There a Way to Make My Own Design That Doesn’t Come With the Starter Set?
If you purchased the Cricut Maker and were disappointed by all of the starter shapes, fonts, etc., there are a few resources on how to use SVG files that will help.
You can find tutorials online for using Photoshop or Illustrator to create any design your heart desires.
In addition, it is possible to make textures with Adobe After Effects that can be used in programs like Photoshop and Illustrator.
How Do You Create an Original Design for Your Project Using Cricut Design Space?
Open the Design Space application and select “Create a project.”
In the New Project window, type your blog post title in the text box labeled “Title.”
Use “File > Save As” to create a new file for this project with its own name, such as How To Edit an Image Using Cricut Photo Editor or How Do You Create an Original Design For Your Project Using Cricut Design Space?
When you reopen the saved design space file, use File > Import to import your photo from Dropbox (or another source). It should appear on screen after one minute or so. Drag it into place on your page template and resize/position accordingly. Add embellishments and text as desired.
Final Thoughts
By the end, we assume you have learned all the necessary information about how to edit a project in Cricut, and thus you can apply this acquired knowledge in your practical work!
You may also read now –


