How to Splice Wire Rope
Splicing wire rope is a critical skill that every rigger should know. Whether you’re installing it, repairing it, or just handling it, knowing how to splice wire rope will come in handy. There are a few different methods, but the most common is the webbing sling method.
This blog post will go over the basics of splicing wire rope. We will also show you how to splice a wire rope thimble into one end of the rope. Finally, we will give you some tips for preventing wire rope slippage. Let’s get started!
10 Ways on How to Splice Wire Rope
1. West Coast Splice
Separate the wires from one end of the rope. Make a loop from the standing part, from where you want to start splicing towards the working end. Take one strand and feed it through both strands of another strand next to it at the standing part side, and bring this strand over all three strands and under the other two on the working end side. Now pull on all strands evenly to tighten the first part of this splice.
2. Chain Splice
Separate the wires from one end of the rope. Make a loop from the working end, from where you want to start splicing towards the standing part. Take one strand, feed it through all three strands on both sides of this strand at the vertical part, and bring it over all three strands and under the other two on the working end side. Now pull on all strands evenly to tighten the first part of this splice.
3. Three Strand End
Separate the strands from one end of the rope. Hold all three strands together and make a loop with them towards the working end, as high as possible. Make sure you keep all strands together at this point, as they will part later during splicing. Take one strand and feed it through two other strands front to back (over then under), at the standing part side. Now pull on all strands evenly to tighten this first part.
4. Vertical Laid Splice

The Vertical Laid Splice is typically used to join the ends of two pieces of wire rope that will be put under heavy side loads and shock loading. It is suitable for use in a boat hoist application but not at any tension greater than half the breaking strength of either section of wire rope joined.
The Vertical Laid Splice is made by making a complete round turn around the first section of wire rope, and then strands from both pieces are laid vertically. The ends of each strand is brought down and through the strand immediately below it, and then back over itself to re-enter the middle of the splice.
5. Long Bury Splice
The long bury splice is made by taking two or more wires and burying them in the center of the rope to almost touch. A quick and easy method of making a long bury splice is to take one wire and wrap it around the rope a couple of times, then bend it at right angles across the standing wire. Now pull on this strand to tighten the long bury splice. The finished splice should be smooth and show no gaps between the wires.
6. Short Bury Splice
The short burying splice is made by taking two or more wires and burying them in the center of the rope to overlap each other by about fifty percent. A quick and easy method of making a short bury splice is to take one wire and wrap it around the rope a couple of times, then bend it at right angles across the vertical wire.
7. Double Carrick Bend Splice
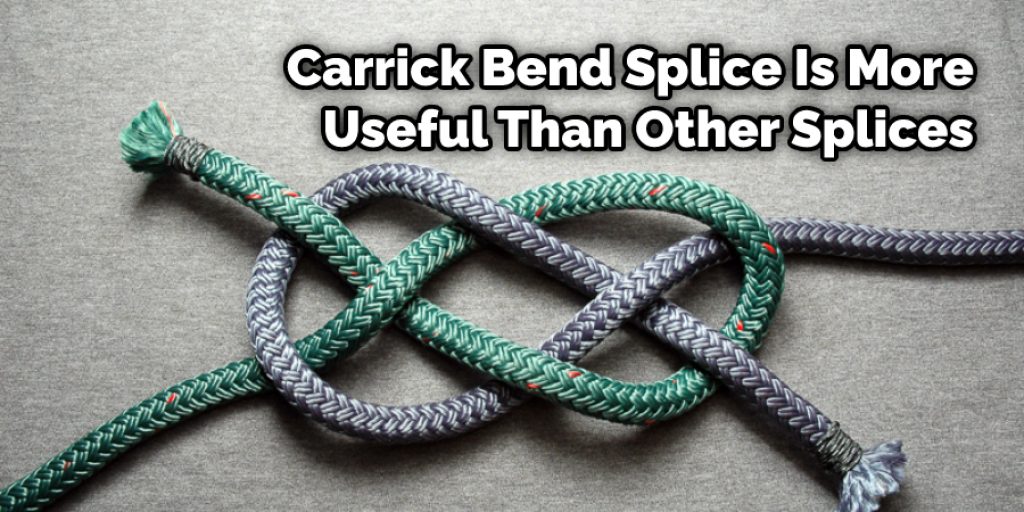
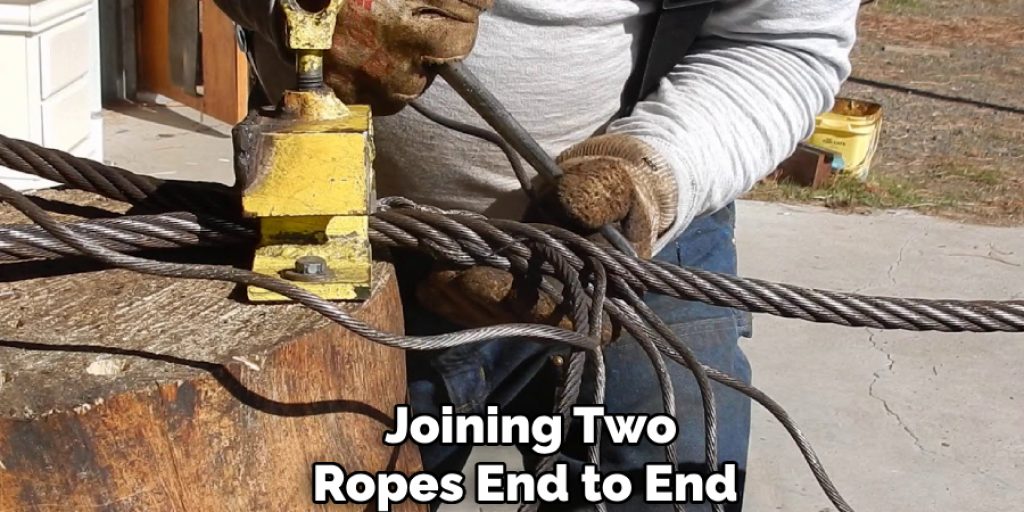
The double carrick bend splice is used for joining two ropes end to end or in the middle of a rope. It has an advantage over other splices when it comes time to un-splice the rope, as it does not involve cutting the wires.
8. Buntline Splice
The buntline splice is used for joining two ropes end to end or in the middle of a rope. It is fast and easy but not as strong as other splices. You can make it tight enough that some people claim it does not slip at all, but it will still stretch slightly with use. It is useful for joining running rigging on small boats or for making repairs in the field. Splicing two lines together Cut the ends of the two lines square and even with each other.
9. Flemish Eye Splice
The Flemish eye splice is used for joining two ropes end to end or in the middle of a rope. It has an advantage over other splices when it comes time to un-splice the rope, as it does not involve cutting the wires. However, one drawback with this splice is that it cannot be tied under any tension. First, make sure that the wire is not too tight to allow for easy splicing. If the wire is too tight, you can cut it and start again. Then take the end of the wire and thread it through the eye of the needle.
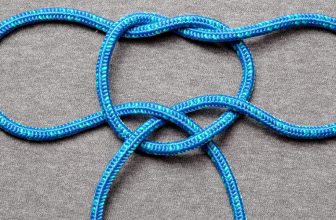
10. Rapid Eye Splice
It can be hard to make a metal eye in the part of the rope that is standing up. A good way to do it is to take two pieces of rope and tie them together in a way that they cross over each other. This is called a “Rapid Eye” splice.
Some Tips and Suggestions
Here are some tips on how to splice wire rope.
1. Always use a proper wire rope splicing tool.
2. Always clean your wire rope end with a wire brush before inserting it into the splicer. If any corrosion is present, remove it from service and replace it.

3. When you are connecting two pieces of rope, make sure you have enough space above the connection to make it look nice and without damaging other equipment.
4. Make sure the wire rope is the proper size for the application, if it’s too small, there won’t be enough room to fit all of the wires into the splicer, and if it is too large, it will not stay in place during assembly. Also, check that its size can handle the load required. To avoid tangling and snagging, always coil the wire rope in a figure eight. Never stand in line with the wire rope while it is under tension. If it breaks, it could snap back and cause serious injury.
5. If the wire rope has never been used before, you must “burn” it. During installation, this is best done by rotating the wires at least three full rotations in the opposite direction of normal rotation while passing them over a flame source.
6. When making circumferential crossings, always make sure to position each crossing strand so that the strands from one strand lay into the grooves of the next strand.
7. When making a square-on-edge connection, make certain that a crossing is made in every other diagonal wire. In addition, make sure all crossing wires terminate on one side of the former and cross over only one strand.
Frequently Asked Questions
Q: What Is a Whip Finish and How Do I Apply It to My Wire Rope?
A whip finish is a way of finishing the end of a wire rope to prevent the end from unraveling. To apply it, you’ll need to cut the end off of your rope or cable with a pair of diagonal cutting pliers. The exact length you should cut it down to will vary depending on how much rope you have left and how much you need to cover with the whip finish.
Once you’ve cut the end off, take a piece of tape and wrap it around where the two ends of wire rope come together. Make sure that there is enough overlap on the ends to make them secure. If you want to know how to splice wire rope consider reading this full blog post.
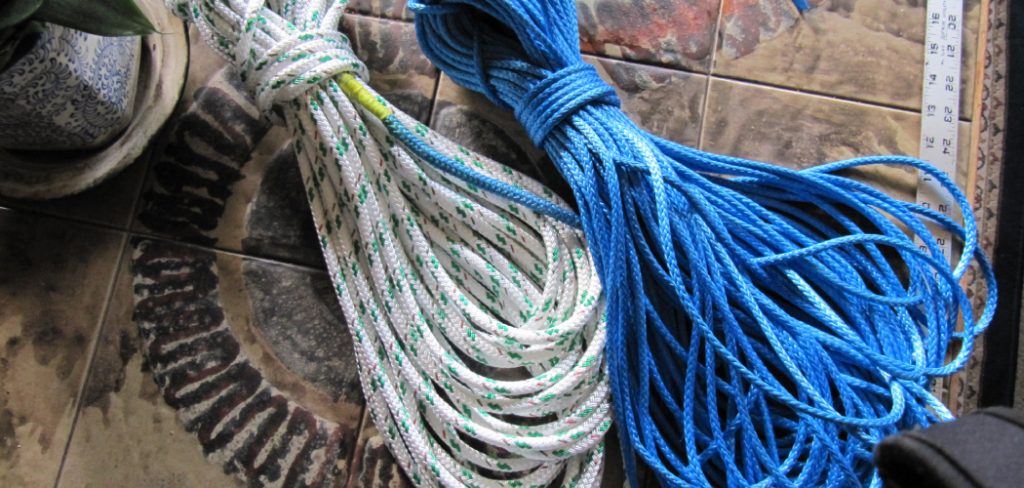
Q: What Is a Coil and How Do I Splice It?
A coil is a piece of wire rope that has been bent into a circle or loop. A primary tool for splicing wire rope is wire rope clips, which are applied to the ends of two pieces of wire rope before they are twisted together. Wire rope clips prevent the strands within the wire from fraying and coming apart.

There are two kinds of wire rope clips: one that wraps around the wire rope (above left), and one that is self-locking (above right). The self-locking clip doesn’t require a tool to tighten, but it is more expensive than the kind that requires a wrench. The coil of wire rope is held on a wooden spool, which allows the operator to rotate the spool and feed out more or less wire as needed.
Q: What Are the Different Types of Wire Rope?
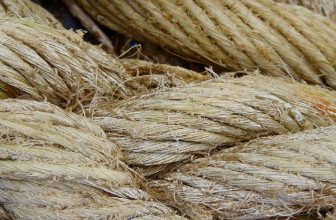
Wire rope is available in various forms, such as strand or multi-strand types. Also referred to as twisted wire ropes, this equipment has many different variations depending on the number of wires it contains and the cross-section profile used.
Typically, a single-stranded wire rope is made from a single metal wire, whereas a double-stranded type uses a smaller wire in between each larger strand. The single-strand variety with a standard diameter of 2 inches is most popular for electric power transmission.
Double-stranded wire ropes are sometimes preferable to the more simplistic single type for general purpose use, such as hoisting and rigging. As their name suggests, multi-stranded types consist of three or more wires in a round conductor. Still, they are typically used for specialized purposes, such as overhead cranes and elevators.
You Can Check It Out to: Shorten a Rope Chain at Home
Conclusion
Splicing wire rope is not as hard as it might seem. With the right tools, you can do this project in your garage with a little bit of time and patience. All you need to know is basic knot tying skills and some knowledge about what types of ropes work best for different applications.
Get started by reading this blog post on how to splice wire rope! Splicing wire rope is a skill that takes practice to perfect. Practice the different techniques for splicing above, and find out which method works best for you. We hope this guide has been helpful! Let us know your thoughts in the comments below!