How to Spray Foam Ceiling
Are you looking for ways to breathe new life into your home? If so, spray foam insulation can be an excellent starting point — it is a fast and easy way to add comfort and value to any property.
Not only does this versatile product improve comfort levels by helping keep warm air in the house during winter, but it also helps cut down on energy costs by blocking out heat in hot weather. Furthermore, it’s essential when addressing issues of composite movements or sealing off small gaps around window doors or masking uneven surfaces from migratory pests.
When installing spray foam correctly on ceilings, it will provide better lighting without compromising soundproofing benefits with its expansion capabilities! This guide will break down everything you need to know about how to spray foam ceiling insulation properly so that your project goes smoothly and delivers maximum reward!
Needed Materials
Given that you’re now convinced of the benefits of spray foam, let’s shift our focus to what you’ll need when installing it. The process for DIY installation is relatively simple, but it’s essential to get quality equipment and materials. You will require:
- A Protective Suit;
- Gloves;
- Glasses or Goggles;
- Earplugs (Optional);
- Respirator With Approved Cartridges;
- A Starter and Refill Kit Spray Foam Insulation;
- A Measuring Tape;
- Utility Knife, Razor Blade or Serrated Bread Knife;
- Scissors;
- Plastic Garbage Bags;
- And a Wire Brush.
11 Step-by-step Guidelines on How to Spray Foam Ceiling
Step 1: Measure the Ceiling
Get out your measuring tape and calculate how much foam you will need. To do this, multiply the length and width of the ceiling to figure out the square feet you are insulating. It’s also essential to factor in the thickness of the foam you will be using. You can then use this information to determine how many spray foam kits you will need. But remember, an additional 10% of foam will be required for waste and loss.

Step 2: Prepare the Area
Before you start spraying, make sure that the area is free of any debris or dust. Remove any loose paint or insulation from the ceiling and keep all nearby areas clean. You can also lay plastic garbage bags on the ground to protect your floors and furniture. You don’t want any overspray landing on your belongings! It’s also recommended to cover any electrical outlets or light fixtures with plastic sheeting.
Step 3: Get Dressed
As mentioned earlier, it’s crucial to suit up before starting the installation process. Insulation can be messy and harmful if not handled correctly. Put on a protective suit, gloves, goggles or glasses, and a respirator with approved cartridges to protect your skin, eyes, and lungs. This step is essential for your safety, so don’t skip it! But if you do get foam on your skin, soap and water should be enough to remove it.
Step 4: Prepare the Spray Foam Kit
Follow the instructions on the kit to ensure that you are using it correctly. Some kits require shaking to mix the components, while others may need to be warmed up before use. It’s also a good idea to test the foam in an inconspicuous area before applying it to the entire ceiling. It will give you an idea of how the foam expands and adheres to different surfaces. However, do not wait too long to start spraying as the foam sets quickly!
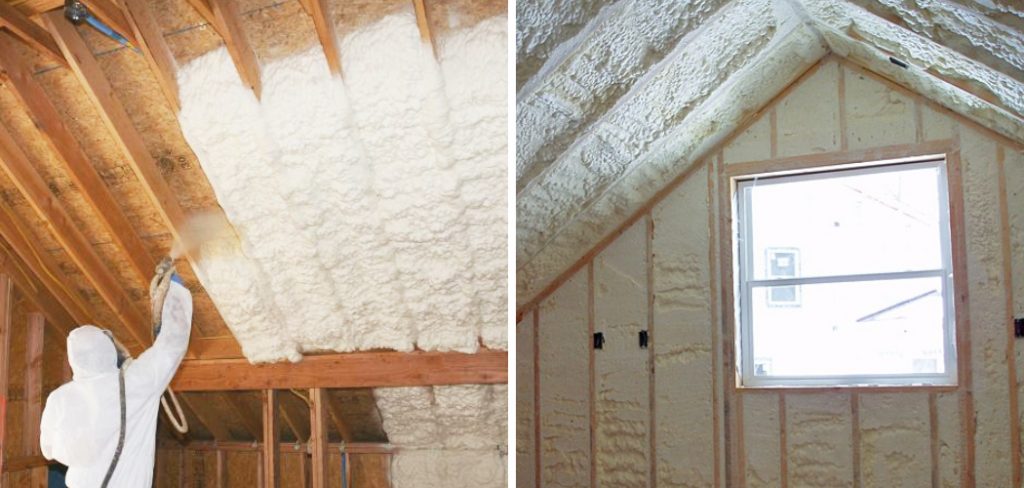
Step 5: Spray from One End to the Other
Starting at one end of the ceiling, hold your spray gun about 12-18 inches away from the surface. Move in a slow and steady motion, covering about 2-3 square feet of the ceiling at a time. Be sure to overlap each pass by around 50% to ensure even coverage. Keep in mind that foam expands, so don’t worry if it looks thin at first. It will expand and fill in any gaps.
Step 6: Fill Gaps and Cracks
As you spray, pay special attention to any gaps or cracks in the ceiling. It’s essential to fill these areas with foam to prevent air leakage and improve insulation. Use a wire brush or your gloved hand to guide the foam into hard-to-reach spaces. You can also use a utility knife, razor blade, or serrated bread knife to cut off any excess foam that expands out of the desired area. However, be careful not to cut into the drywall beneath.

Step 7: Check for Insulation
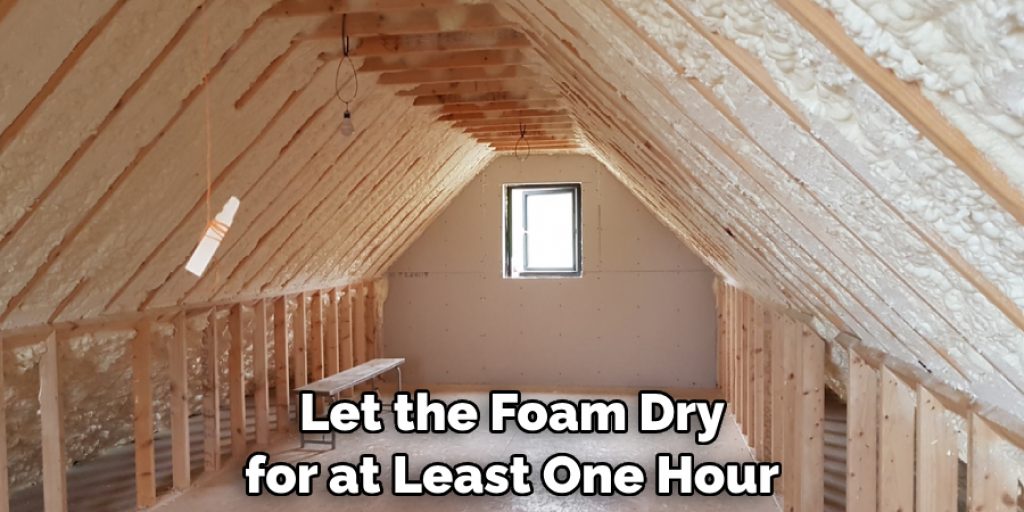
After spraying the entire ceiling, let it dry for at least one hour (depending on the specific product and environmental conditions). Once dry, check your work to ensure you have an even layer of insulation across the entire ceiling.
If you find any gaps or thin areas, fill them with additional foam. It’s essential to have a consistent layer of insulation for maximum effectiveness. This step also allows you to address any overspray, drips, or spills that may have occurred.
Step 8: Repeat the Process
If your ceiling is higher than your spray foam’s reach, you will need to repeat steps five to seven on a lower level. It’s essential to do this before the first layer of insulation has dried so that it can bond with the new layer. This process will ensure full coverage, especially on high ceilings.
It’s also an excellent opportunity to address any uneven areas that may have been missed the first time around. But remember, always work in a well-ventilated area and take breaks if needed to avoid overexposure.
Step 9: Let It Dry
After applying all layers of spray foam, let it dry for the recommended time indicated in the product instructions. Keep in mind that higher humidity levels or low temperatures can extend drying times. If you’re unsure if the insulation is ready, lightly touch the foam; it should be firm and dry to the touch. But remember to wear gloves when checking! You can also use a moisture meter to check for any remaining moisture before moving on to the next step.
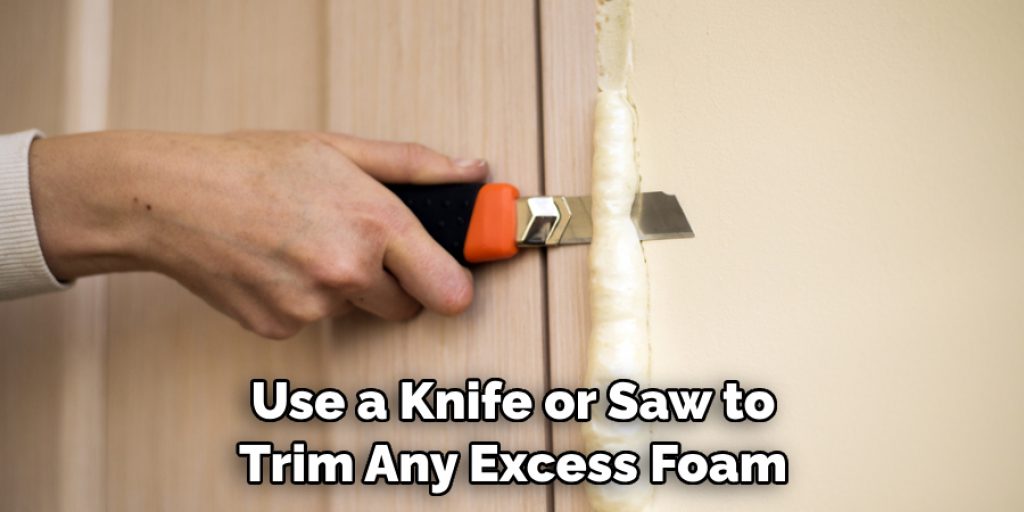
Step 10: Trim Excess Foam
Once the foam is completely dry, use a knife or saw to trim any excess foam that has expanded beyond the desired area. Be careful not to damage your ceiling’s surface while trimming. You can also sand down any rough edges for a smoother finish. You can then paint over the foam with latex or oil-based paint to match your ceiling’s color. It’s essential to seal the foam, especially in areas that may be exposed to moisture.
Step 11: Clean Up
When you have finished installing spray foam insulation, it’s essential to clean up any tools and equipment used. Remove any leftover spray foam from the gun by spraying a compatible cleaner through it. Dispose of empty cans according to local regulations and guidelines.
This step will prevent the foam from drying inside the gun and making it unusable for future projects. You can then remove your protective gear, wash your hands, and admire your freshly insulated ceiling! Congratulations on a job well done.
These 11 steps on how to spray foam ceiling will help you achieve a well-insulated ceiling with spray foam efficiently and safely. Remember to always follow product instructions and take necessary safety precautions while working with spray foam. Once you have mastered this technique, you can use it for other projects in your home or even for commercial purposes. So go ahead and give it a try and enjoy the benefits of a well-insulated space! Happy spraying!
Do You Need to Use Professionals?
While spray foam insulation can be a DIY project, it’s not always the best option for everyone. Depending on your skill level and the size of the area you need to insulate, hiring professionals may be a better choice. Professional contractors have experience and specialized equipment that can ensure proper installation and minimize any potential hazards.
They can also offer guidance on which type of foam is best for your specific needs and budget. So if you’re not confident in your ability to spray foam ceiling, it’s best to leave it to the professionals.
Frequently Asked Questions
Q1: How Long Does It Take for Spray Foam to Dry?
A1: The drying time of spray foam can vary depending on the product and environmental conditions. It is recommended to let the foam dry for at least one hour before checking, but higher humidity levels or colder temperatures may extend this time. It’s best to follow the specific instructions on the product for a more accurate estimate.
Q2: Can I Use Spray Foam to Insulate My Entire Ceiling?
A2: Yes, you can use spray foam insulation for your entire ceiling, including new construction or existing homes. However, it may not be suitable for all types of ceilings or spaces. Be sure to consult with a professional if you have any concerns or questions about using spray foam for your ceiling.
Q3: Can I Paint Over Spray Foam Insulation?
A3: Yes, you can paint over spray foam insulation as it adheres well to most surfaces. It’s recommended to use latex or oil-based paint and ensure that the foam is completely dry before painting. It’s also a good idea to test the paint in an inconspicuous area before applying it to the entire ceiling.
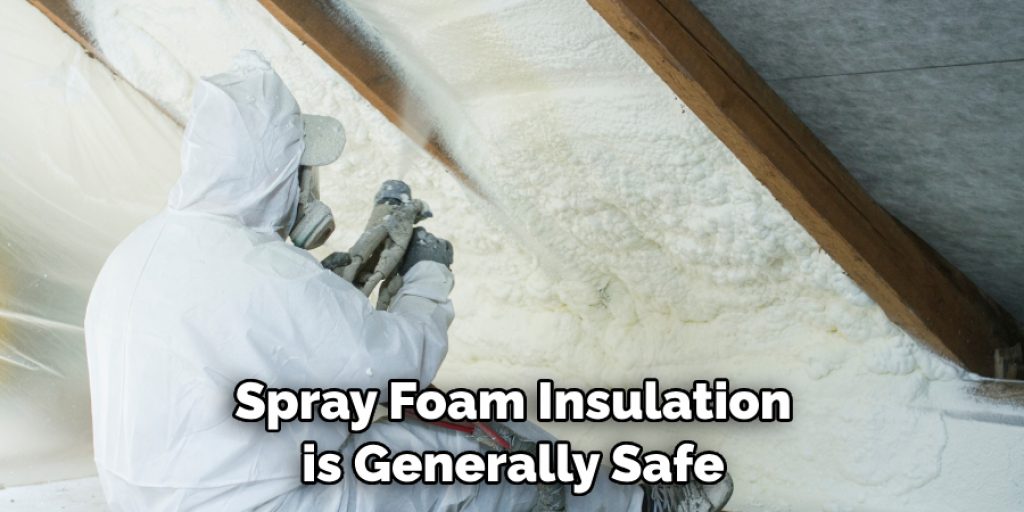
Q4: Is Spray Foam Insulation Safe?
A4: When used correctly, spray foam insulation is generally safe. However, it’s essential to take necessary safety precautions and follow product instructions carefully. This includes wearing protective gear such as gloves, goggles, and a respirator. In case of accidental skin contact or inhalation, seek medical attention immediately. If you have any specific health concerns, consult your doctor before using spray foam.
Conclusion
Spraying foam on a ceiling can be an intimidating project at first but with a little bit of planning and the right preparation, anyone can successfully complete it. Be sure to use protective gear, read the instructions for your particular type of foam carefully, and work steadily and patiently. Doing so will ensure that your project goes smoothly and you will have a great-looking end result.
Once you’ve completed your project, invite some friends or family around to show off the new ceiling – they’re sure to be impressed! Take pride in knowing that you’ve learned something new today and have come closer to transforming your home into the space of your dreams. This is just one step; who knows what else you’ll achieve?
With patience, determination, and the right guidance on how to spray foam ceiling, anything is possible. So why wait any longer? Get up there with spray foam and let’s get started – your ceiling is calling!
Angela Ervin
Angela is the executive editor of DIY quickly. She began her career as an interior designer before applying her strategic and creative passion to lifestyle and home. She has close to 15 years of experience in creative writing and online content strategy for housekeeping, home decorations as well as other niche efforts. She loves her job and has the privilege of working with an extraordinary team. She lives with her husband, two sons, and daughter in Petersburg. When she's not busy working she spent time with her family.