
How to Stamp on Fabric
Are you looking to make your handmade fabric creations extra special? If so, then stamping on fabric is a great way to add personal touches and bring more dimensionality to your projects! From customizing clothing items like t-shirts and jean jackets to sprucing up wall hangings or quilt squares, this creative technique involves applying pigment ink through a rubber stamp of your choice onto any type of fabric material.
Once you learn the basics of how to stamp on fabric, you’ll discover limitless possibilities for adding personality and pizzazz to whatever project you’re working on. So, if you want to create unique designs with fun shapes and messages that have meaningful significance, read ahead as we go over all the basics involved in getting started with cloth stamping!
Important Facts to Remember While Stamping on Fabric
1. Use Pigment-Based Ink
When printing on fabric, it is crucial to use pigment-based ink as opposed to dye-based ink. Pigment inks are designed specifically for use on porous surfaces and will not wash away with water or regular laundering like dye would.
2. Choose the Right Stamps
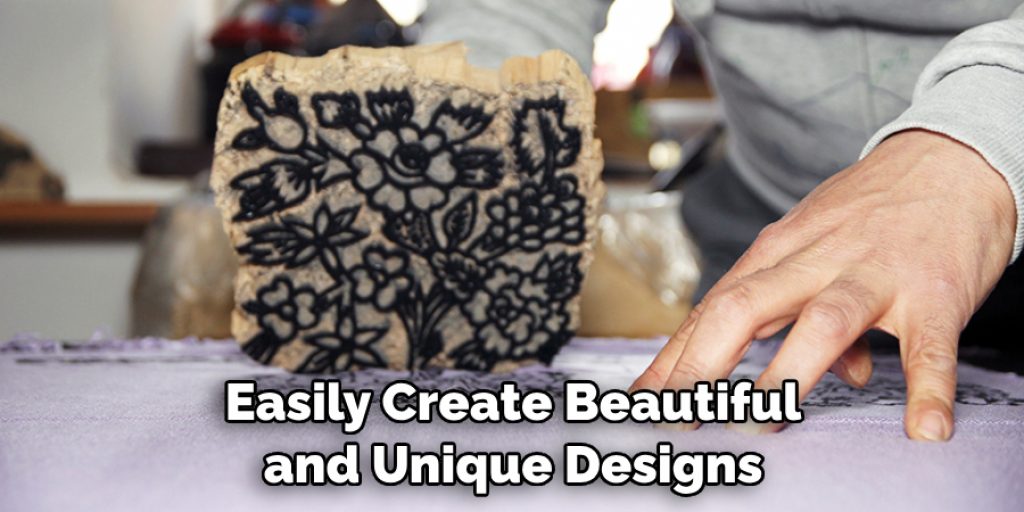
Fabric stamping requires rubber stamps with an image or design that can be pressed into pigment ink and then transferred onto fabric material. It’s best to use wooden handle mounting blocks as they provide more control while stamping and ensure a clear edge for your printed designs.
3. Pre-Treat Your Fabric
Since fabric is a porous surface, it is important to pre-treat your material using a product like Bubble Jet Set 2000 or Synthrapol before stamping on it. This will help ensure that the pigment ink imprints correctly and doesn’t bleed into other parts of the design.
Required Items and Tools for Stamping on Fabric
Before getting started, there are a few must-have items you will need in order to properly print onto fabric. Here is a list of supplies that will be required:
- Pigment Ink
- Rubber stamps
- Wooden handle mounting blocks
- Pre-treatment solution (like Bubble Jet Set 2000 or Synthrapol)
- Cardboard
- Sponge or cloth
- Fabric material of your choice
- Iron and ironing board (optional)
How to Stamp on Fabric in 10 Steps
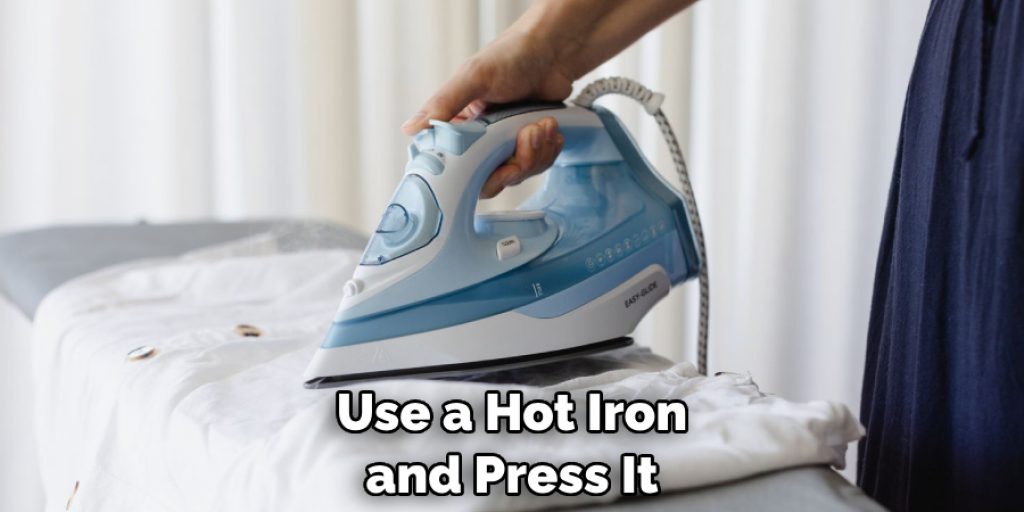
Step 1: Heat Setting Your Ink
Once you’ve finished stamping, it is important to heat set your ink to ensure that the design doesn’t come off with regular wear and tear. To do this, use a hot iron and press it onto the back side of your fabric for 10-15 seconds.
Step 2: Pre-Treat Your Fabric
Before stamping onto fabric, it is important to pre-treat the material with a product like Bubble Jet Set 2000 or Synthrapol. This will help to ensure that the pigment ink transfers correctly and doesn’t bleed into other sections of the design.
Step 3: Place Your Fabric onto Cardboard
Before stamping, place your fabric onto a piece of cardboard to provide an even and stable surface. This will also help to protect your working area from any excess ink or messes.
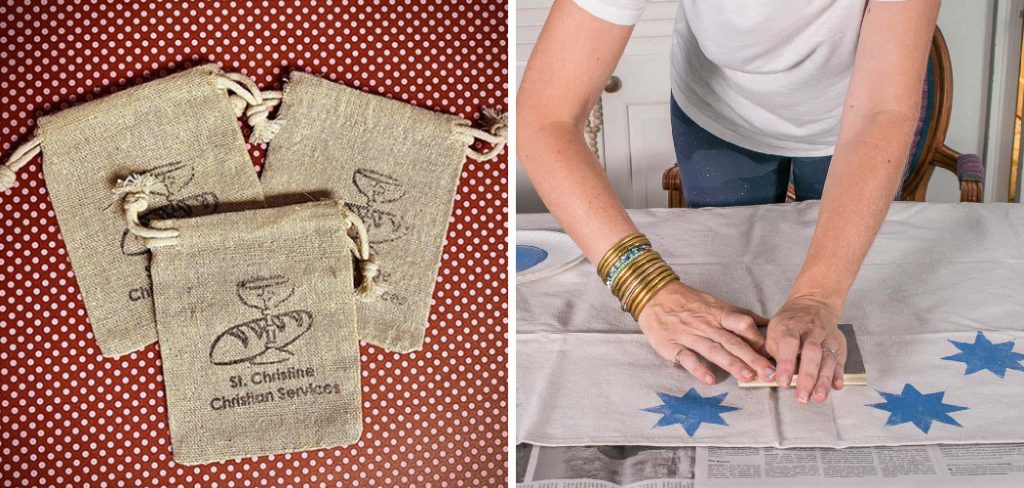
Step 4: Create Your Design
Once you’ve pre-treated your fabric and it is laying flat on the cardboard, it’s time to create your design. Select the desired rubber stamp and use a wooden handle mounting block for more control when pressing it onto the pigment ink pad.
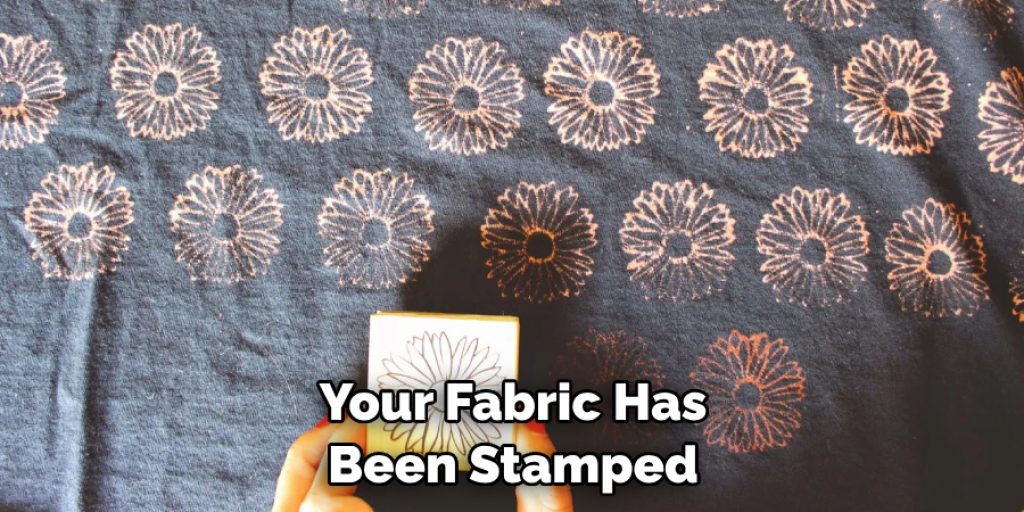
Step 5: Press Your Stamp onto the Fabric
When you’re ready to start printing, press your rubber stamp firmly into the fabric material. Make sure to press down evenly and with enough pressure to ensure that the image is fully transferred onto the fabric.
Step 6: Remove Your Stamp
Once you’ve finished printing, gently remove your rubber stamp and place it back onto its mounting block. Be careful not to smudge any of the printed ink or damage the material as you are removing the stamp.
Step 7: Clean Any Excess Ink
Using a damp sponge or cloth, gently clean any excess ink from around your printed design. This will help to ensure that the design looks neat and professional when you’re finished.
Step 9: Let Your Design Dry Fully
Once your fabric has been stamped and all excess ink has been wiped away, it’s important to let the design dry fully before handling or using it. Depending on the type of fabric you are printing onto, this can take anywhere from a few minutes to a few hours.
Step 10: Heat Set Your Design
As a final step, use your iron and heat set the design onto your fabric. This will ensure that the ink sets into the material and won’t come off with regular wear and tear.
That’s it! You now know how to stamp on fabric. With these 10 simple steps, you can create unique designs and patterns on any type of fabric material for a multitude of projects! Start experimenting today and see what kind of creative masterpieces you can make!
8 Common Mistakes to Avoid
When learning how to stamp on fabric, it’s easy to make mistakes if you don’t know what you’re doing. Here are 8 common mistakes that should be avoided when using a rubber stamp:
- Using the wrong kind of fabric. Not all fabrics are suitable for stamping. Choose 100% cotton or linen for best results, and avoid anything that is stretchy or delicate.
- Not pre-washing fabric. Pre-wash the fabric before you start stamping to remove any sizing that could impact the results of your work.
- Poorly prepared surface. Make sure that you smooth out any wrinkles in the fabric before you begin stamping, as these can cause smudging and uneven results.
- Not using a stamping block. Using a stamping block will help to keep your fabric in place while you work and reduce the chances of smudging or uneven results.
- Over-inking the stamp. Too much ink can cause the stamped image to be too dark or blurry, so always use a light touch when applying ink to your rubber stamps.
- Not using a stamp cleaner. Use a stamp cleaning solution after every use to help ensure that your stamps will last longer and produce clearer results. Using a light soap and water mixture can also help to keep your stamp clean.
- Re-inking the same pad multiple times. Re-inking the same pad over and over again will cause the ink to be too dark and may result in smudging or uneven results.
- Not allowing enough time for drying. Allowing an adequate amount of time for your stamps to dry before handling them will help to ensure that your work turns out looking its best.
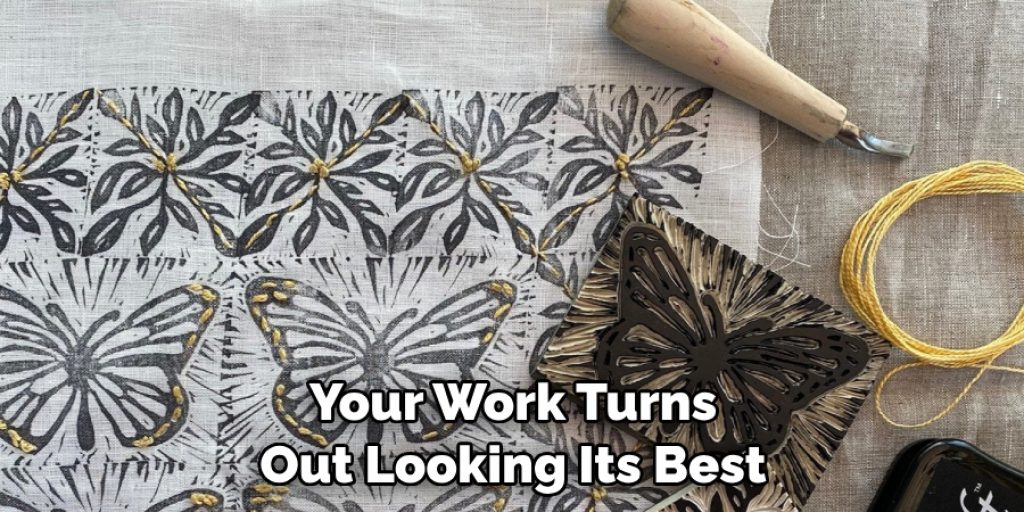
Stamping on fabric is an enjoyable and rewarding craft, but it requires practice and patience. Following these 8 tips will help make sure that you don’t fall into any common pitfalls when working with rubber stamps on fabric. With a few simple steps, you can create beautiful designs that look professional and last for years.
Frequently Asked Questions
How Long Will It Take?
Stamping on fabric can be done quickly and easily. Depending on the size of your project, it can take anywhere from a few minutes to an hour or more. Make sure you have all the materials ready beforehand so that you can start stamping as soon as you’re ready!
What Materials Will I Need?
You will need some fabric (such as cotton, linen, or canvas), a rubber stamp, an ink pad, and scissors. If you plan on making multiple stamps on one piece of fabric, then it would be wise to use an iron-on transfer paper to make sure all the images stay in place.
How Do I Place My Stamp?
Place your stamp face down onto the fabric and press firmly. Make sure to use light pressure so you don’t damage the stamp or leave any unwanted marks on the fabric. If you’re using an iron-on transfer paper, then make sure to place it onto the fabric before you start stamping.
What Should I Do After Stamping?
If possible, let your fabric dry for a few minutes before handling it. Once the stamping is complete, you can cut out any extra fabric using scissors and then iron the fabric for a longer-lasting design.
What Else Should I Know?
When working with stamps, make sure to clean them regularly to remove any excess ink or fabric lint. You should also avoid stamping on delicate fabrics to prevent any damage. With a little practice and patience, you can easily create beautiful and unique designs on fabric with stamps!
Conclusion
While it may require some trial and error to find the right combination of materials and methods for your own project, following this guide on how to stamp on fabric should set you up for success as you create some unique fabric stamping masterpieces! Once you have everything ready, grab your fabric and some ink and get stamping.
You might even turn what began as an afternoon crafting project into a lifelong passion! Not to mention a new ability that can greatly expand your wardrobe of stylish clothing. So, pick up some stamps from your local store or craft shop and start creating beautiful pieces today!
Nancy Behan
Nancy is an embroidery artist, fashion blogger and a full time editor at DIY quickly. Nancy edits the fashion section on DIY quickly, focusing on the embroidery and cross stitch articles, alongside with fabric and other costume design elements. She graduated from the University of Michigan with a Bachelor of Arts in Art History. She loves to work on her own projects, read books and watch romantic movies in her spare time.


