
How to Stop Sewing Machines From Turning Yellow
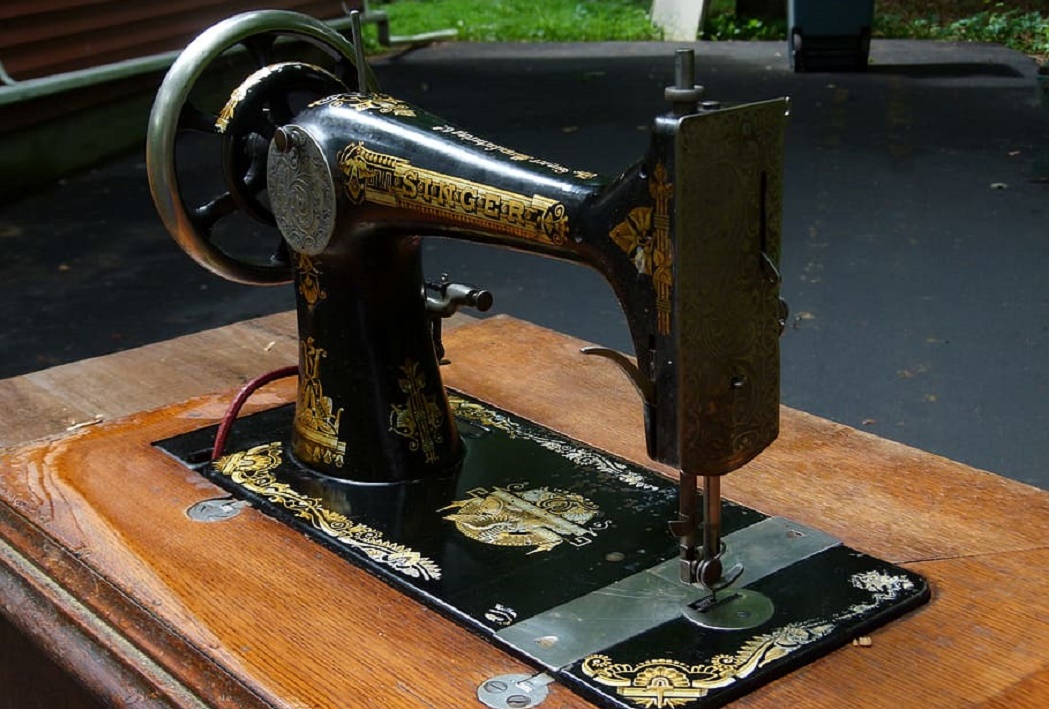
You may have bought a wonderful machine from your nearest shop or from online but haven’t used it for a while. But when you moved the lid after several months, you have noticed that your white sewing machine has turned blue. Don’t worry. It happens to many. This blue color comes from rust on the sewing machine parts. Rust is a type of corrosion and is formed when iron reacts with oxygen or water. This is why you shouldn’t leave your machine in a humid place.
That’s literally annoying. We all have faced the same problem; even I had once. But don’t blame the machine, due to its cheap construction it couldn’t stop from turning yellow. Instead of blaming its construction, you should search for how to stop sewing machines from turning yellow.
Honestly, it’s not that hard, with some simple tactics you can easily stop your machine from turning yellow. I have also applied those tactics on my sewing machine, and it is still good as new.
Plastics become discolor overtime. There are several factors that work behind this transformation of plastic, but among them, UV rays are mainly responsible for this. No matters what the reason, you need to find out the way to get rid of it. So, let’s have a look at the process of doing this. At first, you need to find out the plastic chair. You can look around your house or in your basement and find out the plastic chairs that are discolored. After that, use a soft toothbrush and dip it in rubbing alcohol.
Supplies Needed
- Saran Wrap
- Disposable gloves
- Paintbrushes
- Safety glasses
- Drop cloths
- 30 Volume developer
- Q-tips
- Plastic dish
How To Stop Sewing Machines From Turning Yellow
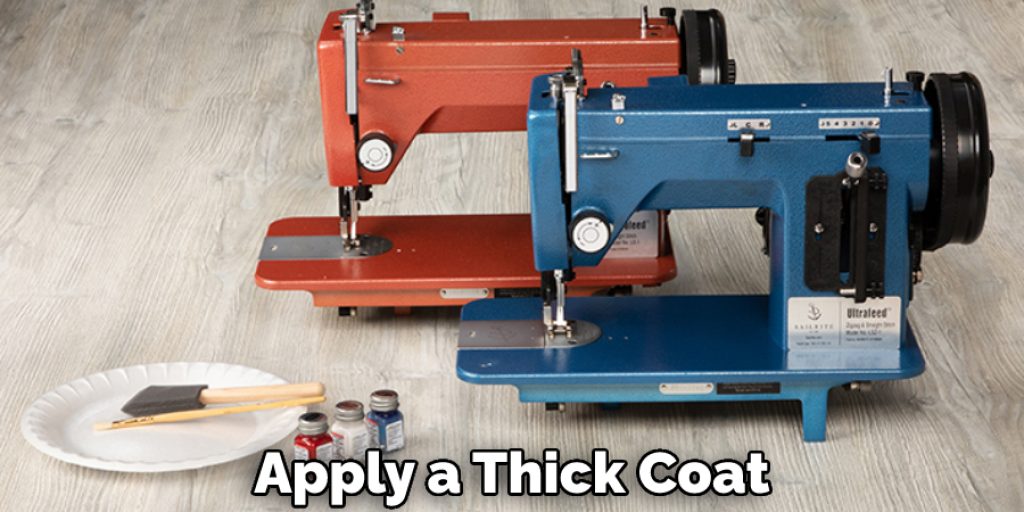
Step 1 – First of all, take the plastic bowl and pour a considerable amount of developers into it. Then take the paintbrush and apply a thick coat on the surface of your sewing machine. Be careful not to damage the paint job or other external parts of your sewing machine.
Step 2 – The magic will start soon, but before that, you have to cover the entire area with saran wrap. In order to get the optimal usability from the developer, you have to keep it wet. If it dries out, it will stop working, and you may have to apply it over and over again. But the saran wrap will prevent the developer from drying up. You can first test the process first. Cover half of the plastic body with saran wrap and let the rest exposed. By the way, airtight the wrapping properly.
Step 3 – You should leave the sewing machine for at least four hours after you have completed the previous steps. The surfaces of the sewing machine will become whiter, but the wrapped side will be whiter than the other one. However, you will get the surface of your sewing machine as good as new if you apply a proper coating of the developer and wrap it accordingly.
Conclusion
Hopefully, you have understood the above process; hopefully, you have. By the way, don’t forget to wear gloves and glasses while you are handling these chemicals because direct contact of these things can be dangerous for your skin. And make sure to keep these things out of the reach of children.
Check it out to learn to use a sloper to fit commercial patterns.


