
How to Sync LED Lights to Remote
Using LED lighting offers limitless options for creating beautiful spaces that are both energy-efficient and cost-effective. They can also be synchronized to various remote controls, allowing you to turn lights on and off or adjust the brightness from different places in your home.
In this blog post, we’ll discuss how to sync led lights to remote control so that you can enjoy an even better lighting experience.
Can You Sync LED Lights to the Remote?
Syncing led lights to a remote is an ideal way to ensure convenience and flexibility in your lighting environment. With this type of setup, you don’t need to worry about wires or bulky switches; instead, you can control the intensity and hue of your LED lighting with just the press of a button.
You can switch up the light brightness without getting out of bed or leave your lights on while tinkering with various settings from afar. Best of all, the remote is usually small enough to fit into the palm of your hand and take wherever you need it – making it an especially great choice for those who love entertaining outdoors or throwing parties in their own home.
Why Should You Sync LED Lights to Remote?
Syncing your led lights to the remote provides a number of distinct advantages. For example, you can customize each room’s lighting settings or even group multiple lights into one setting. It is more convenient and time efficient, but you can also give your living space a unique look and feel.
The most impressive part? You don’t need to be a tech expert or an electrician to install the technology – it’s truly as simple as pressing a button! Finally, by syncing to a remote, you are saving energy via an automatic switch-off. That’s the power of convenience, style, and sustainability all rolled into one!
7 Steps to Follow on How to Sync Led Lights to Remote
Step 1: Install Your Lights
Before you attempt to sync your LED lights, you need to install them properly. This includes mounting the fixtures and connecting them together. If you are unsure how to do this, check out our guide on installing LED lighting. Once the fixtures are mounted and connected, turn the power off before continuing.
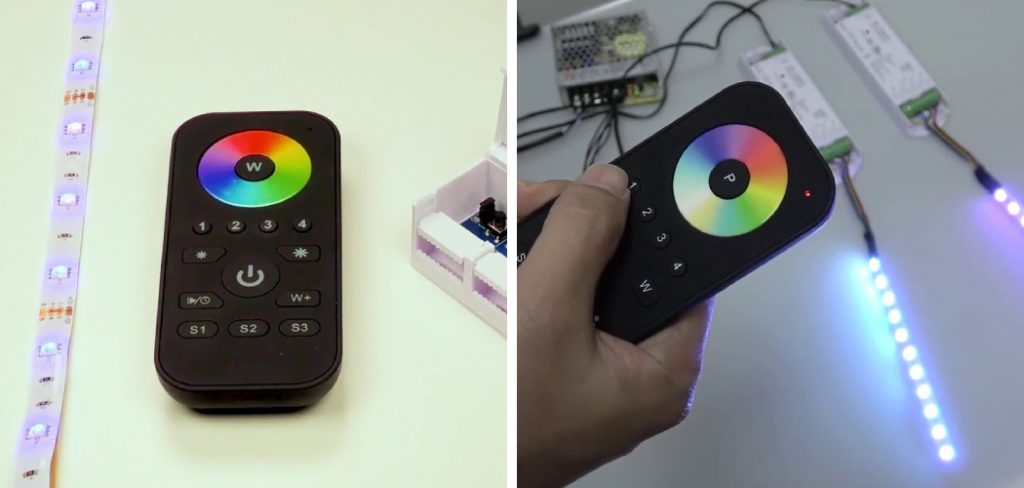
Step 2: Connect the Receiver
The receiver is the device that will respond when you press buttons on the remote control. It should come with instructions on connecting it, but generally, it involves plugging in a few wires and then attaching the antennae. Make sure all connections are secure before proceeding further.
Step 3: Pairing the Remote Control and Receiver
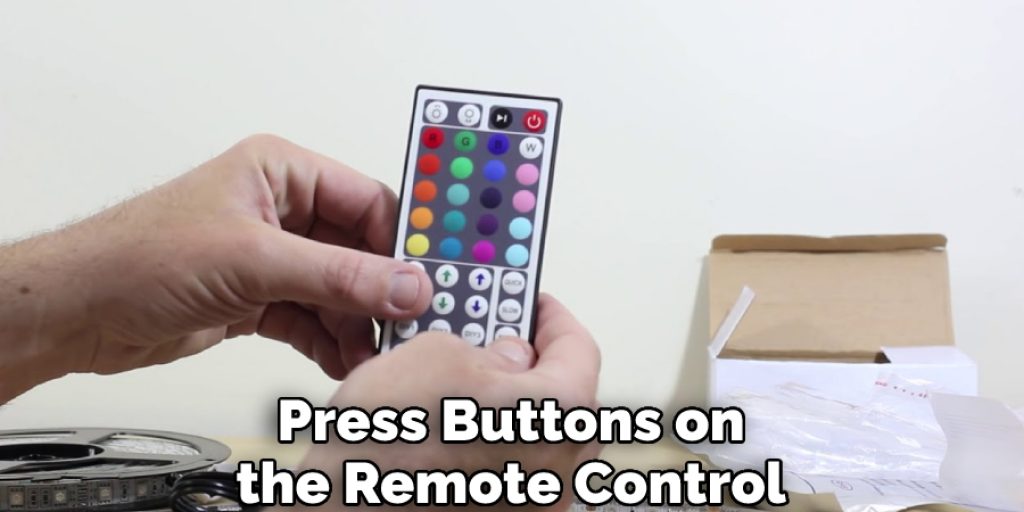
Now that everything is connected, it’s time to pair the remote control and receiver together using radio frequency (RF) technology. To pair them up, simply press and hold down the “pair” button on both devices until they emit a solid light or tone indicating they are synced successfully.
Then test out your setup by pressing several different buttons on the remote control and ensuring their corresponding lights turn off or on as expected.
Step 4: Setting Up Schedules
If desired, you can set up schedules for when your lights turn off or on automatically at specific times (for example, turning off at 11 PM every night). To do this, you will need an RF controller like this one from Lutron, which allows you to adjust dimming levels and set up schedules without having to get up from your seat each time!
Step 5: Troubleshooting
If you’re having trouble syncing your LED lights to the remote control, there are a few things you can try to troubleshoot. First, check that all connections between the receiver and fixtures are secure and that both devices are powered on. Additionally, try resetting the pairing process by pressing and holding down the “pair” button on both devices until they emit a solid light or tone.
Step 6: Updating Firmware
If you are having persistent connectivity issues, try updating the firmware of your LED lights and remote control. This may require downloading an app from the manufacturer or connecting to their website to do so.
Step 7: Enjoy Your Smart Lights!
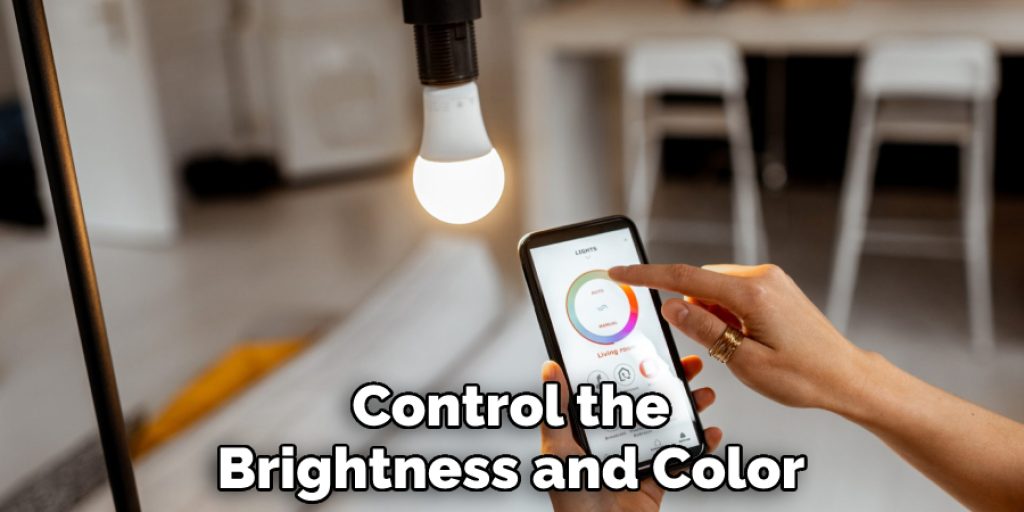
Once you’ve completed the setup, you’re ready to enjoy your smart LED lights. Now with just the press of a button, you can control the brightness and color of your lights from afar. Plus, when paired with an RF controller like the one mentioned above, you can also set up schedules for when your lights turn on or off automatically.
That’s it! You’ve now learned how to sync led lights to remote. With your new setup, you can enjoy all the convenience and flexibility of having intelligent lighting in your home or office. Have fun!
Things You Need to Know Before Syncing Led Lights to Remote
To get the most out of your LED light syncing experience, it’s important to consider a few things beforehand. First, what type of remote is compatible with your lights? You’ll want to check the manufacturer’s specifications and research any available remote control options.
Secondly, what kinds of features are available with the remote? For example, can you set specific timing intervals and change the color or brightness controls? Finally, ensure that you have enough power outlets and be aware of any safety considerations, such as wire management or placement of the lights.
Being informed beforehand will help ensure that you make the best use of these exciting and energy-efficient lighting options.
5 Benefits of Syncing Led Lights to Remote
1. Energy Savings
One of the primary benefits of syncing your LED lights to a remote is that it can help you to save energy. By controlling your lights remotely, you can ensure that they are only turned on when you need them, which can help reduce your energy consumption.
2. Increased Safety
Another benefit of syncing your LED lights to a remote is that it can help to increase safety in your home. For example, if you are away from home and forget to turn off your lights, you can simply turn them off using your remote. This can help prevent break-ins and accidents, such as fires caused by unattended lights.
3. Convenience
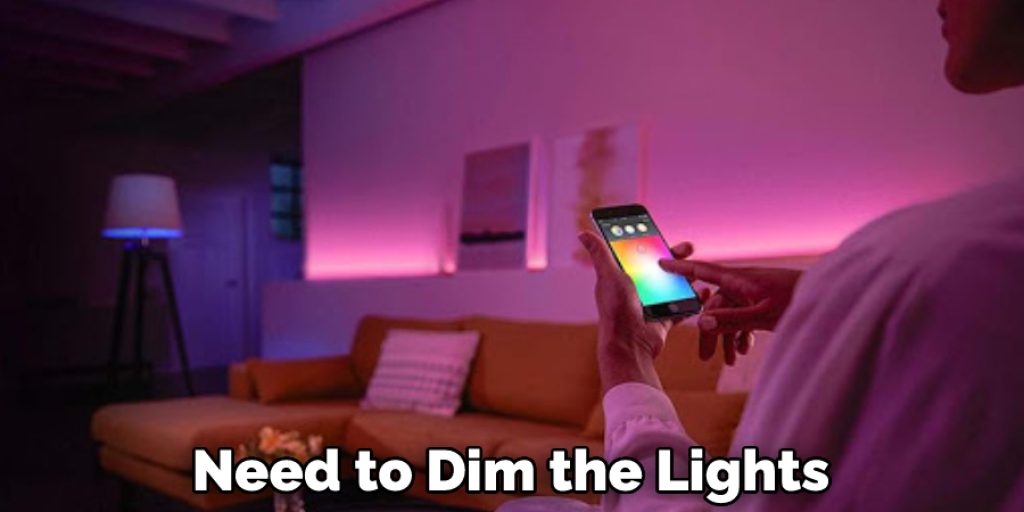
Another benefit of having synced LED lights is that they can be more convenient than traditional lighting. For example, if you are entertaining guests and need to dim the lights, you can do so without getting up and adjusting each light.
Additionally, if you have young children or pets, turning off your lights remotely can help prevent them from accidentally turning them on and wasting energy.
4. Improved Aesthetics
In addition to the functional benefits of syncing your LED lights to a remote, there are also aesthetic benefits. For example, changing the color of your lights remotely can help create a more pleasant and inviting atmosphere in your home. Additionally, being able to dim your lights can create a more romantic or relaxing ambiance.
5. Cost Savings
Finally, another benefit of syncing your LED lights to a remote is that it can help you to save money on your electric bill. As mentioned above, being able to control your lights remotely can help you to reduce your energy consumption, which can lead to lower electric bills each month
Some Common Mistakes People Make When Trying to Syncing Led Lights to Remote
Syncing LED lights to a remote can seem daunting at first. However, the process is not complicated if you know what to look out for. Common mistakes regarding this kind of task are usually due to one of three things: incorrect wireless connection, wrong settings in the controller, or incompatible remotes.
To avoid these issues, check the compatibility between your remote and the lighting beforehand. Additionally, manufacturers often provide comprehensive instructions that should be read thoroughly — doing this can save you time and money by ensuring everything works as it should.
With a few simple precautions and careful attention to detail, synchronizing your LED lights with a remote does not have to be difficult. It can even open up unlimited possibilities for creative lighting control and automation in your space.
How to Create the Perfect Mood Lighting with Synchronized LEDs
When it comes to creating the perfect mood lighting, synchronized LEDs are a great option. With their convenience, flexibility, and affordability, they can help you add a little extra atmosphere to any occasion. To get started, all you need is an LED controller and multiple light fixtures – from wall washers to spotlights – that are compatible with the controller.

From there, you can experiment with different colors and patterns for a truly custom look. Whether your application is big or small, synchronized LEDs allow you to set the perfect mood with ease and accuracy.
Conclusion
With just a few simple steps, anyone can sync their LED lights with a remote control for convenient lighting control from anywhere in their home or office!
Whether you want complete manual control over your lighting or prefer setting up automated schedules for convenience’s sake, syncing LED lights with a remote is easy and only takes minutes! Thanks for reading our post about how to sync led lights to remote. So what are you waiting for? Give it a try today!


