
How to Take Apart a Husqvarna Sewing Machine
Many of us use a Husqvarna sewing machine for our embroidery purposes, and this is quite a helpful machine but has a complex construction. For this reason, when we try to clean this machine, we face some issues. Today we are going to suggest the easy technique for separating a Husqvarna sewing machine for cleaning and repairing purposes,
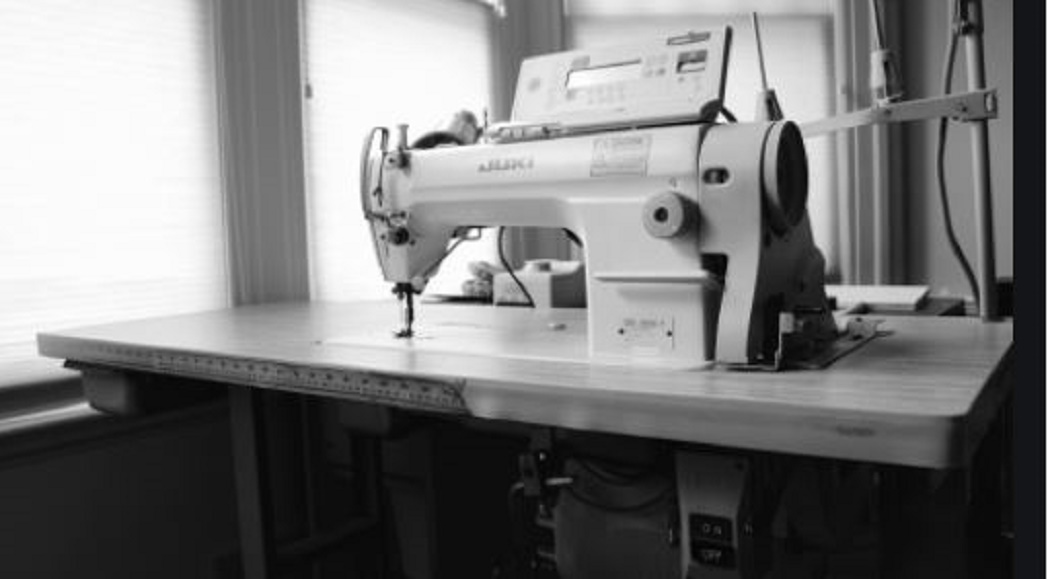
Procedure of How to Take Apart a Husqvarna Sewing Machine
For this process, at first, you have to turn off the machine and then unplug it from any electrical supply. Then you have to take the machine and detach the visors from the top. This will be easily possible because there are always tow hinges attached to the visor, so press them, and thus the visor will be easily detached. Next, you have to remove the needle plate; for this step, there is a pressure foot provided by the company.
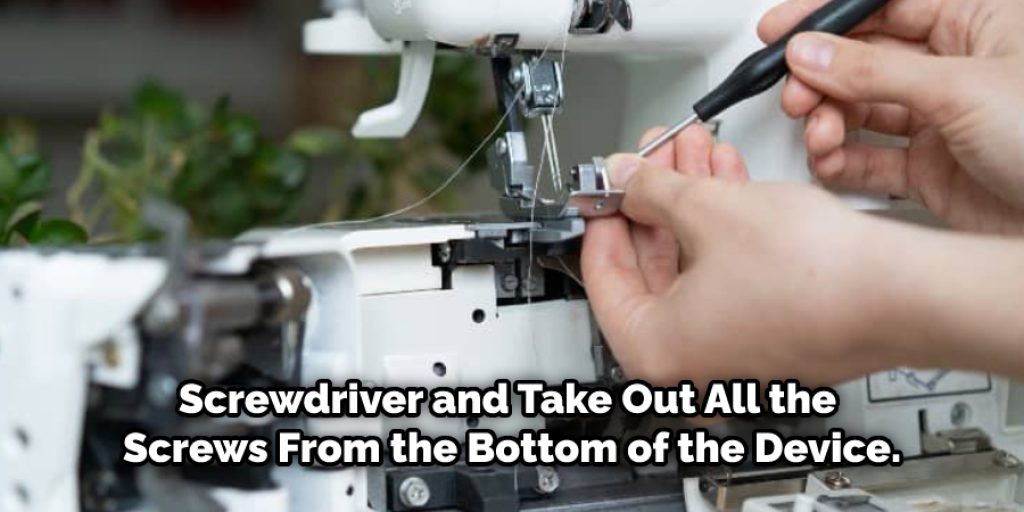
To remove the needle plate, simply hold the pressure foot and lift. Next, locate the magnet and the metal plate. The magnet will be used to keep the metal elements together, and the metal plate will be used as a support. Finally, flip the machine over so that the head is at the top. Then, use a screwdriver to remove all the screws from the bottom of the device.
To fix the sewing machine, you need to unscrew the handle, then take out all the screws on the side of the needle. After that, the whole front part will come apart. There are wires attached to this part, so you need to untie them before you can clean the machine and repair it.
Conclusion
In conclusion, we hope that our mentioned technique on taking apart o Husqvarna sewing machine has been helpful for you, you can easily apply this technique, which will not be much tiring. Thanks for your patience! Have a beautiful day!!
You may read also – How to Thread an Elna Sewing Machine


