How to Tape a Window
Are you looking to keep your home better insulated from the elements? Taping windows may sound counterintuitive, but in fact, it can be a great way to reduce air infiltration and create an additional layer of insulation. Not only will this help with energy efficiency and prevent drafts, but it’s also surprisingly easy and inexpensive. In this article, we’ll cover how to tape a window correctly so that you can enjoy all the benefits of increased insulation. Read on to learn more!

Whether you want to keep the chilly air out or just add a touch of style to your home, taping windows is an inexpensive and easy way to do it. From classic minimalism to creative designs, there’s something for everyone! While the process itself isn’t so complicated, having some basic knowledge about tape adhesives and application techniques can save time and ensure that your window looks. So if you’re ready to learn more about bringing life into any room through stylishly taped windows, then let’s get started!
Why May You Want to Tape a Window?
1. To Keep the Chilly Air Out
One of the main reasons to tape a window is to keep the cold air out. This can help reduce your heating bills in the winter, as you won’t have to expend extra energy on keeping the room warm.
2. To Block Light and Noise
Taping a window can help block light and noise from outside, making it easier for you to relax in peace. This can be especially helpful if you live in a noisy neighborhood or have bright streetlights outside your windows at night.
3. To Enhance Privacy
If you’re concerned about passersby being able to see into your home, taping the window is an easy way to improve privacy. Depending on the type of tape you use, you can also create a strong barrier that prevents anyone from seeing in.
Overall, taping a window is an inexpensive and effective way to keep the cold out, block noise and light, and enhance privacy. With just a few supplies, you can easily have your windows taped up in less than an hour. Read on to learn how to do it.
How to Tape a Window in 5 Easy Steps
Step 1: Gather All The Materials
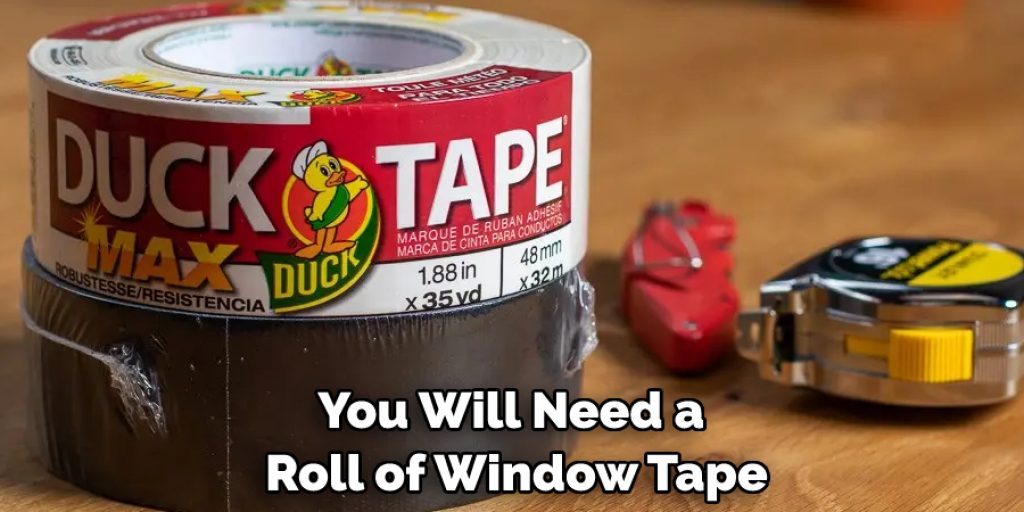
The very first step is to make sure you have all the materials that you need. You will need a roll of window tape, scissors, and a damp cloth. So make sure you have these items ready before you begin.

Step 2: Clean The Window
Before beginning, it’s important to clean the window thoroughly. This will ensure that your tape adheres to the window properly and won’t slip off as easily. Use a damp cloth and some soap to remove any dirt or dust from the surface of the window.
Step 3: Cut The Tape To Size
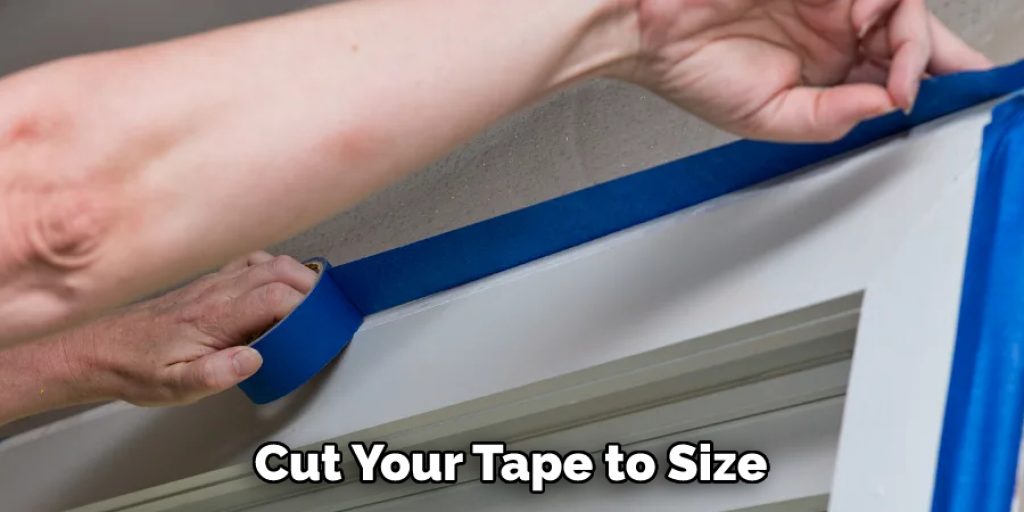
Once you’ve cleaned the window, it’s time to cut your tape to size. Measure out the length and width of the window and then use scissors to trim the tape to fit. Make sure that you leave a few extra inches on each side so that you can properly adhere the tape.
Step 4: Apply The Tape
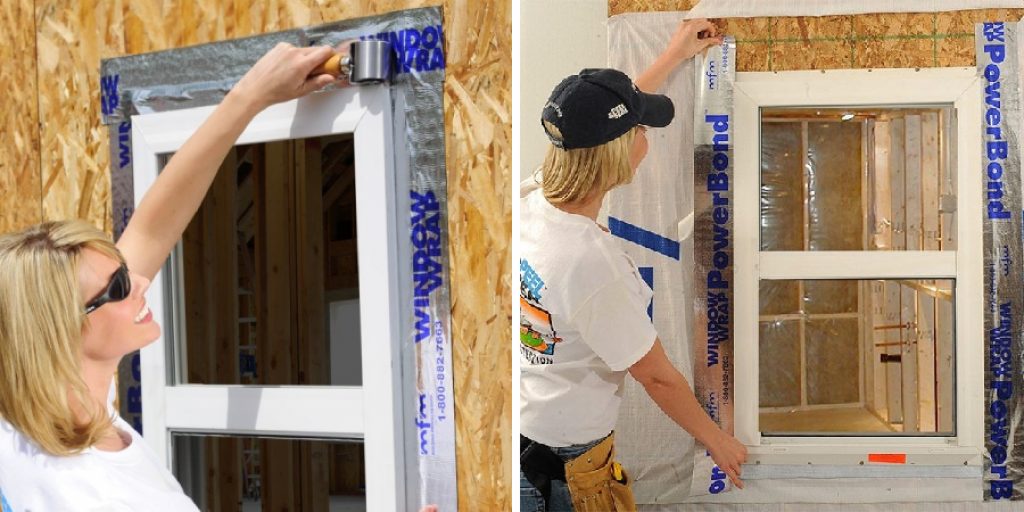
Now it’s time to actually apply the window tape. First, peel back one end of the tape and press it firmly against the window. Then slowly peel away more of the backing as you work your way around the entire window. Make sure that you press down firmly on each side of the window to ensure a secure fit.
Step 5: Smooth Out Any Air Bubbles
Once all the tape is applied, it’s time to smooth out any air bubbles that may have formed. Use your damp cloth and press firmly against the surface of the window in order to eliminate any air pockets.
And that’s it! You’ve just successfully taped a window in five easy steps. Now you can enjoy the peace of mind that comes with knowing that your windows are securely sealed against the elements. Be sure to check back for more home improvement tips and tricks!
Some Extra Tips to Tape a Window
1. Do Not Overlap the Tape
Many people make the mistake of overlapping tape when taping a window. When you overlap the tape, it creates a bulge that can cause air leaks. Instead of overlapping, try to use two pieces of tape placed side-by-side for an even seal.
2. Clean the Surface
Before applying any tape, make sure to clean the window surface with a damp cloth or glass cleaning product. This will ensure that the tape sticks properly and helps you avoid any air leaks.

3. Use Quality Tape
Be sure to use good quality tape when taping your windows, as cheap products may not provide a good seal and could end up peeling off within weeks. Look for tape that is specifically designed to seal windows, as it will provide a better result.
4. Avoid Drafts
If you can feel cold air coming through your window, then the tape may not be applied properly or could be too thin. Use thicker tape and make sure it’s placed firmly against the frame for the best results.
5. Check for Proper Sealing
The best way to check that your windows are properly sealed is by using a smoke pen or candle. Light the smoke pen or candle and move it around the window frame – if you notice any air escaping, then you’ll need to re-apply the tape in that area. Doing this regularly will help you ensure that your windows are always properly sealed.
Remember, by taking the time to tape your windows correctly, you can save on energy bills and keep your home warm during winter. With these tips in mind, it’s easy to get a good window seal every time!
Frequently Asked Question

What Precautions Should I Take When Taping a Window?
When taping a window, you should be aware that the adhesive on the tape can cause damage to surfaces. Therefore, make sure you are using the correct type of tape for your window material and that you clean the surface before applying it. Additionally, don’t apply too much pressure when attaching the tape, as this can cause the adhesive to stick too firmly and become difficult to remove. Lastly, you should also be aware of the possibility of paint or wallpaper damage if you’re taping a window that already has these materials applied.
What Are My Options for Taping a Window?
There are several different options for taping a window, including single-sided tape, double-sided tape, and clear plastic tack. Single-sided tape is the easiest to apply and remove but may not be strong enough for heavier objects like curtains. Double-sided tape provides a stronger hold but can be difficult to remove without damaging the surface. Clear plastic tack works well for lighter curtains and won’t damage the window when removed. You should always choose the option that best suits your needs and the surface of your window.
What Kind of Tape Should I Use to Tape a Window?
The type of tape you use for taping a window will depend on what kind of material you have and how much weight it can support. For heavier materials like curtains and drapes, you should use a stronger adhesive tape such as double-sided or clear plastic tack. For lighter materials, single-sided tape is usually sufficient and easier to remove. It’s important to make sure the tape you choose is suitable for your window material.
Can I Tape My Windows for the Winter?
Yes, taping your windows for winter can be an effective way to help reduce energy costs. However, it’s important to make sure you use the right type of tape and that you apply it properly. The tape should be able to handle temperatures below freezing and not come off when exposed to extreme cold or humidity.

Conclusion
Taping a window can be an easy and cost-effective solution to decrease drafts in your home. Readers should remember to double-check the seals of each window to determine if more insulation is necessary before taping them up. The materials for taping are widely available so this upgrade does not have to break the bank. The process might be tedious but it can pay off in energy savings throughout winter air months.
We hope this guide on how to tape a window has helped you. Although most modern windows do come with a pre-installed sealing system, it’s always worth checking regularly to see if reinforcing is needed; the effort may be small but it could go a long way towards comfort and cost. Finally, those who choose to tape their windows should feel proud knowing they ran a successful DIY at-home project that’ll provide comfort while saving energy over time!


